Welcome back! In our last article, we learned how to navigate the file system using the Linux terminal. Today, we’ll learn how to manipulate files themselves. We’ll cover creating, moving, copying, and renaming files - all from the command line.
Before we start, I’d like to introduce you to Warp, a modern terminal that can make your command-line experience smoother and more intuitive, especially if you’re new to terminal interfaces. Warp offers features like auto-suggestions, clear output formatting, and a user-friendly interface. The best part? It’s completely free to use! If you’re interested in trying it out, you can download Warp here. Don’t worry if you prefer to stick with your current terminal - all the commands we’ll learn today work in any standard terminal.
Setting Up Our Workspace
Let’s start by creating a workspace that we’ll use throughout this article. This will ensure we’re all starting from the same point. Follow these steps:
-
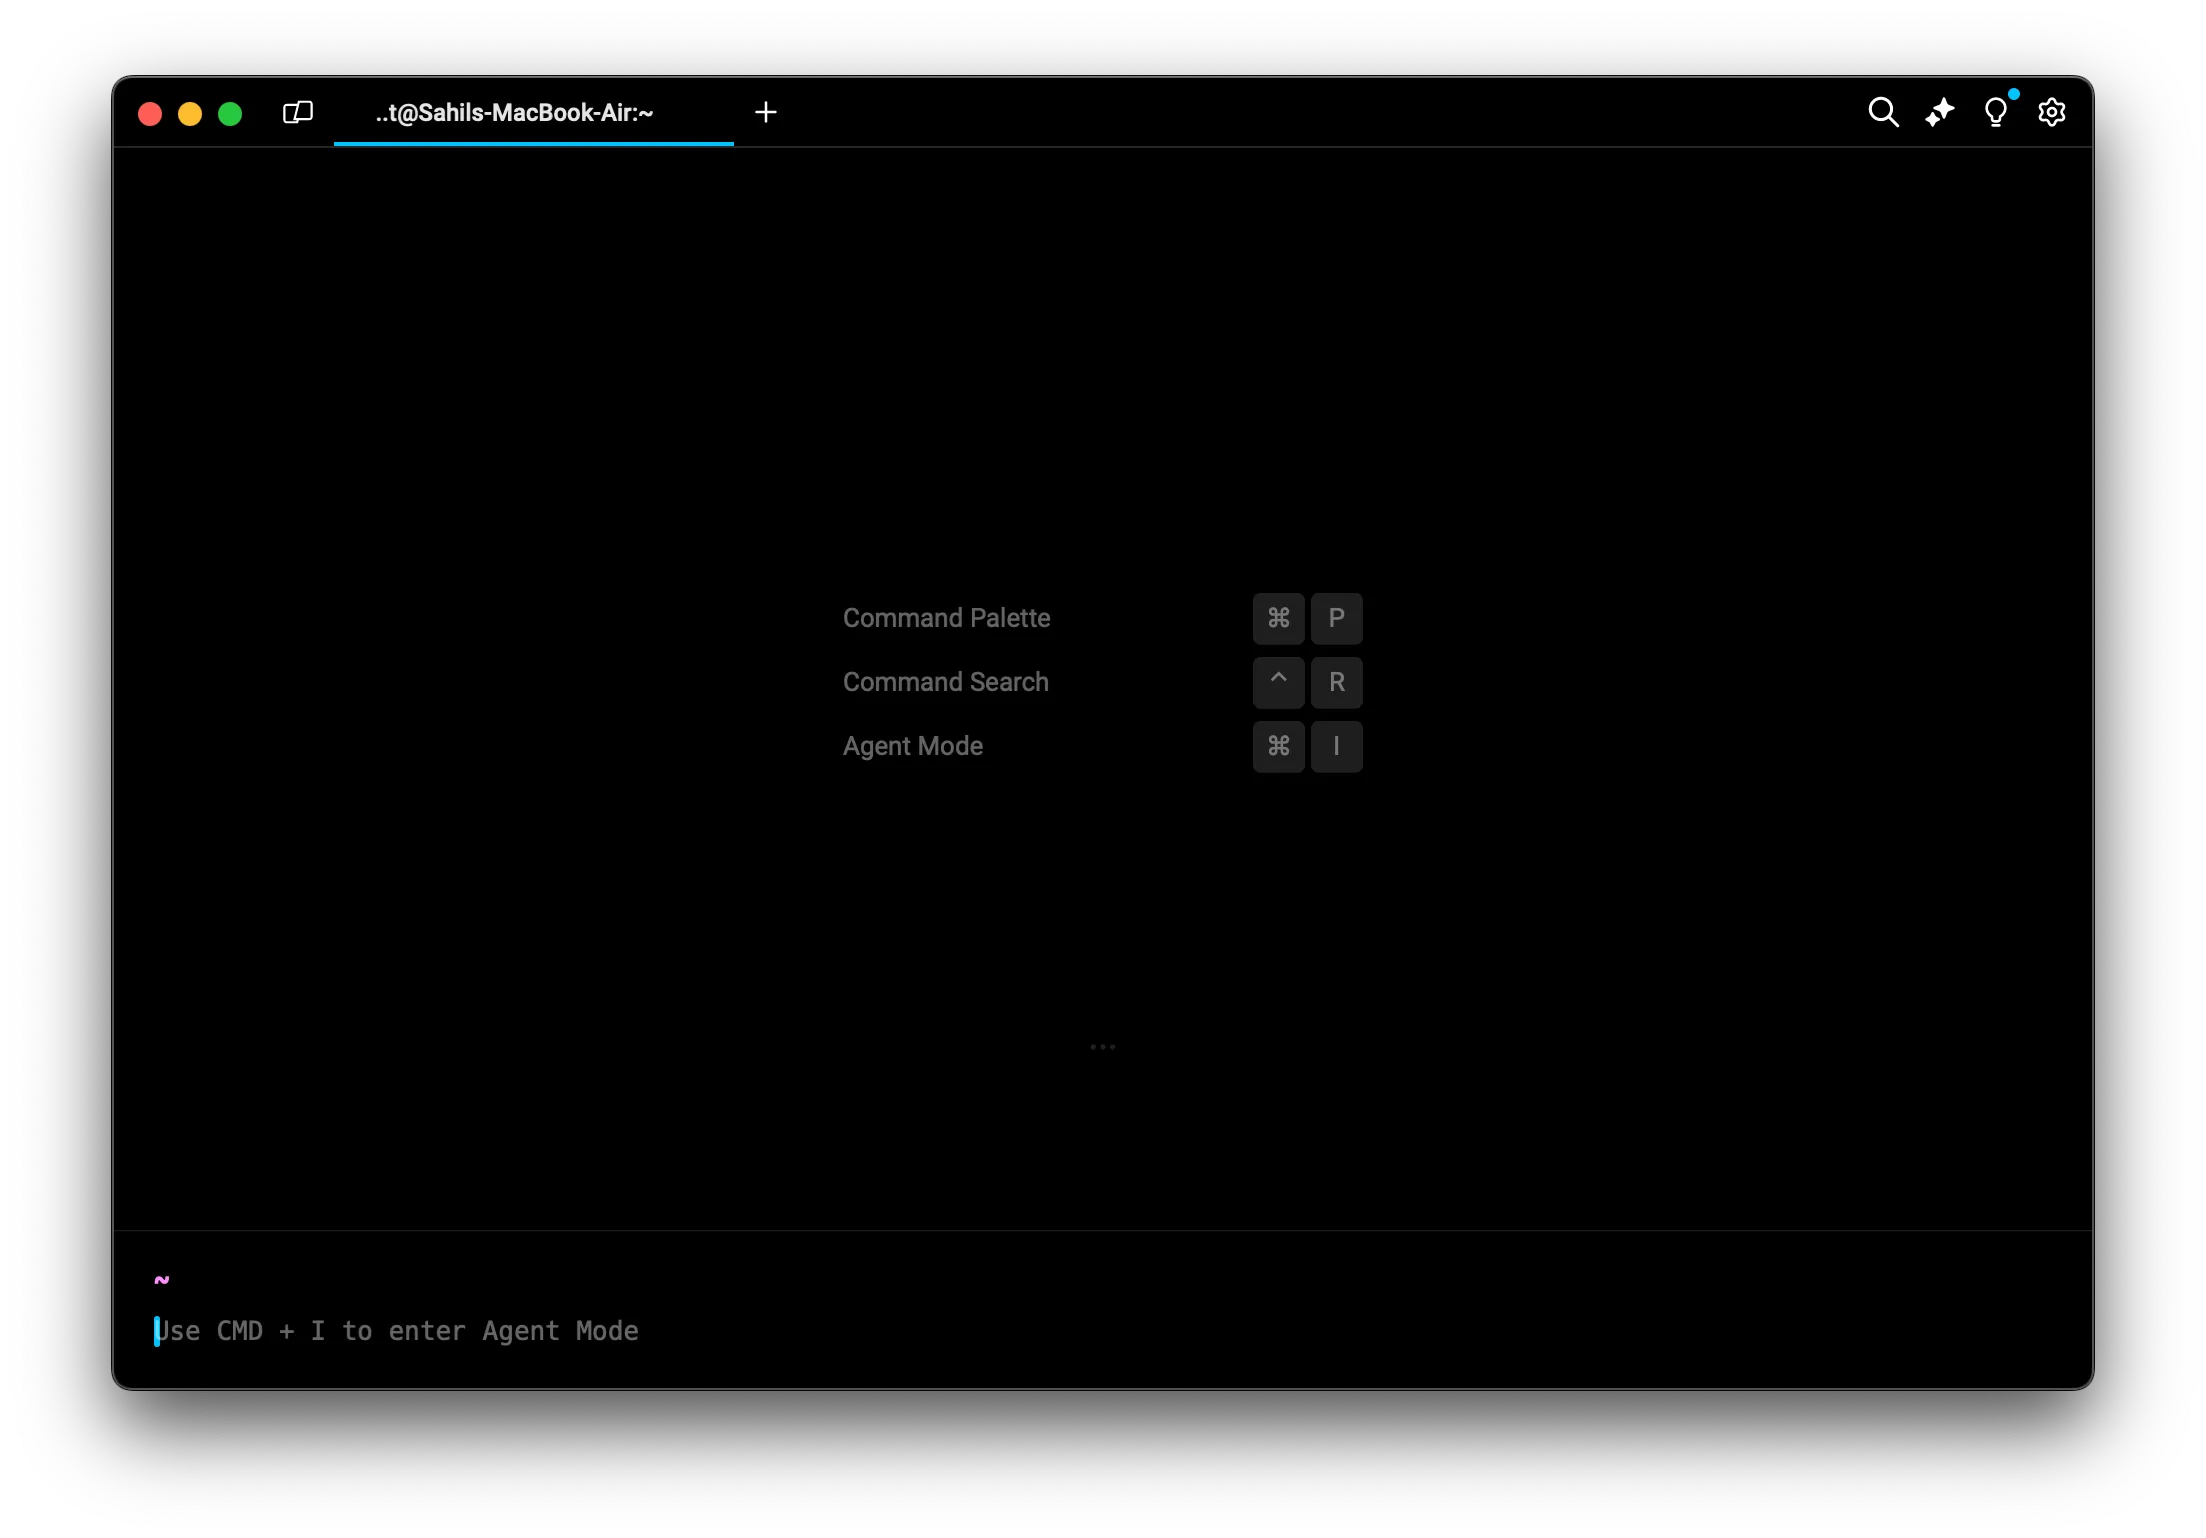
Open your terminal
-
Navigate to your home directory
cd ~Th
cd ~command changes your current directory to your home directory, providing a consistent starting point for everyone. -
Create a new directory called “terminal_practice”
mkdir terminal_practiceThe
mkdircommand stands for “make directory” and creates a new folder named “terminal_practice”.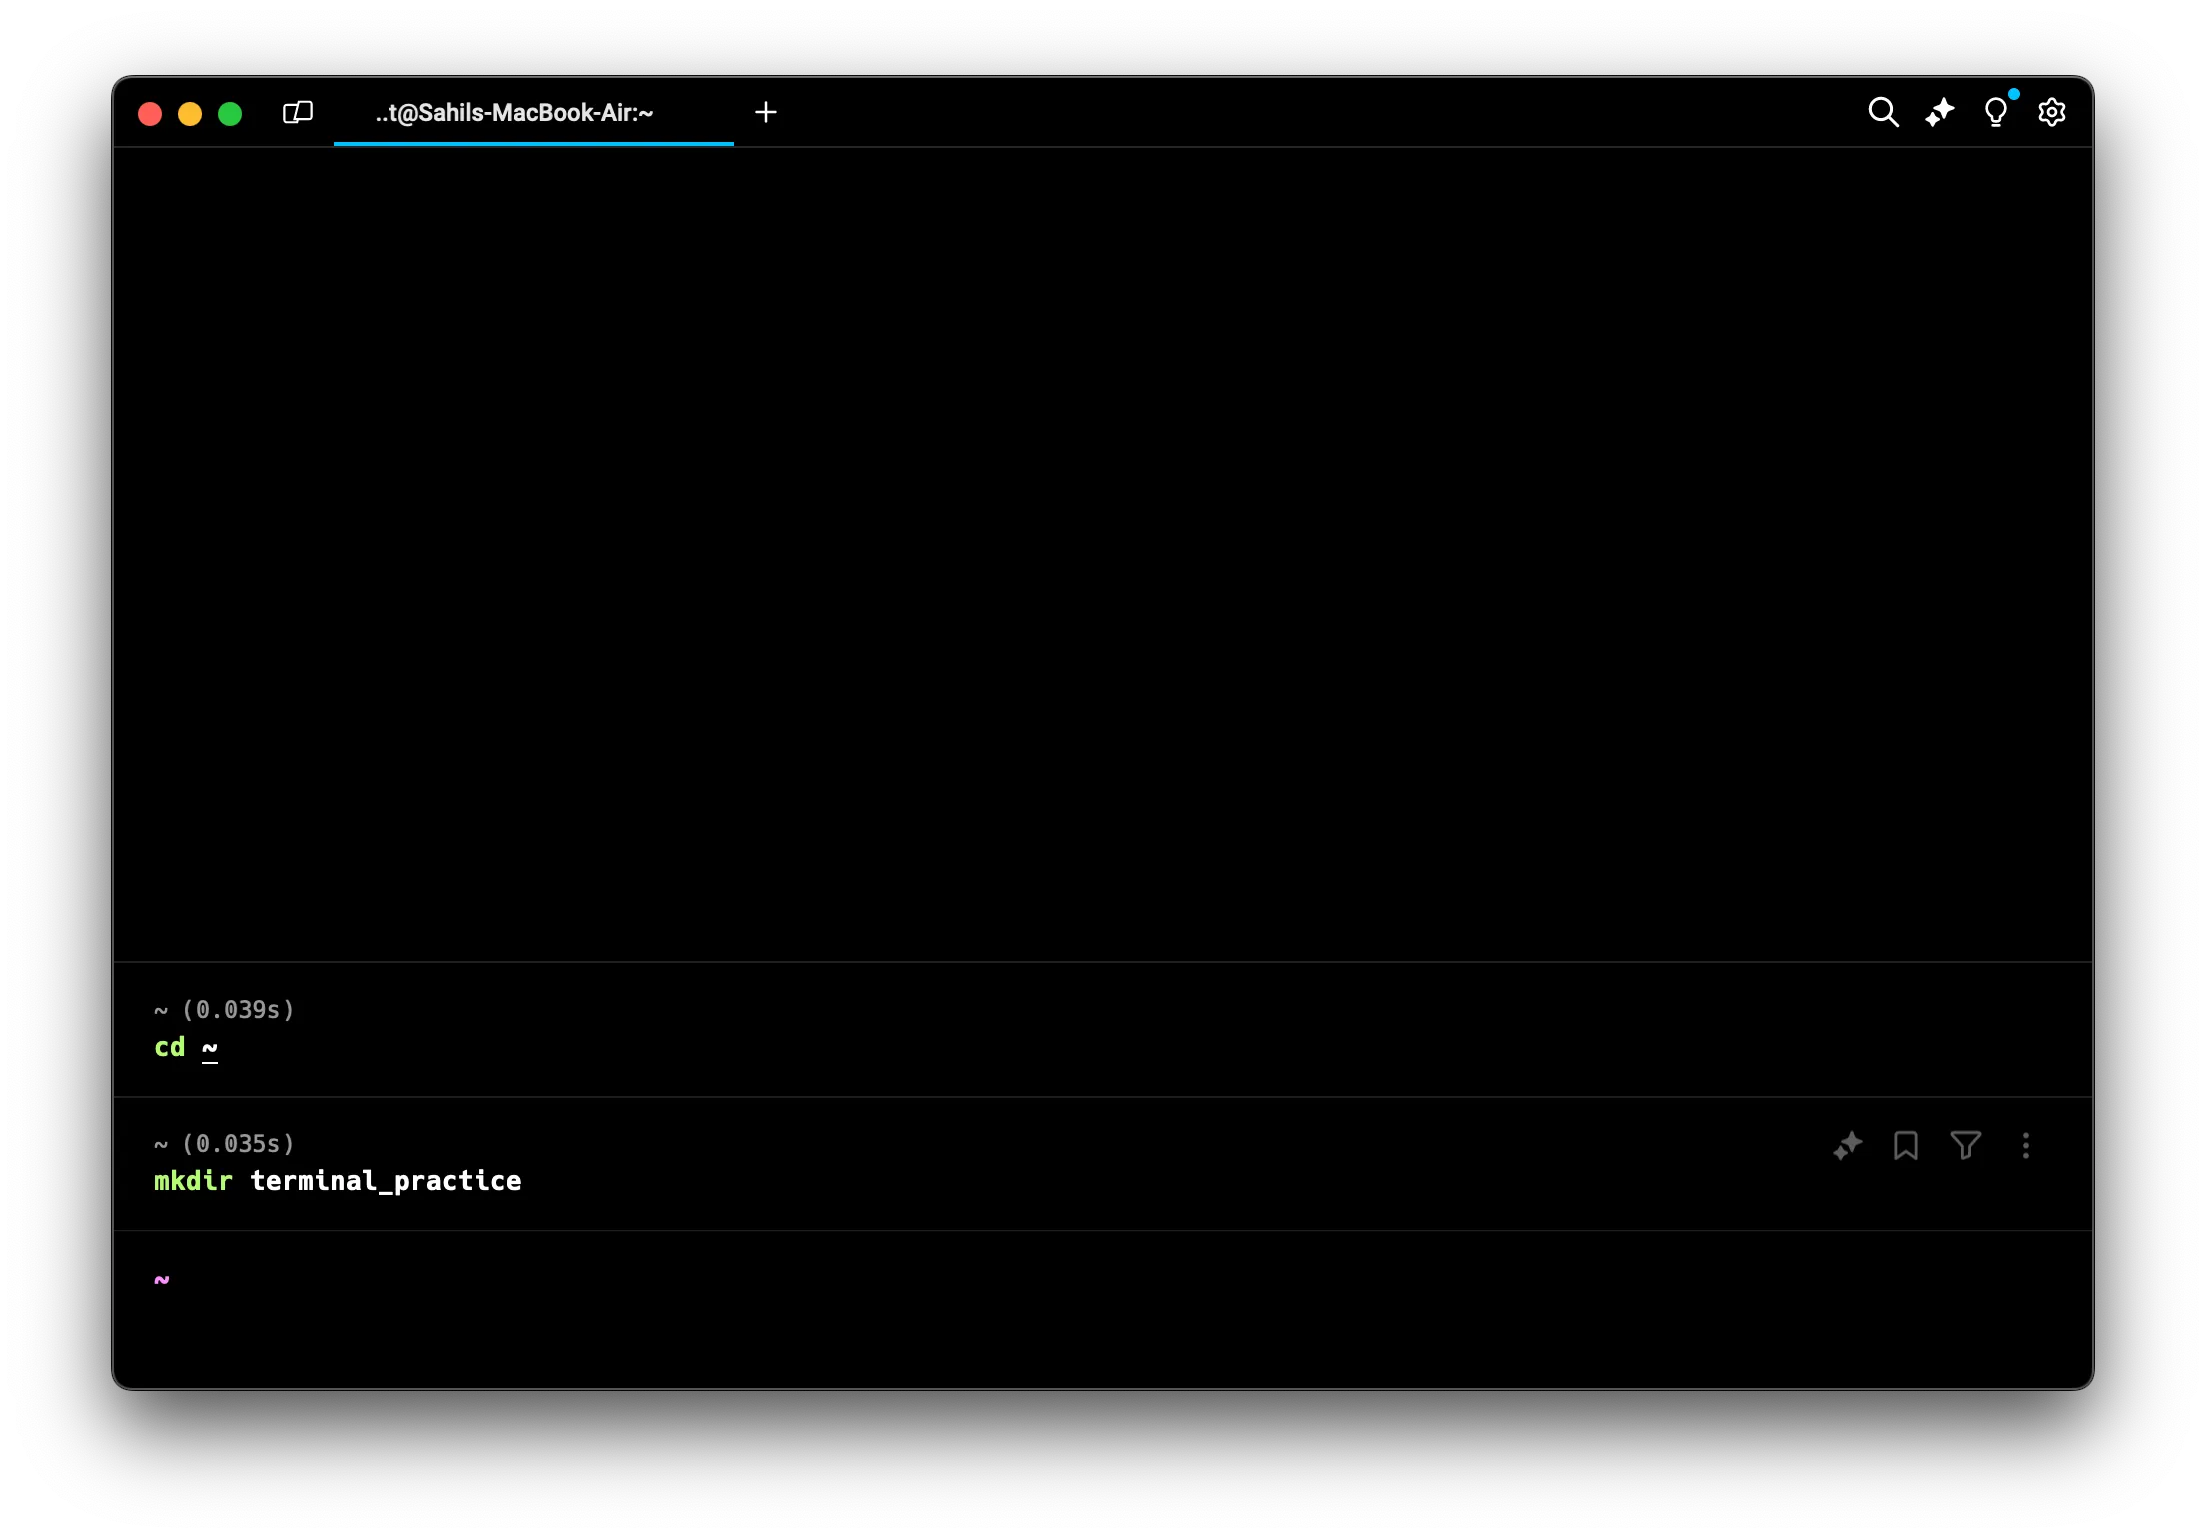
-
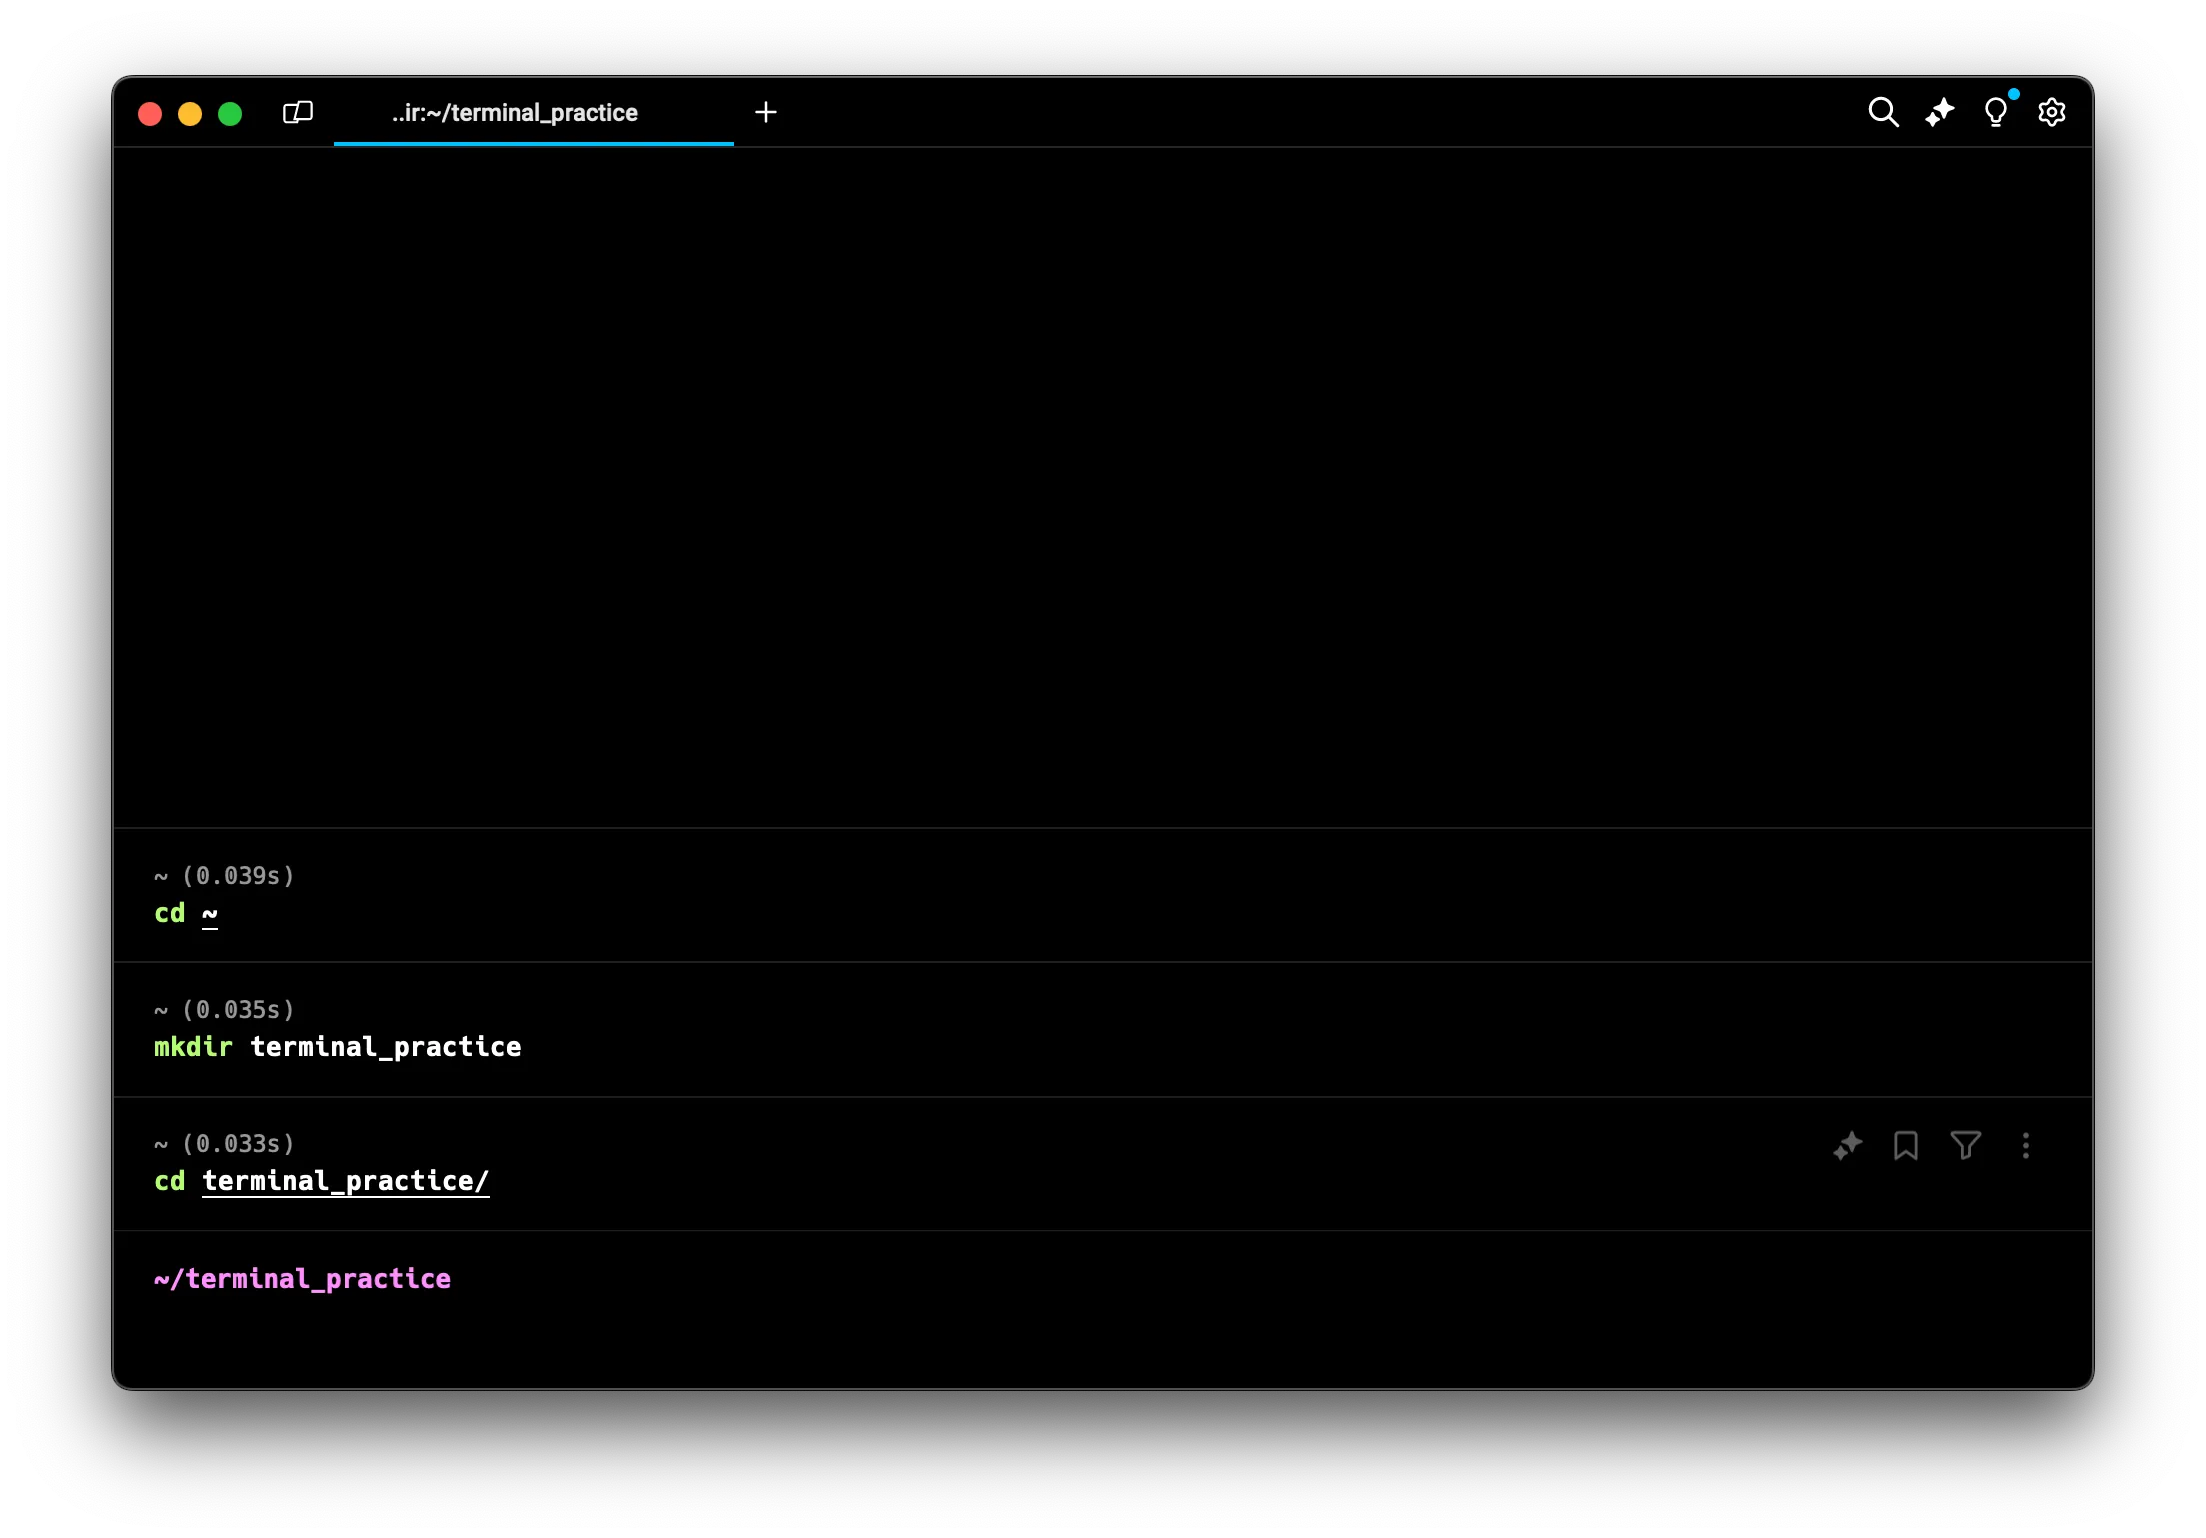
Move into this new directory
cd terminal_practiceThis command changes your current directory to the newly created “terminal_practice” folder.
-
Create some subdirectories
mkdir Documents
mkdir Projects
mkdir Personal
Create three new directories (Documents, Projects, and Personal) using the
$dir$command inside the “terminal_practice” folder.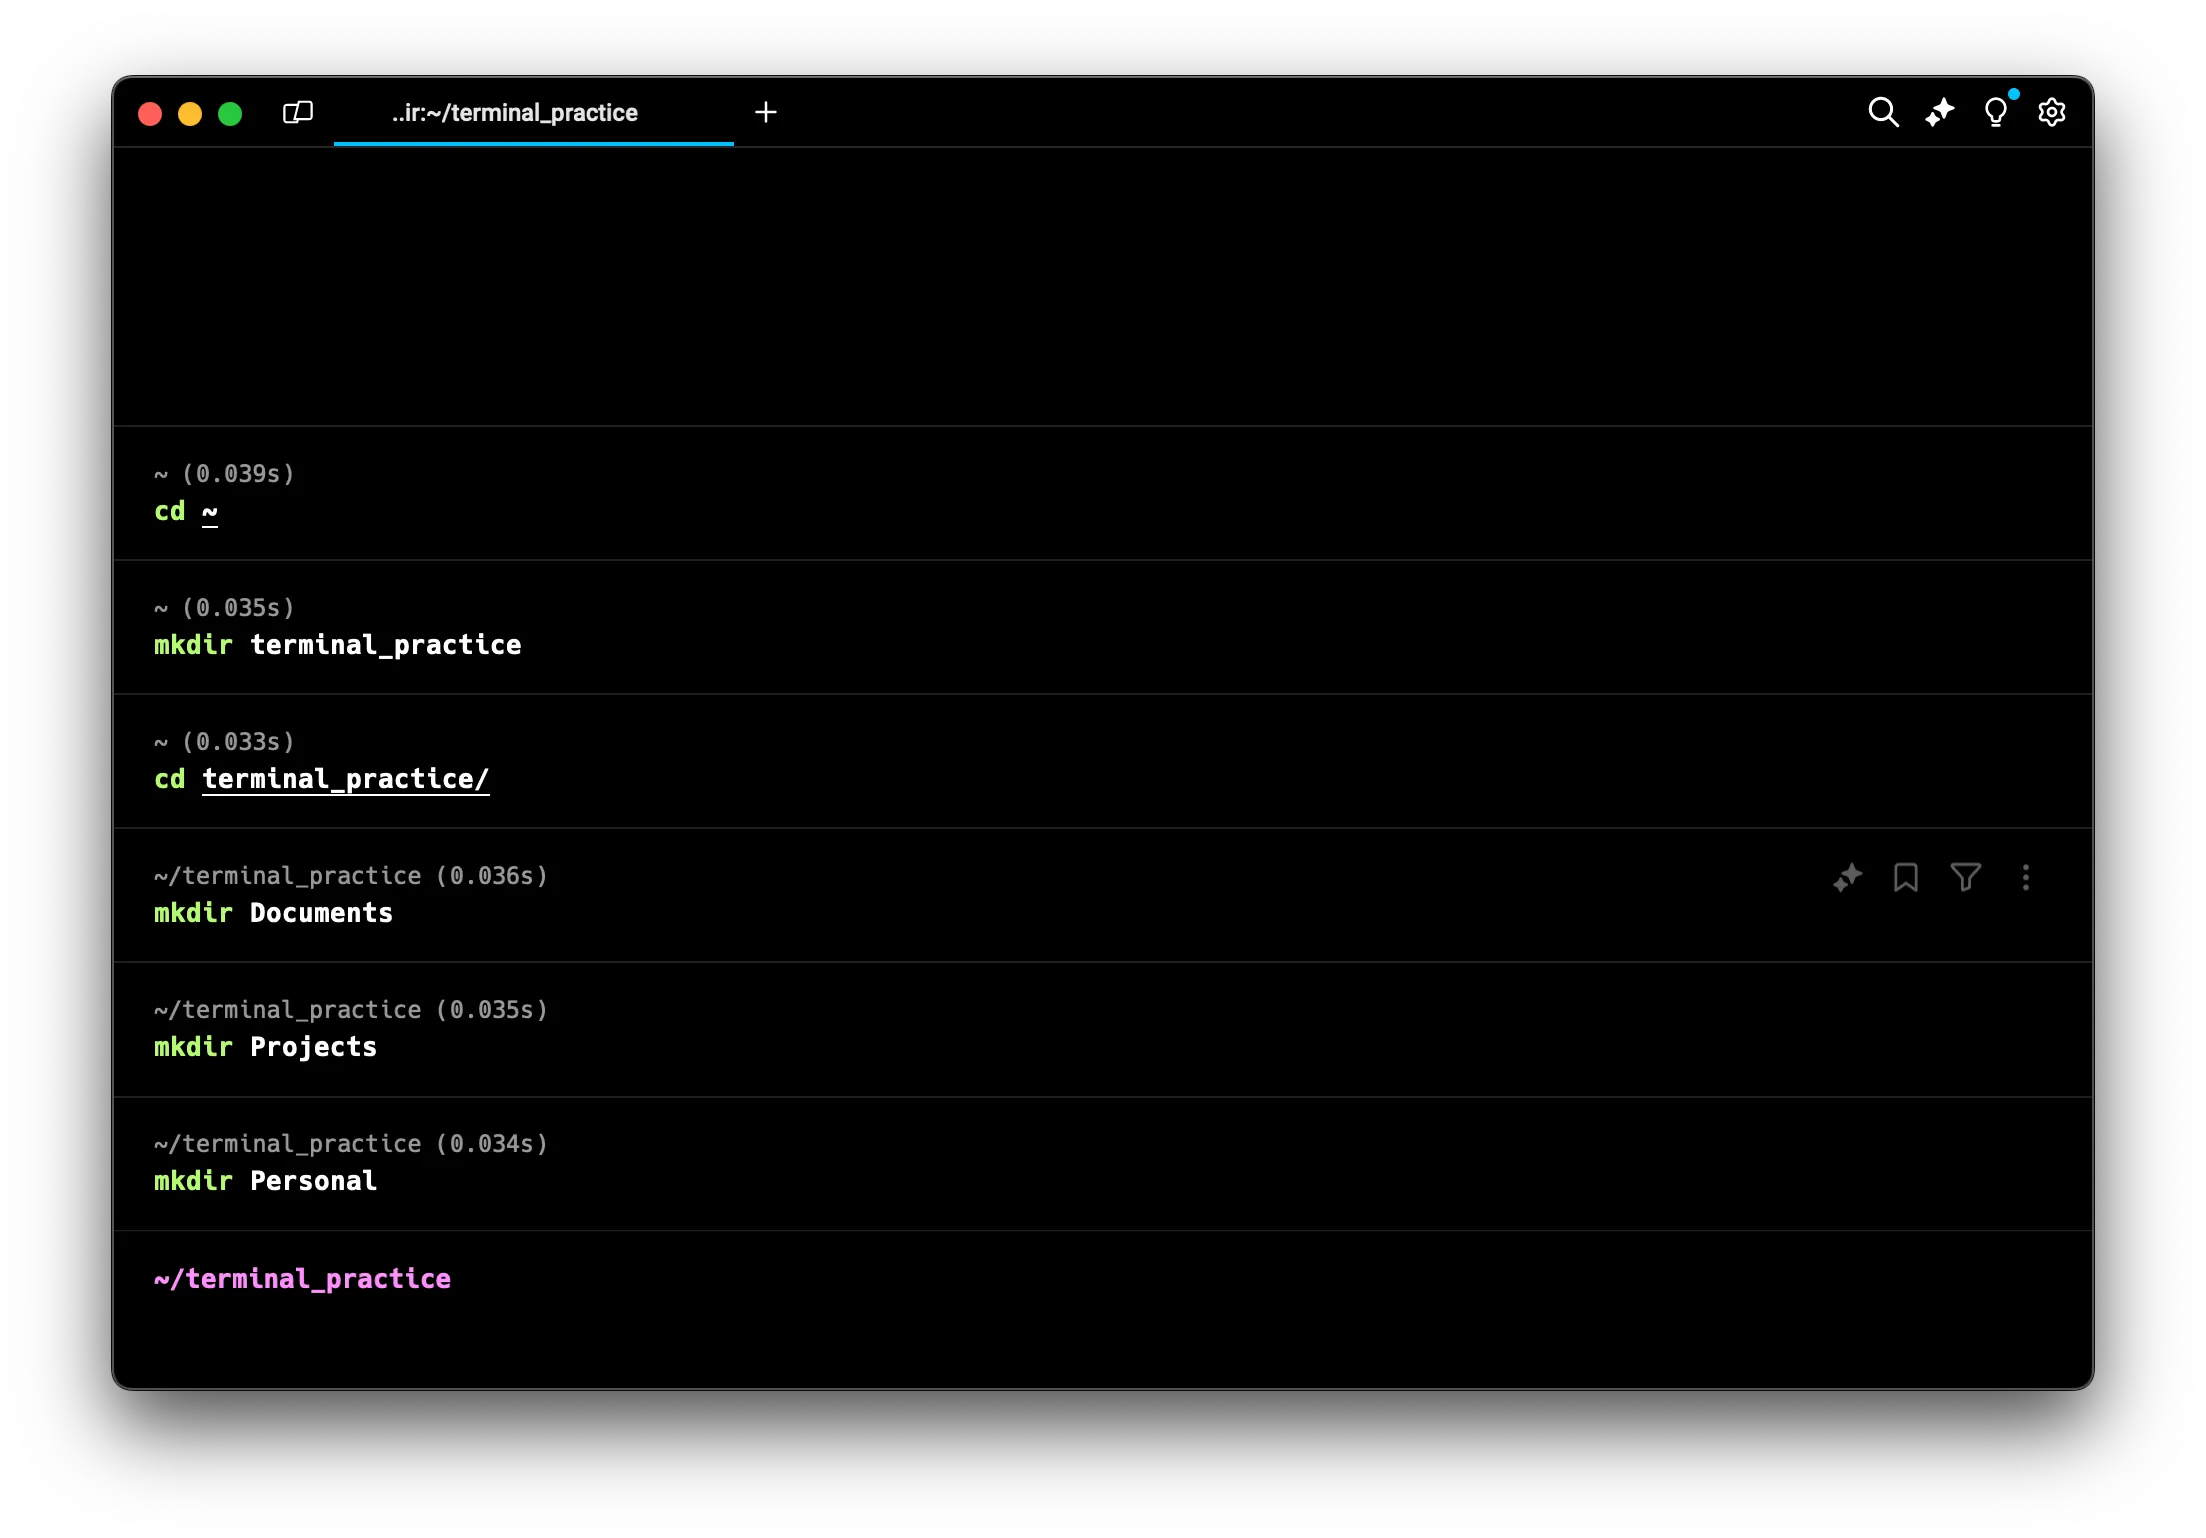
-
Use the
lscommand to verify our setuplsThe
lscommand lists the contents of the current directory. You should see the three directories we just created: Documents, Projects, and Personal.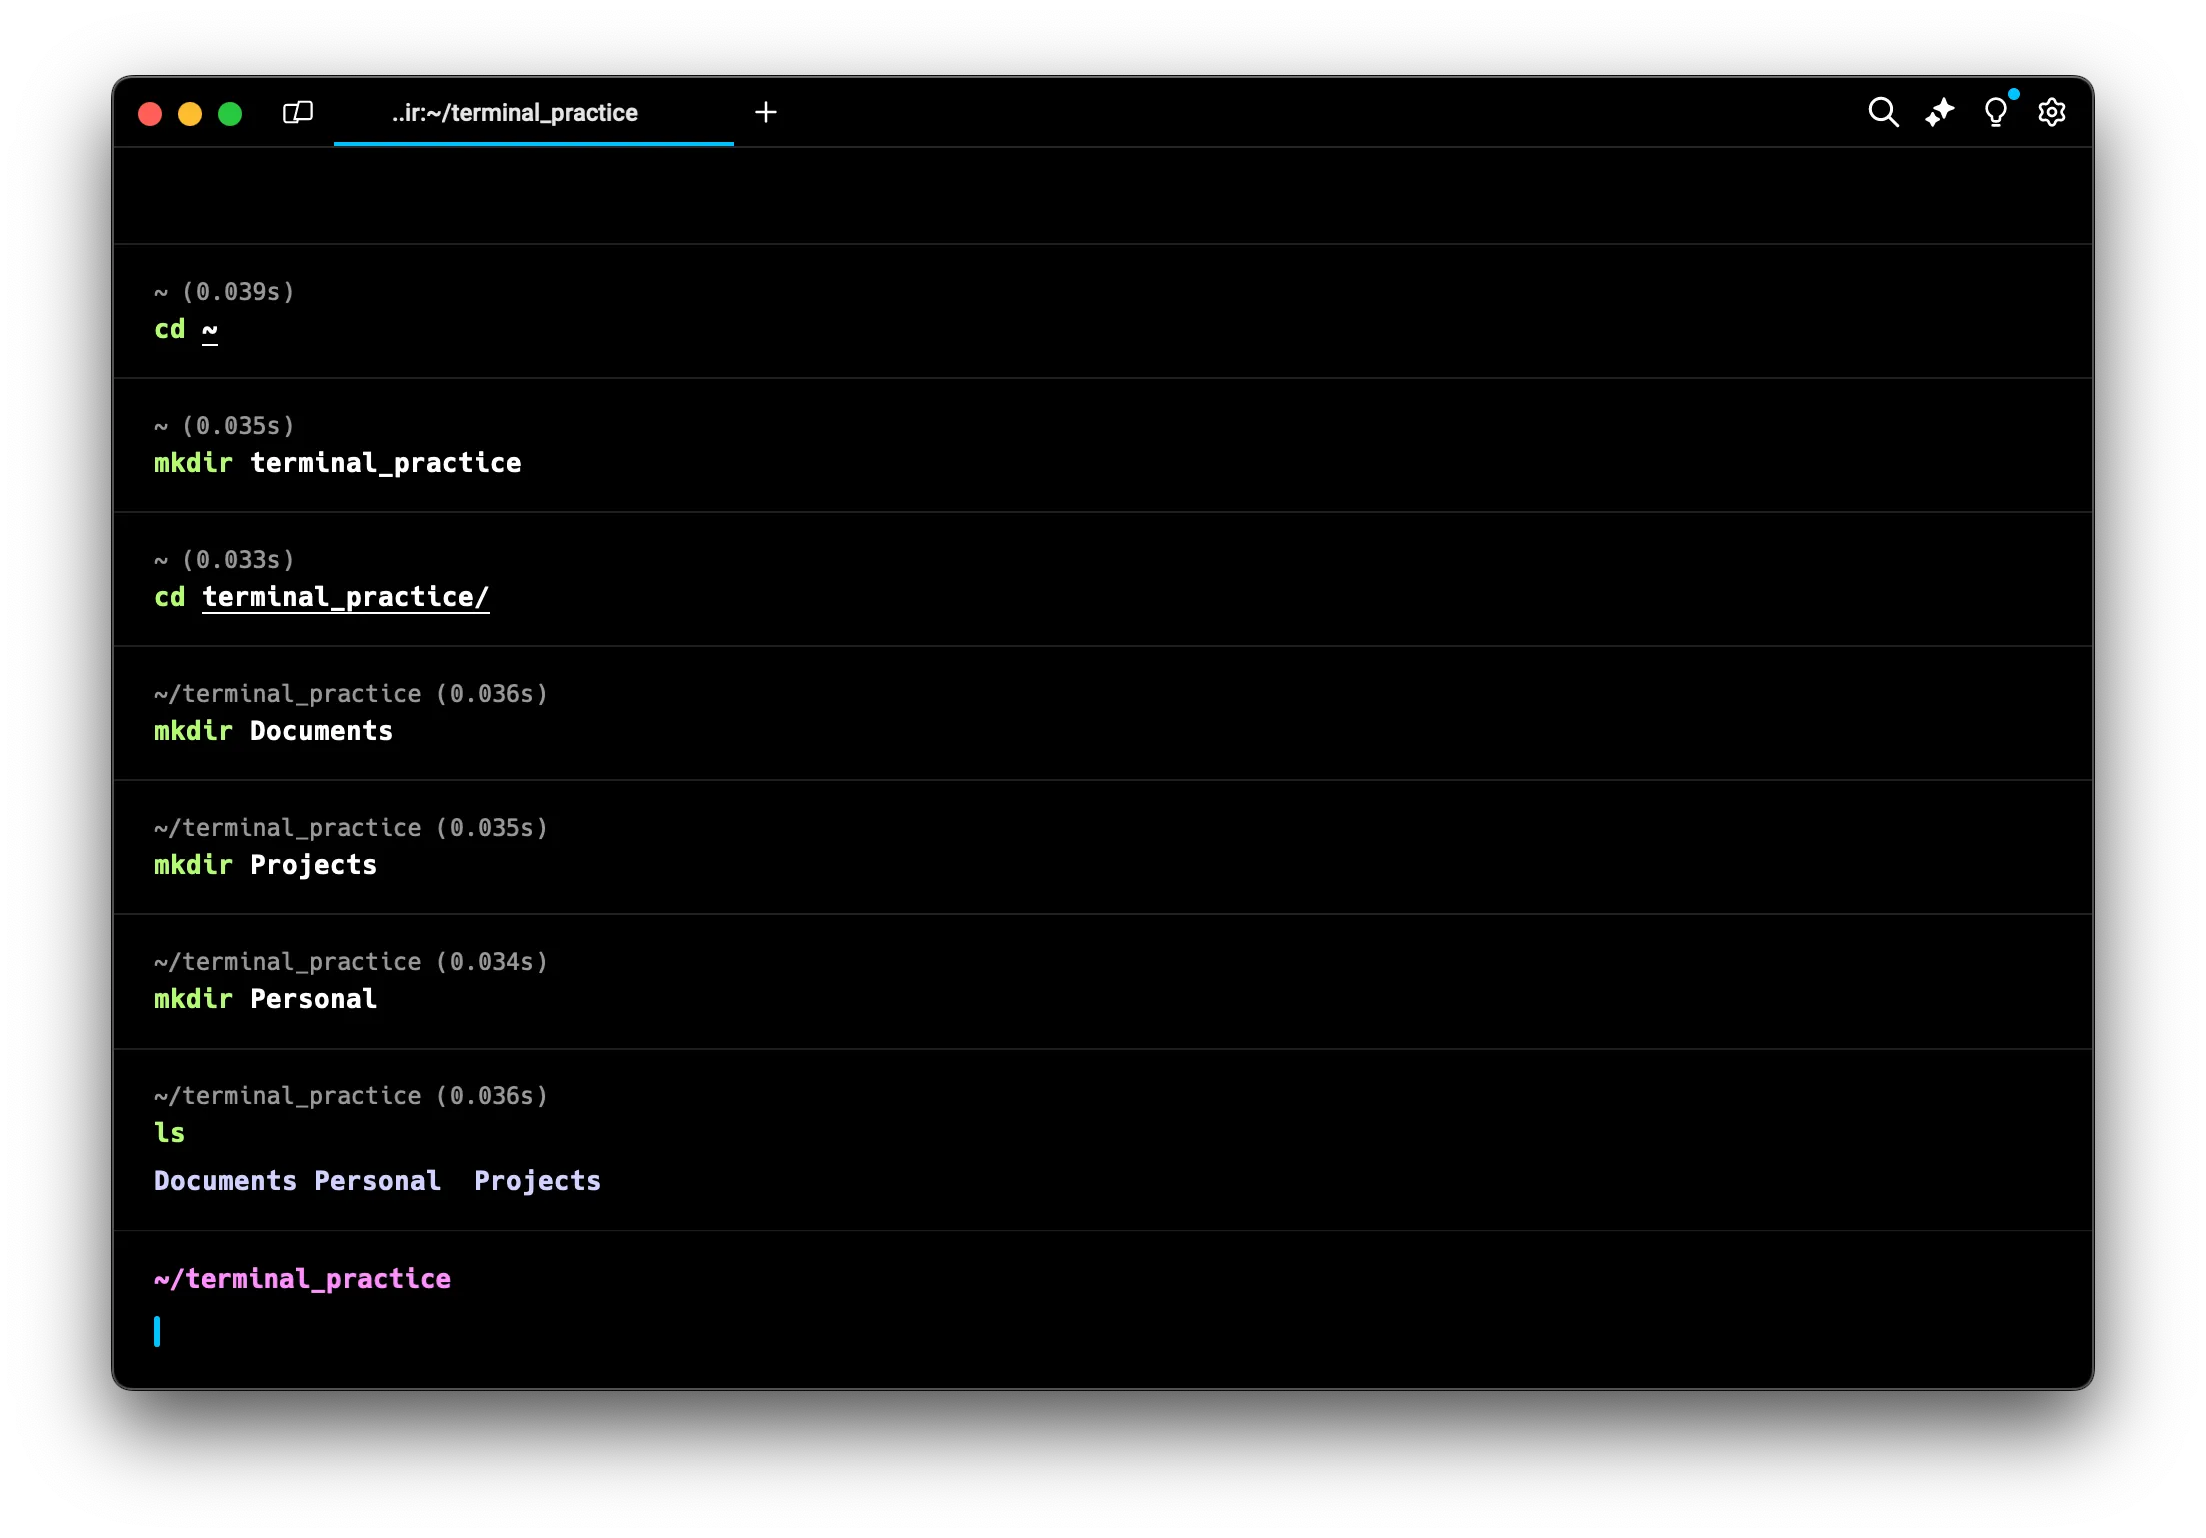
Navigating Between Directories (cd)
Now, let’s learn some advanced navigation tricks. We’ve used cd to move into directories, but navigating a complex directory structure requires more finesse. Let’s explore this with a hypothetical directory structure:
terminal_practice/
├── Documents/
│   ├── Reports/
│   │   └── quarterly_report.txt
│   └── Memos/
│       └── team_update.txt
├── Projects/
│   ├── WebDev/
│   │   └── index.html
│   └── DataAnalysis/
│       └── data.csv
└── Personal/
    ├── Photos/
    │   └── vacation.jpg
    └── Notes/
        └── ideas.txt
Let’s learn how to navigate this structure, assume that we are in “terminal_practice” directory:
-
Start by moving into the Documents directory
cd DocumentsThis command changes your current directory to the Documents subdirectory.
-
Now, let’s move into the Reports subdirectory
cd ReportsYou’re now in the Reports directory, two levels deep from terminal_practice.
-
To move back up to the Documents directory
cd ..The
..notation represents the parent directory. This command moves you up one level in the directory structure. -
To move all the way back to terminal_practice from Reports
cd ../..This moves up two levels at once: first out of Reports, then out of Documents.
-
Now, let’s move to the DataAnalysis directory with a single command
cd Projects/DataAnalysisThis navigates into Projects, then into DataAnalysis in one step.
-
To move from DataAnalysis to Photos, we can combine going up and down
cd ../../Personal/PhotosThis goes up two levels (to terminal_practice), then down into Personal and Photos.
-
Verify where you are
pwdThe
pwdcommand, which stands for “print working directory”, shows your current location in the file system. You should see/path/to/terminal_practice/Personal/Photos. -
You can also use absolute paths to jump to any directory from anywhere. For example, to go directly to the Memos directory from anywhere:
cd ~/terminal_practice/Documents/MemosThe
~represents your home directory, so this works regardless of your current location.
Remember, you can always use ls to list the contents of your current directory if you’re unsure of where you are or what’s around you.
I hope it’s clear how you can efficiently navigate complex directory structures using cd with relative and absolute paths
Creating Files: The Touch Command (touch)
Now that we can navigate effectively, let’s create some files to work with. We’ll use the touch command for this purpose.
The touch command is a simple tool used to create new, empty files. Its basic format is:
touch filename
When you use touch with a filename that doesn’t exist, it creates a new, empty file with that name. If the file already exists, touch updates its timestamp without changing its content.
Let’s practice using the touch command:
-
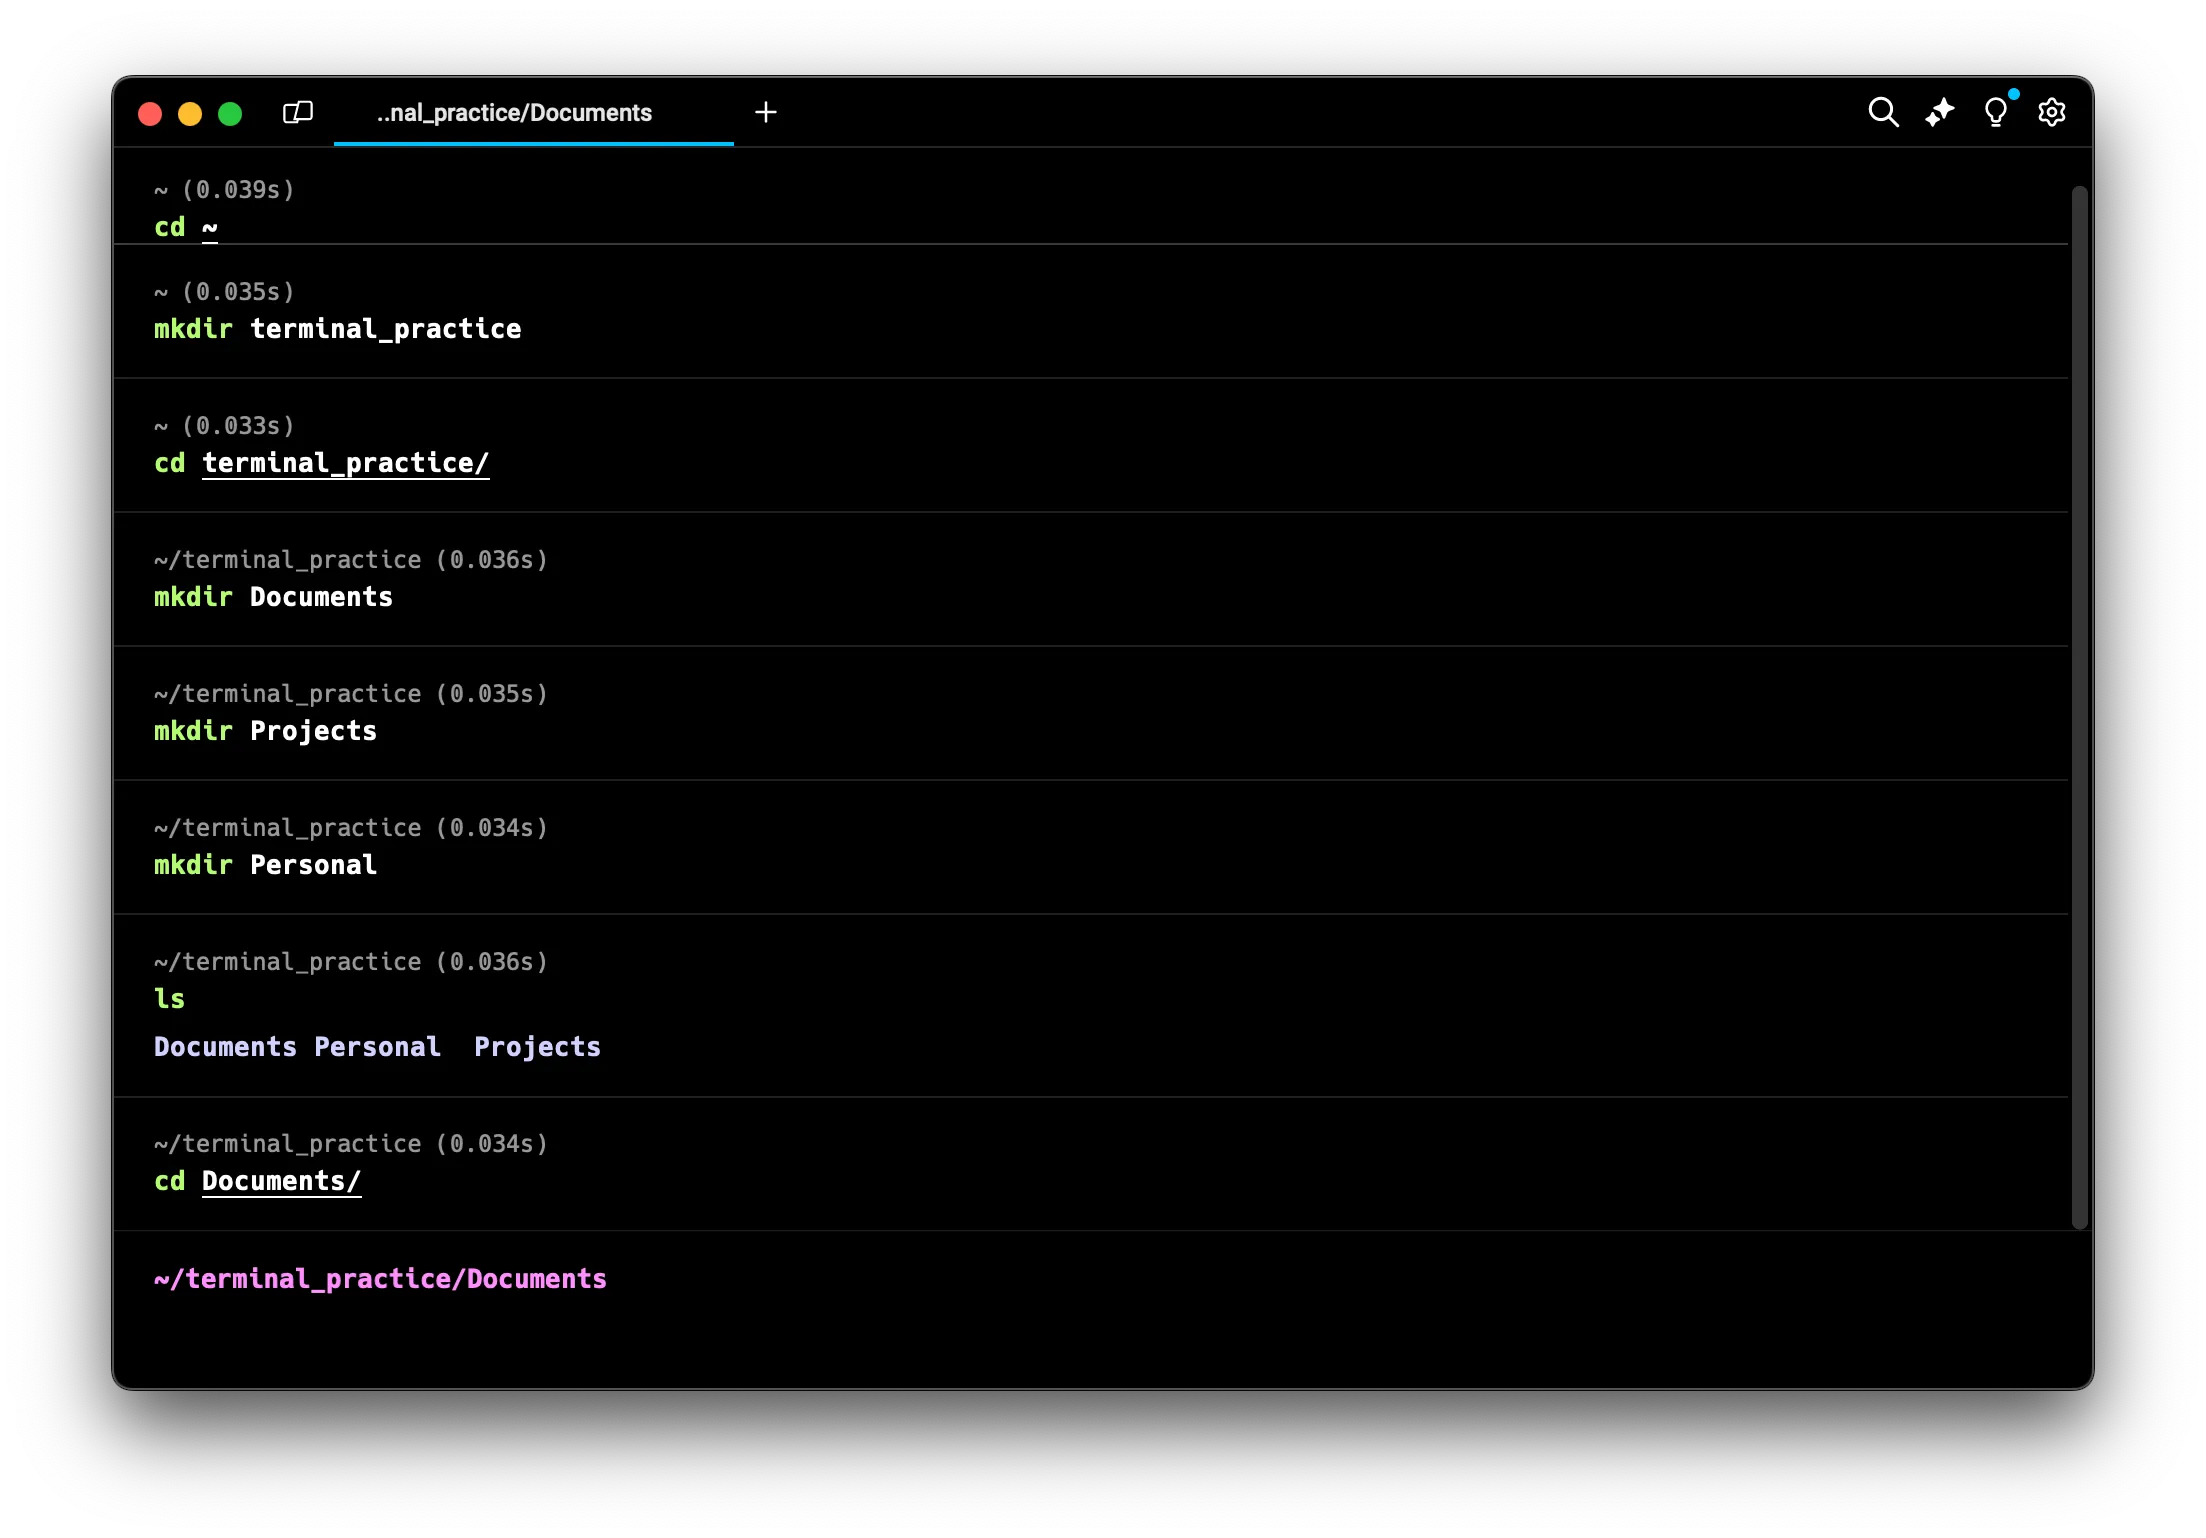
Move to the Documents folder
cd DocumentsThis changes your current directory to Documents.
-
Create a new file:
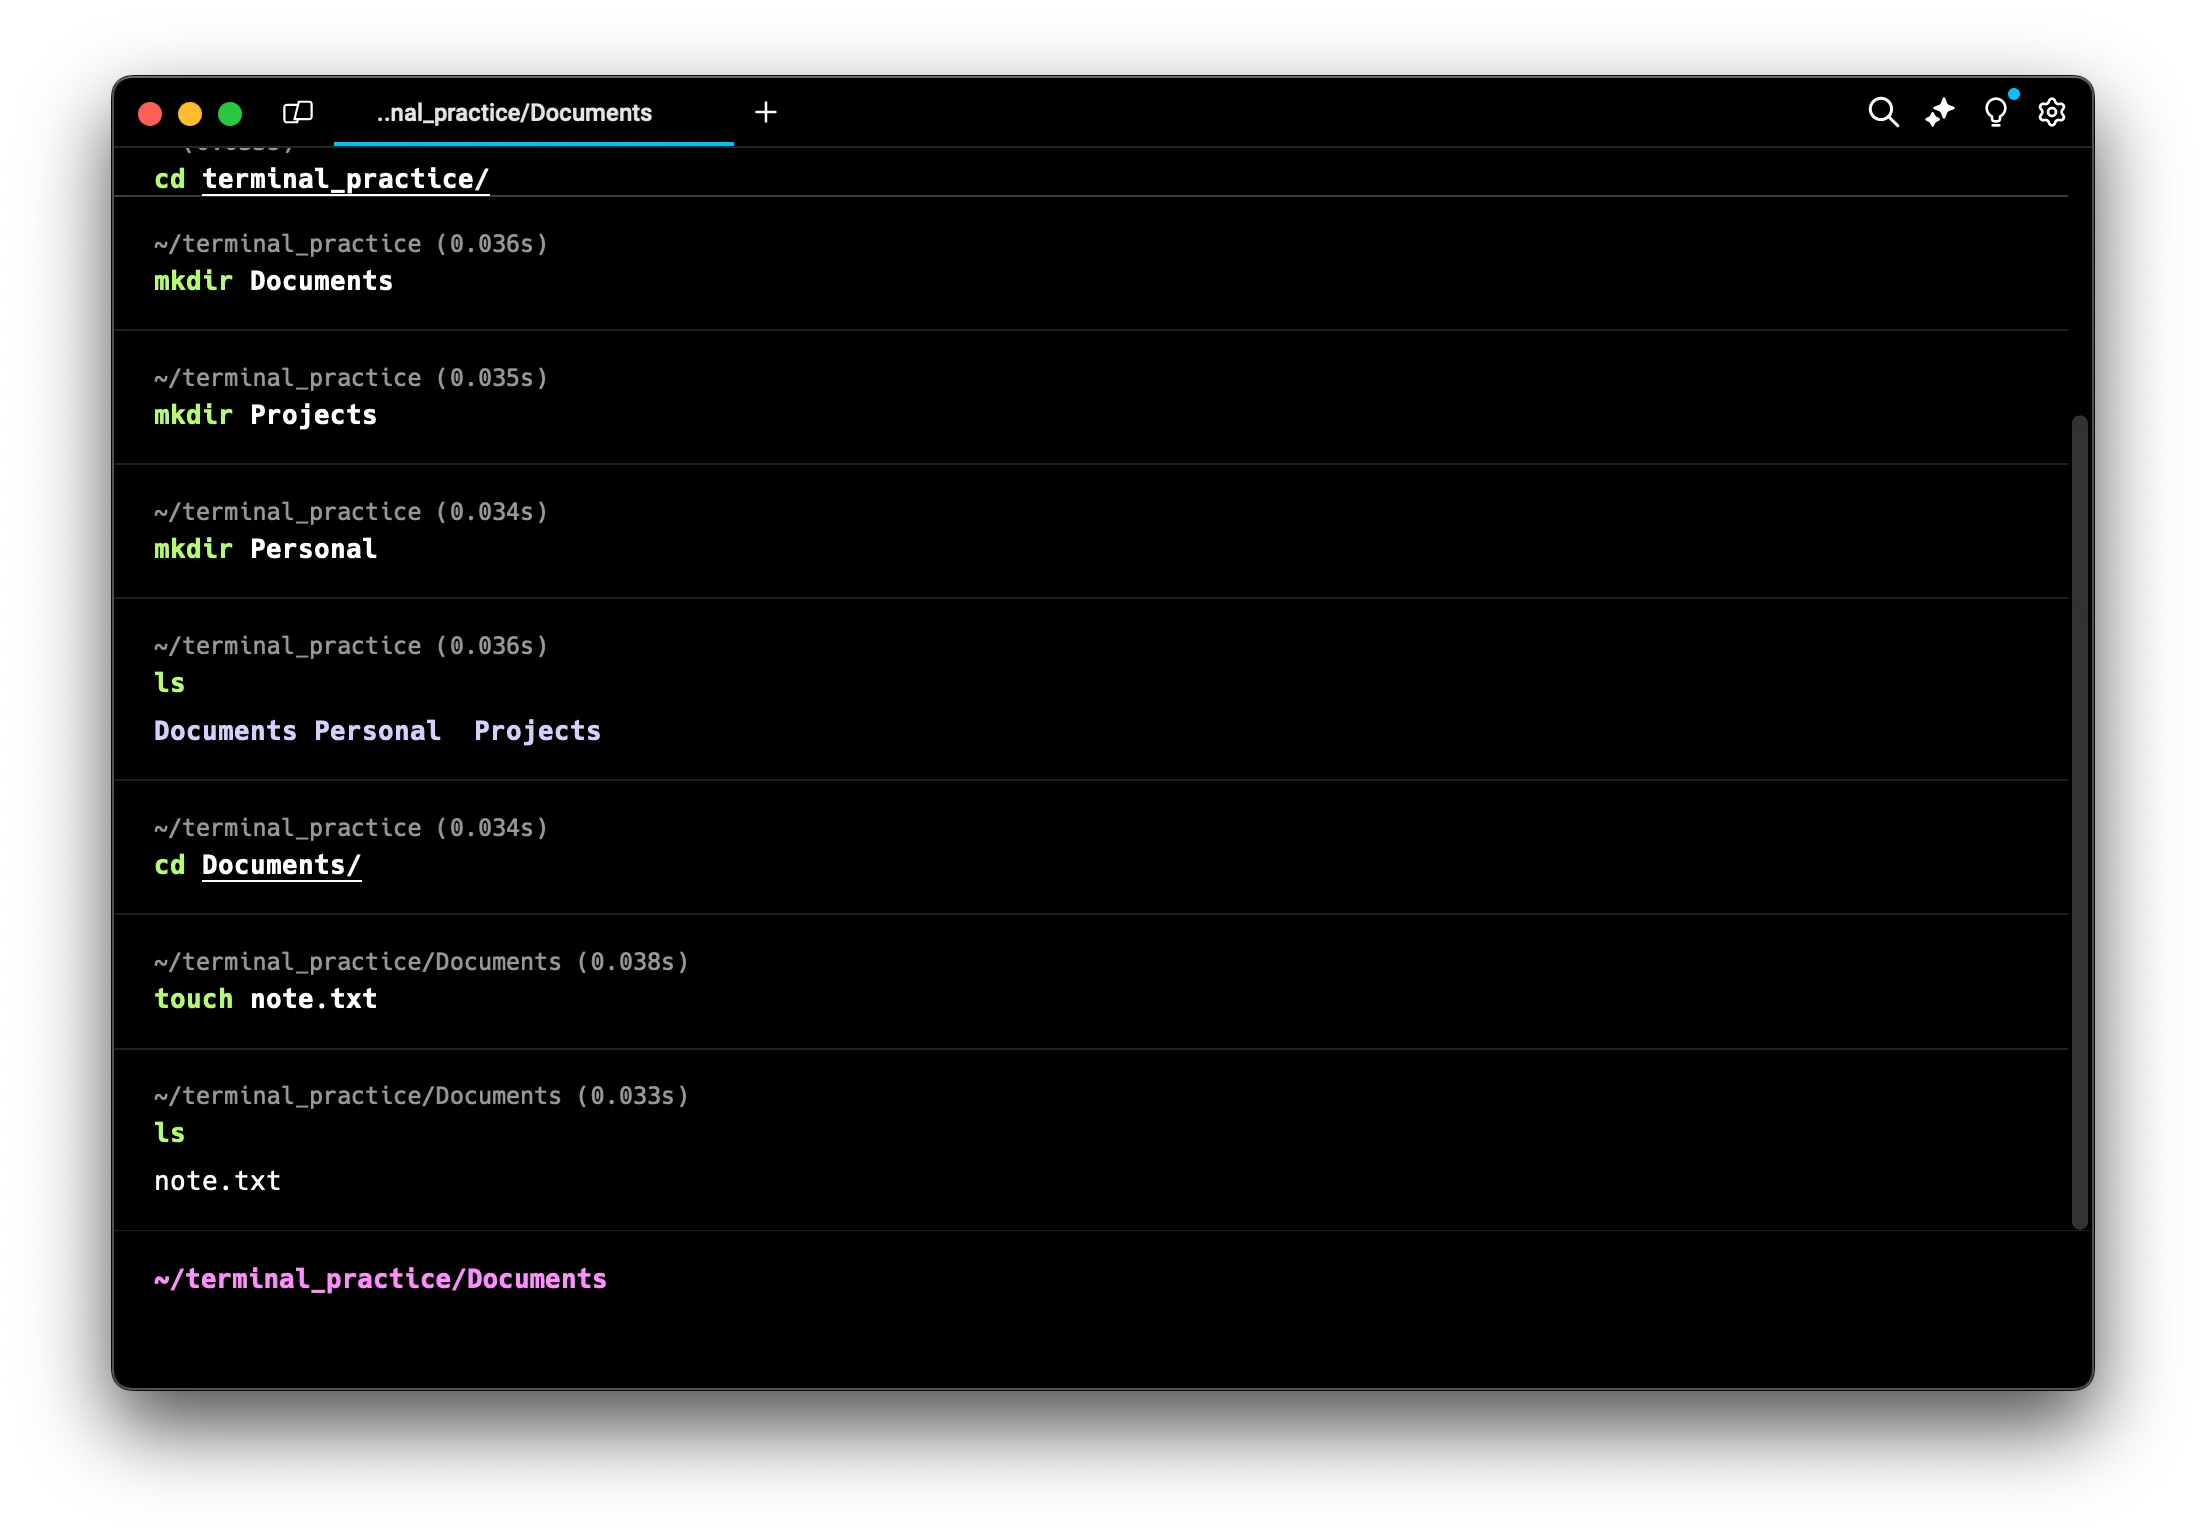
touch note.txtThe
touchcommand creates a new, empty file named “note.txt” in the current directory.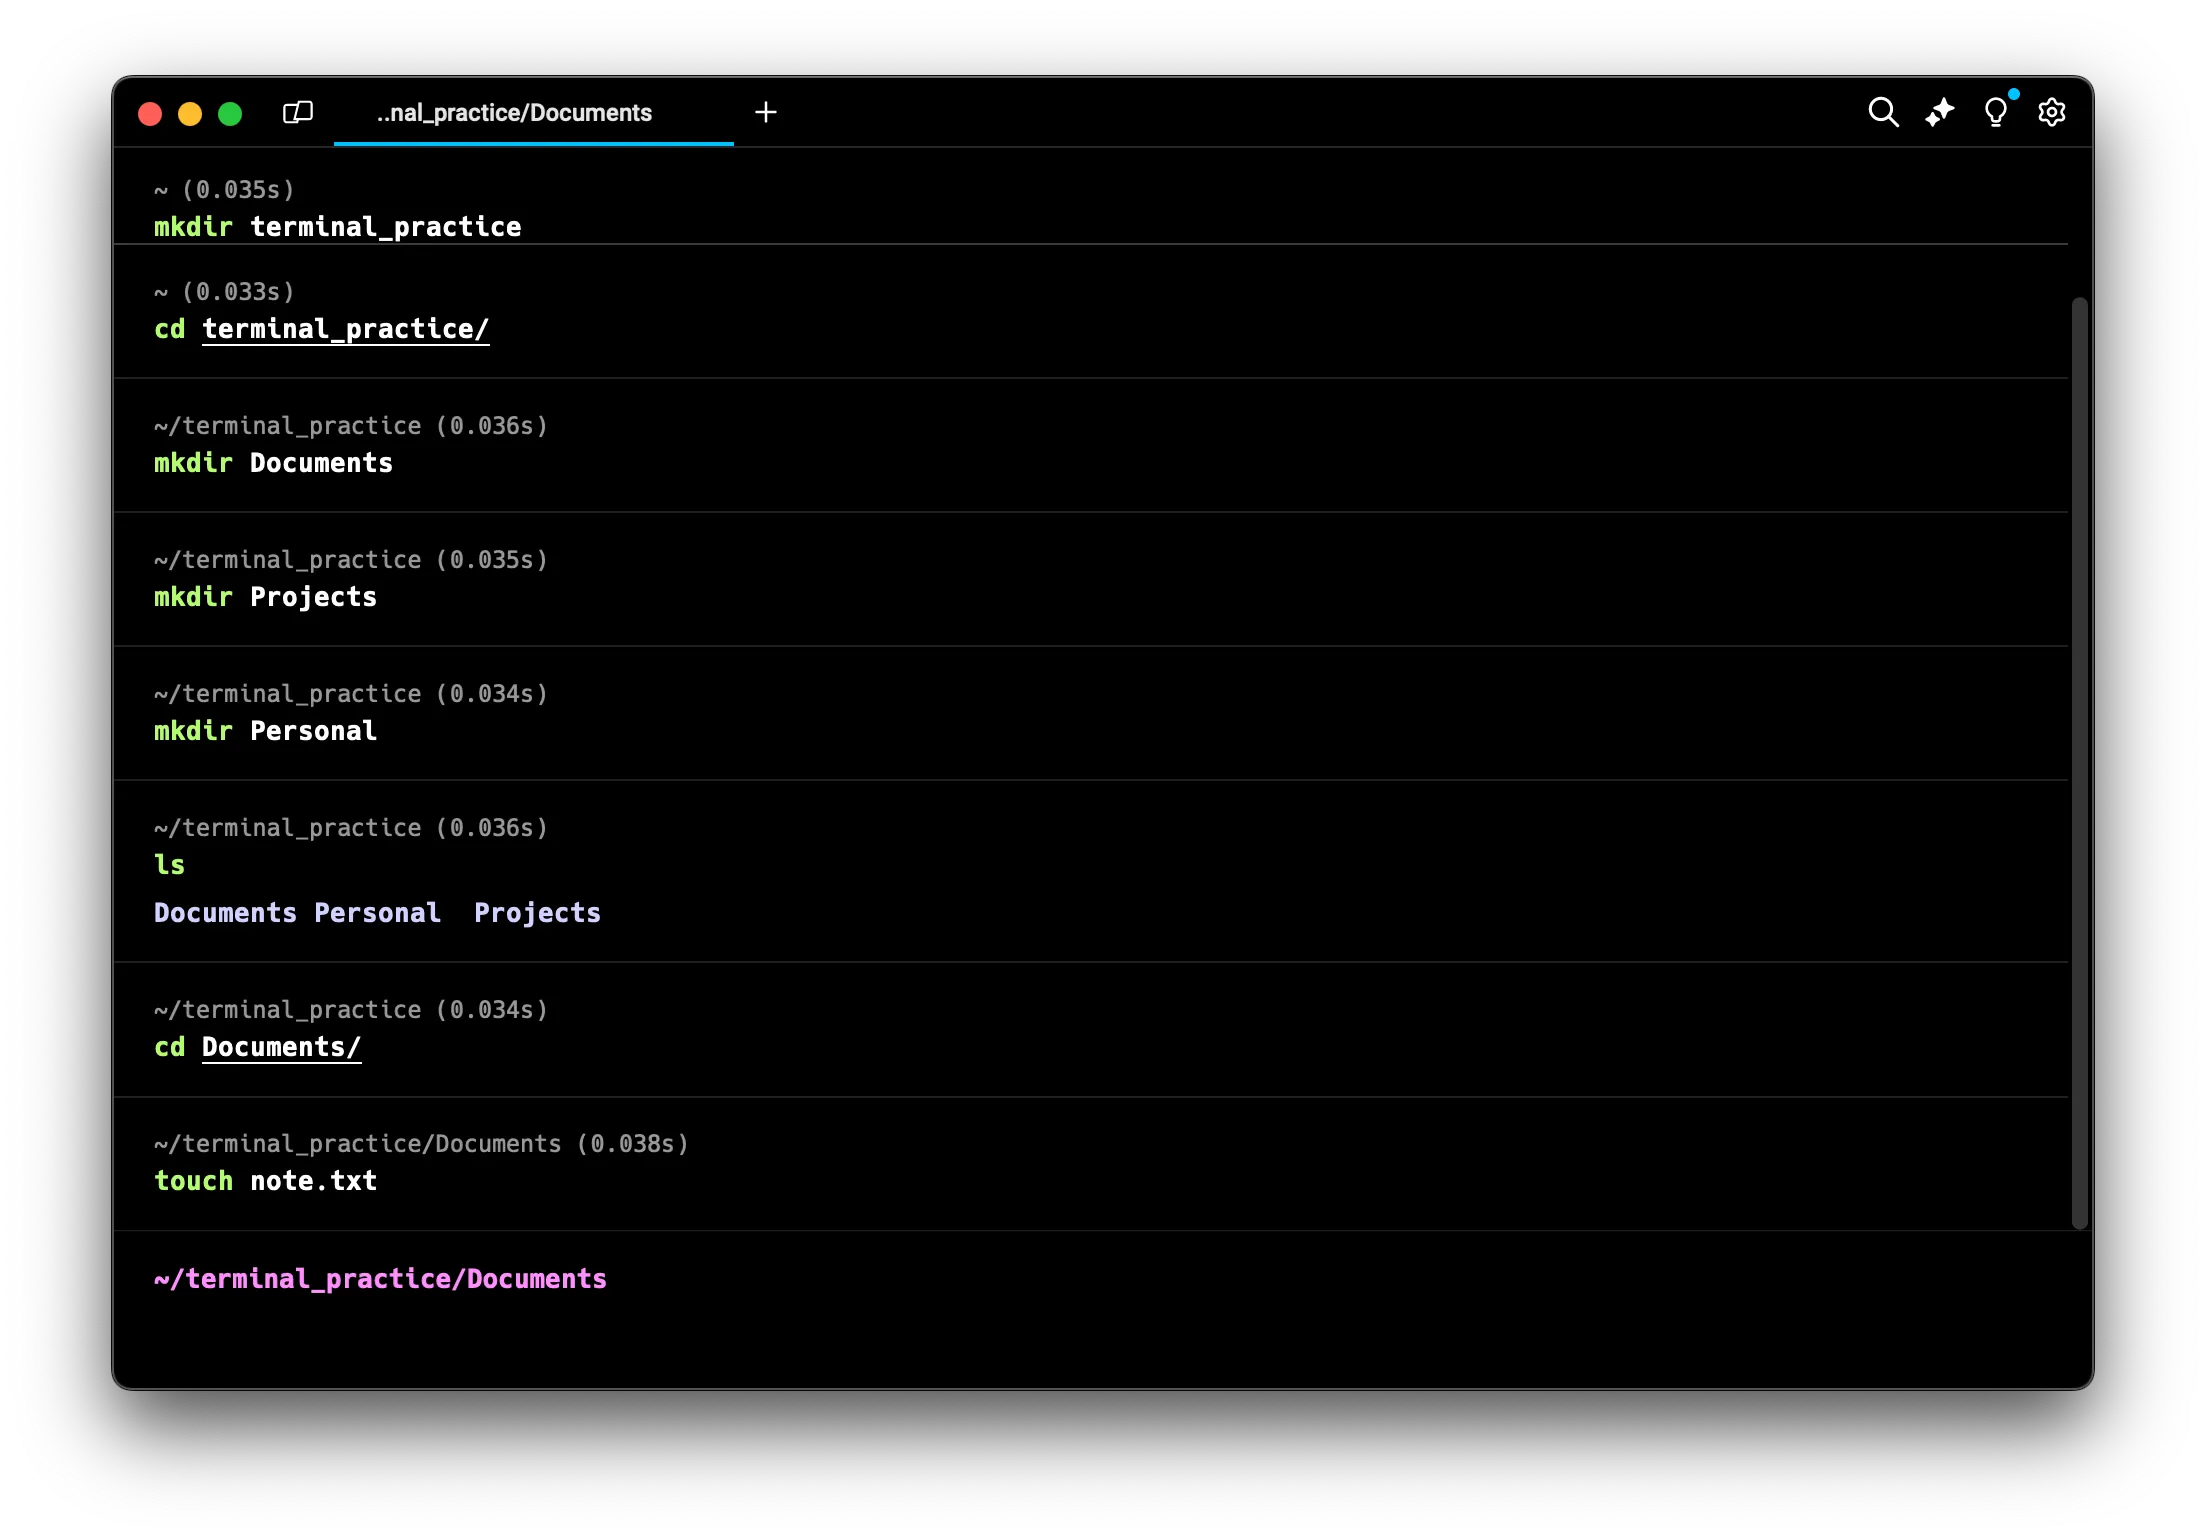
-
Verify that the file was created:
lsThis lists the contents of the current directory. You should see “note.txt” listed.
-
Let’s create files in Projects and Personal as well:
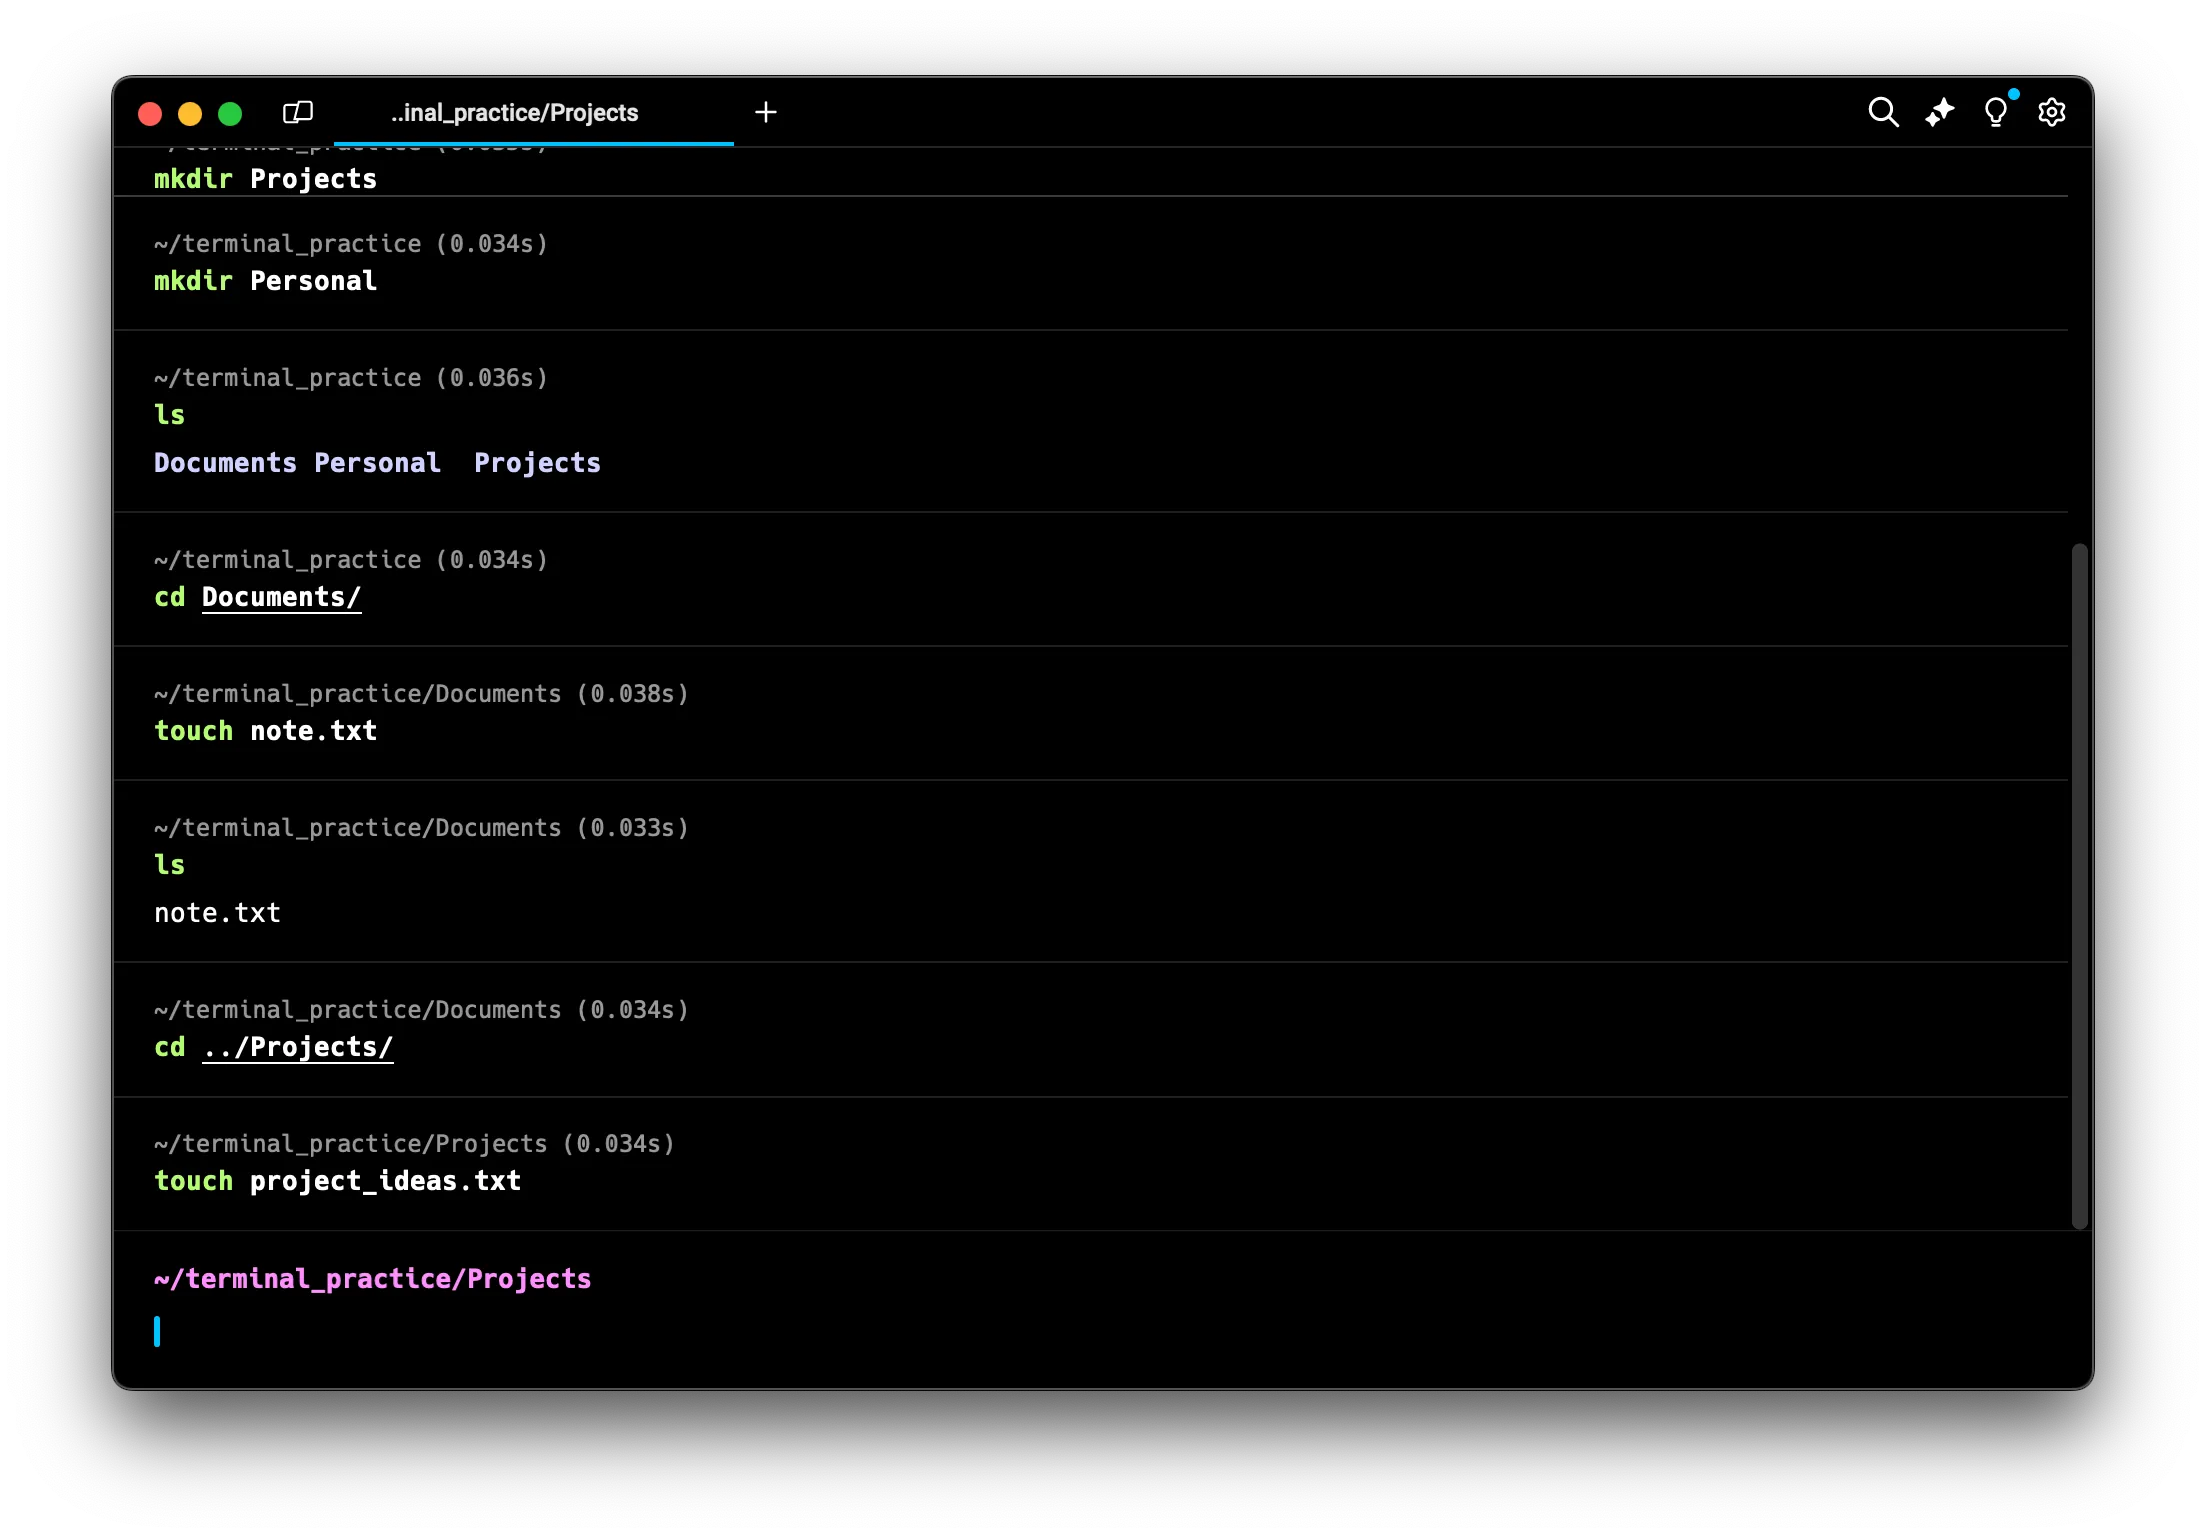
cd ../Projects
touch project_ideas.txt
This moves to the Projects directory and creates a new file named “project_ideas.txt”.
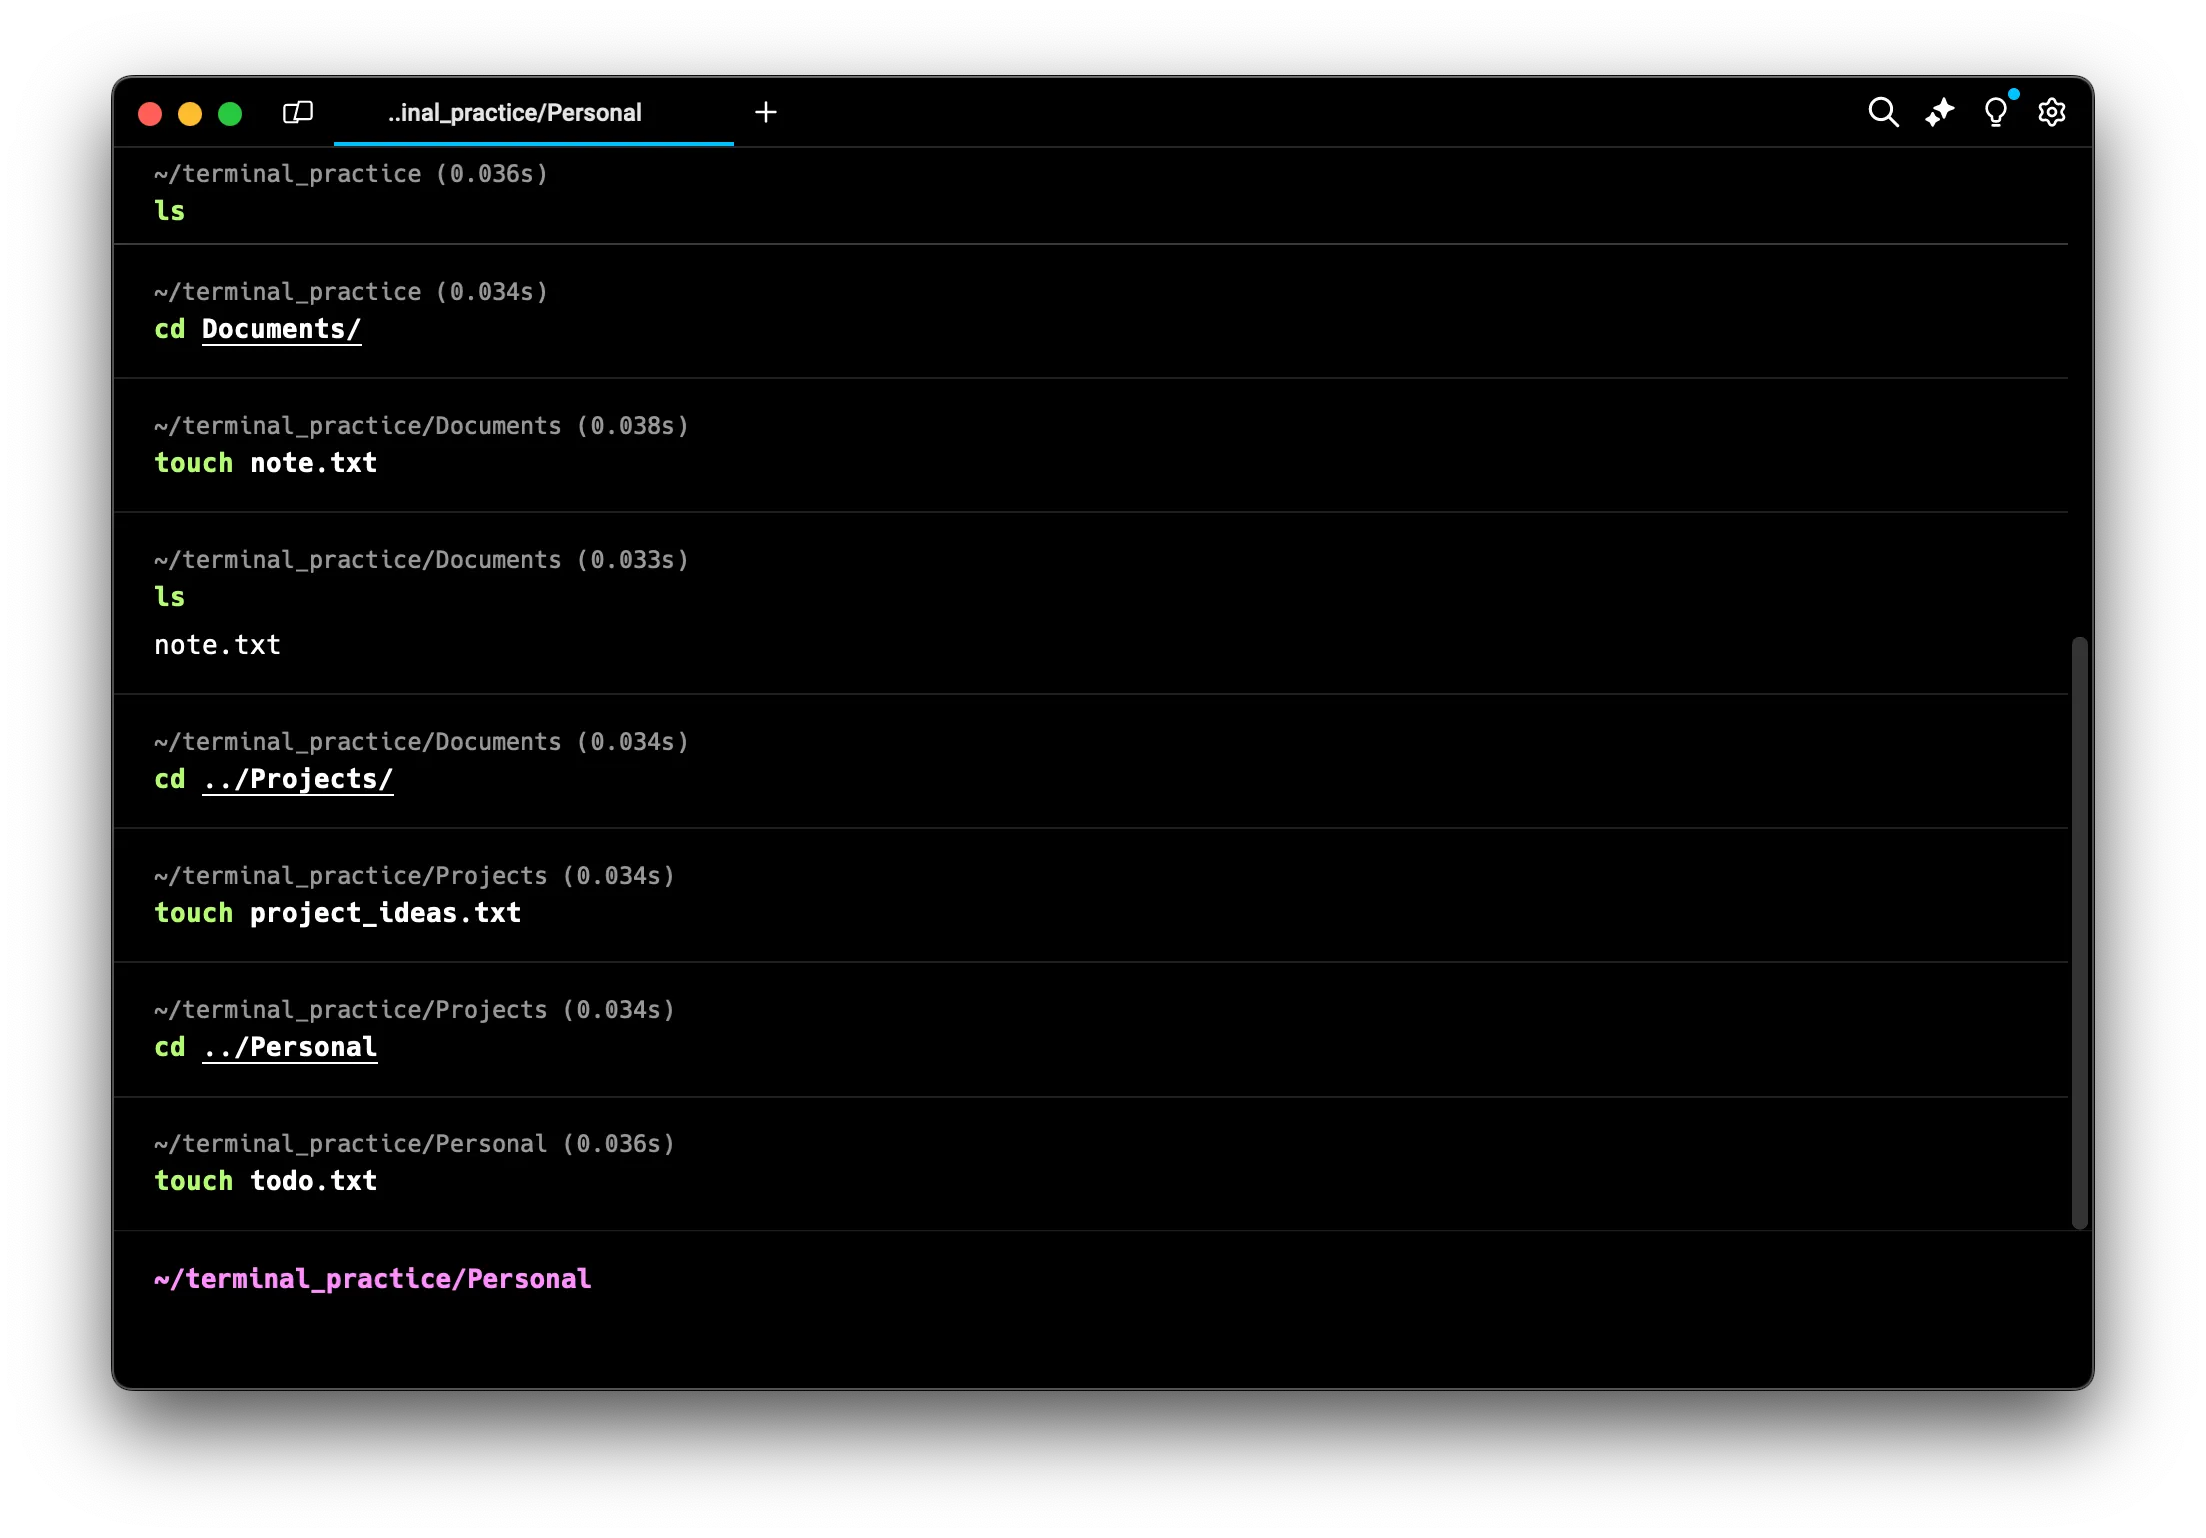
cd ../Personal
touch todo.txt
This moves to the Personal directory and creates a new file named “todo.txt”.
Moving Files: Organizing With the mv Command
Now let’s learn how to move files using the mv command. The mv command is used to move files or directories from one location to another. Its basic format is:
mv source destination
Here, source is the file or directory you want to move, and destination is where you want to move it to.
Let’s practice using the mv command:
- Move to the Documents folder:
This changes your current directory back to Documents.cd ../Documents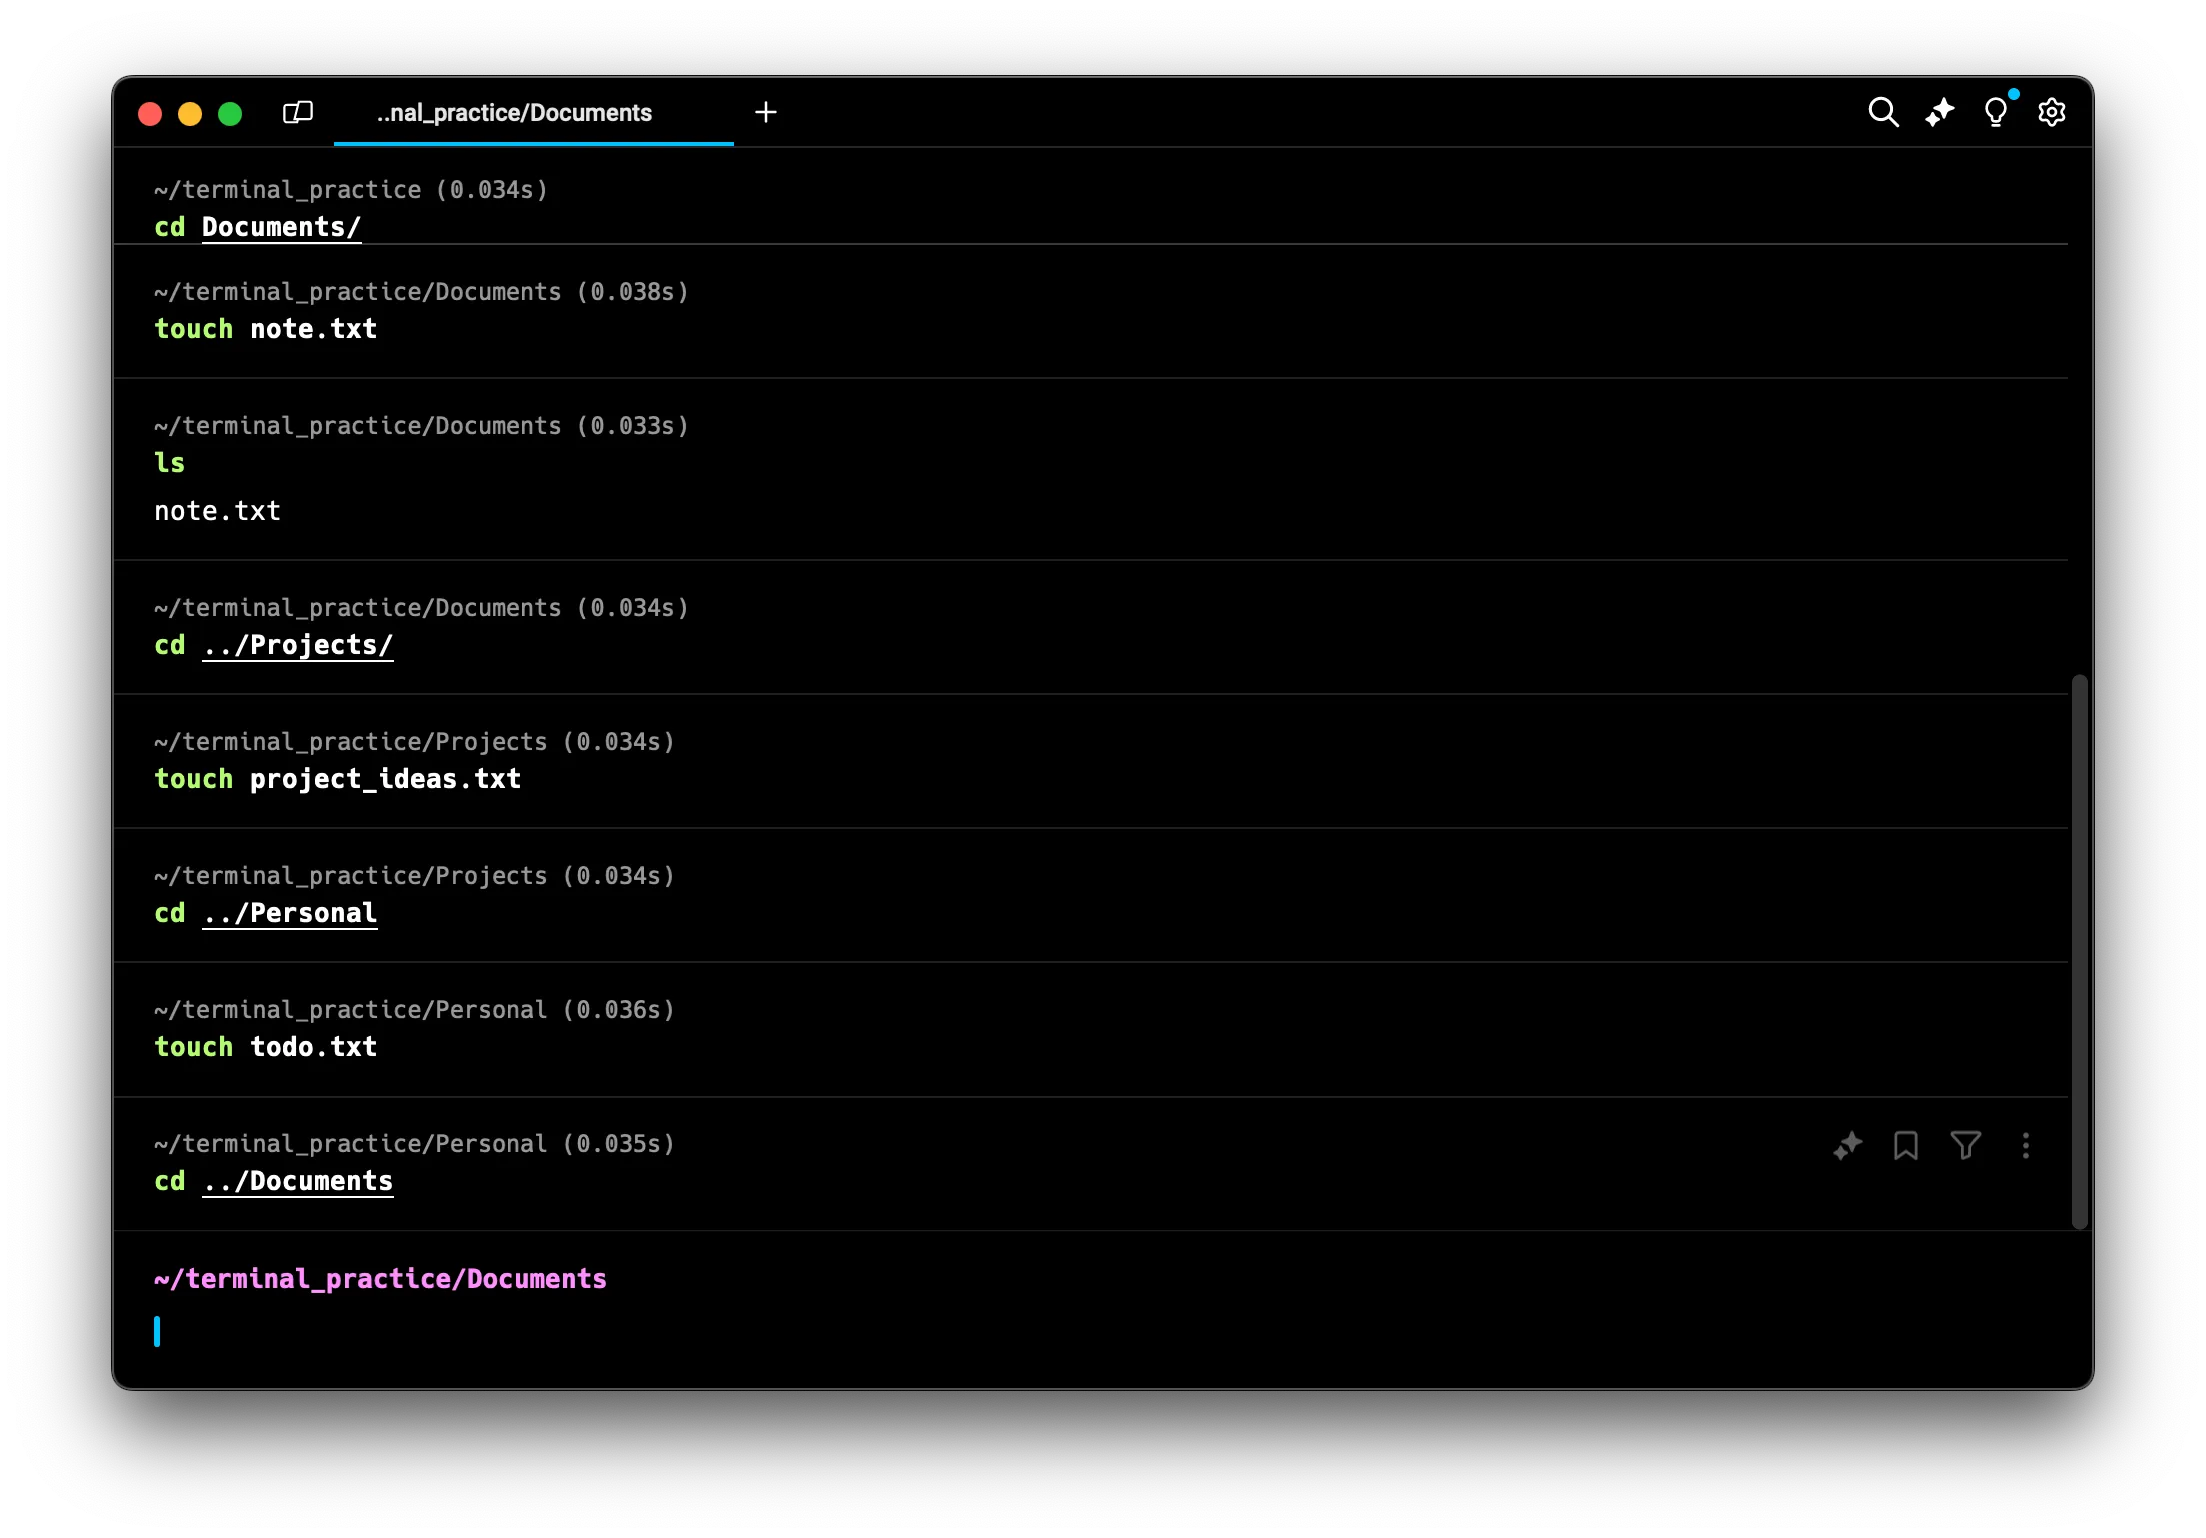
- Move the note.txt file from Documents to Personal:
Themv note.txt ../Personalmvcommand moves “note.txt” from the current directory (Documents) to the Personal directory. The..means “up one directory level”.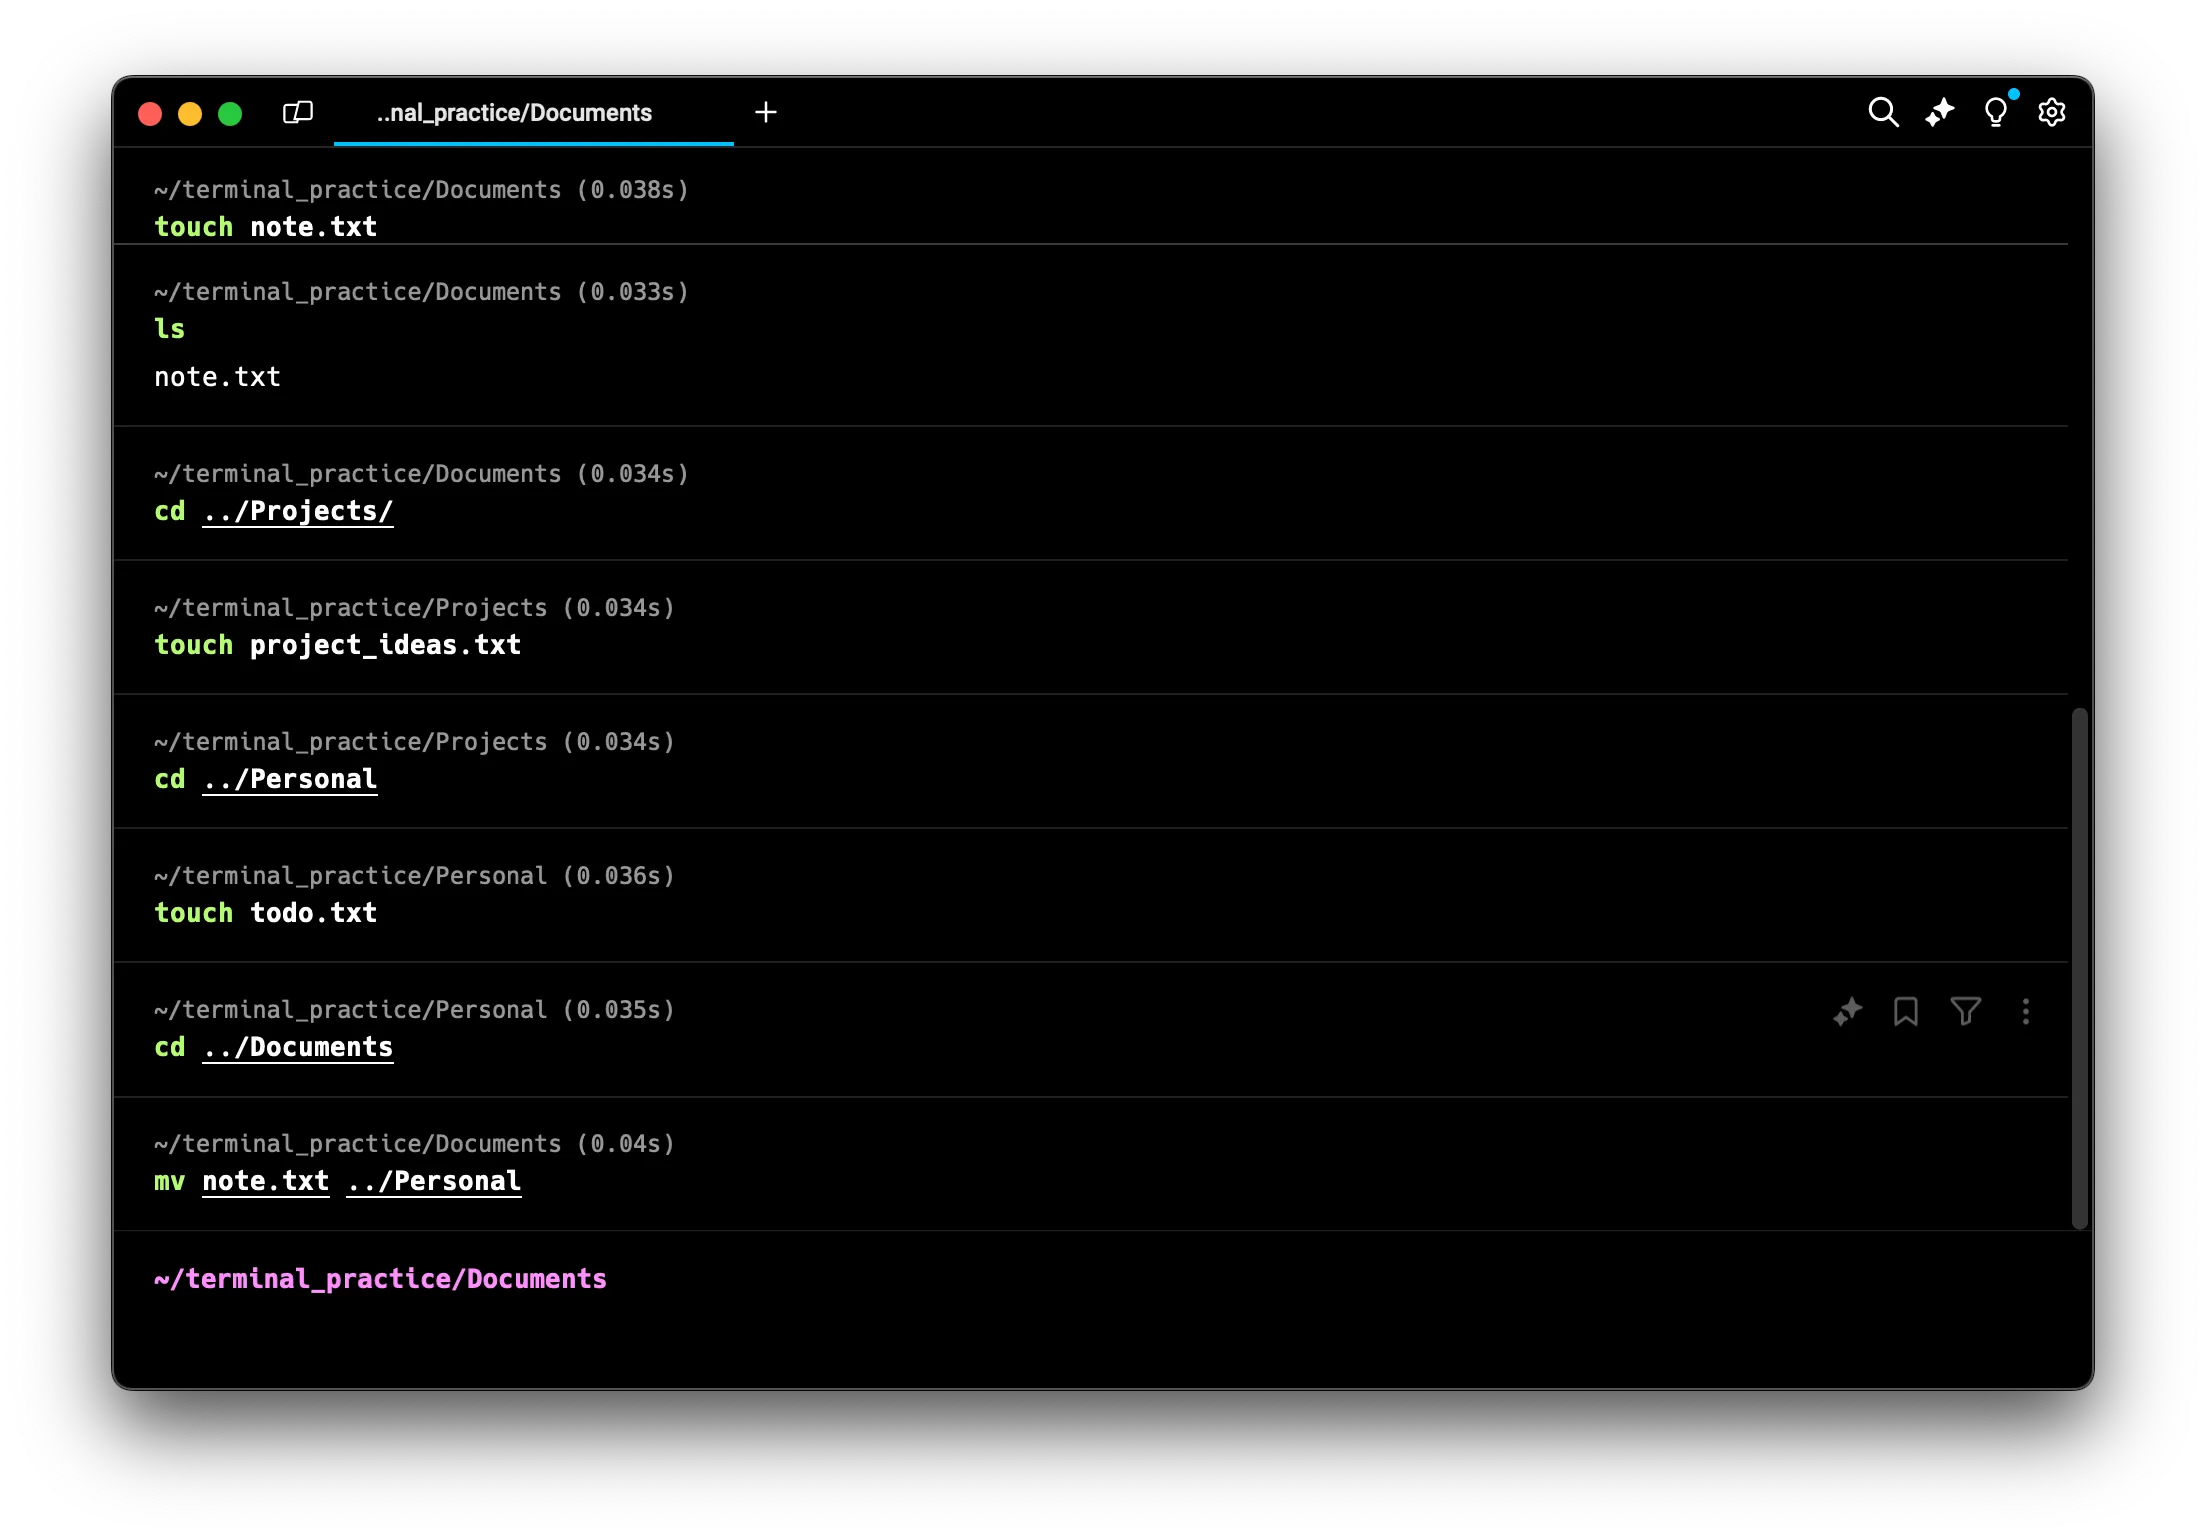
- Check if the move was successful:
This should show that “note.txt” is no longer in the Documents directory.ls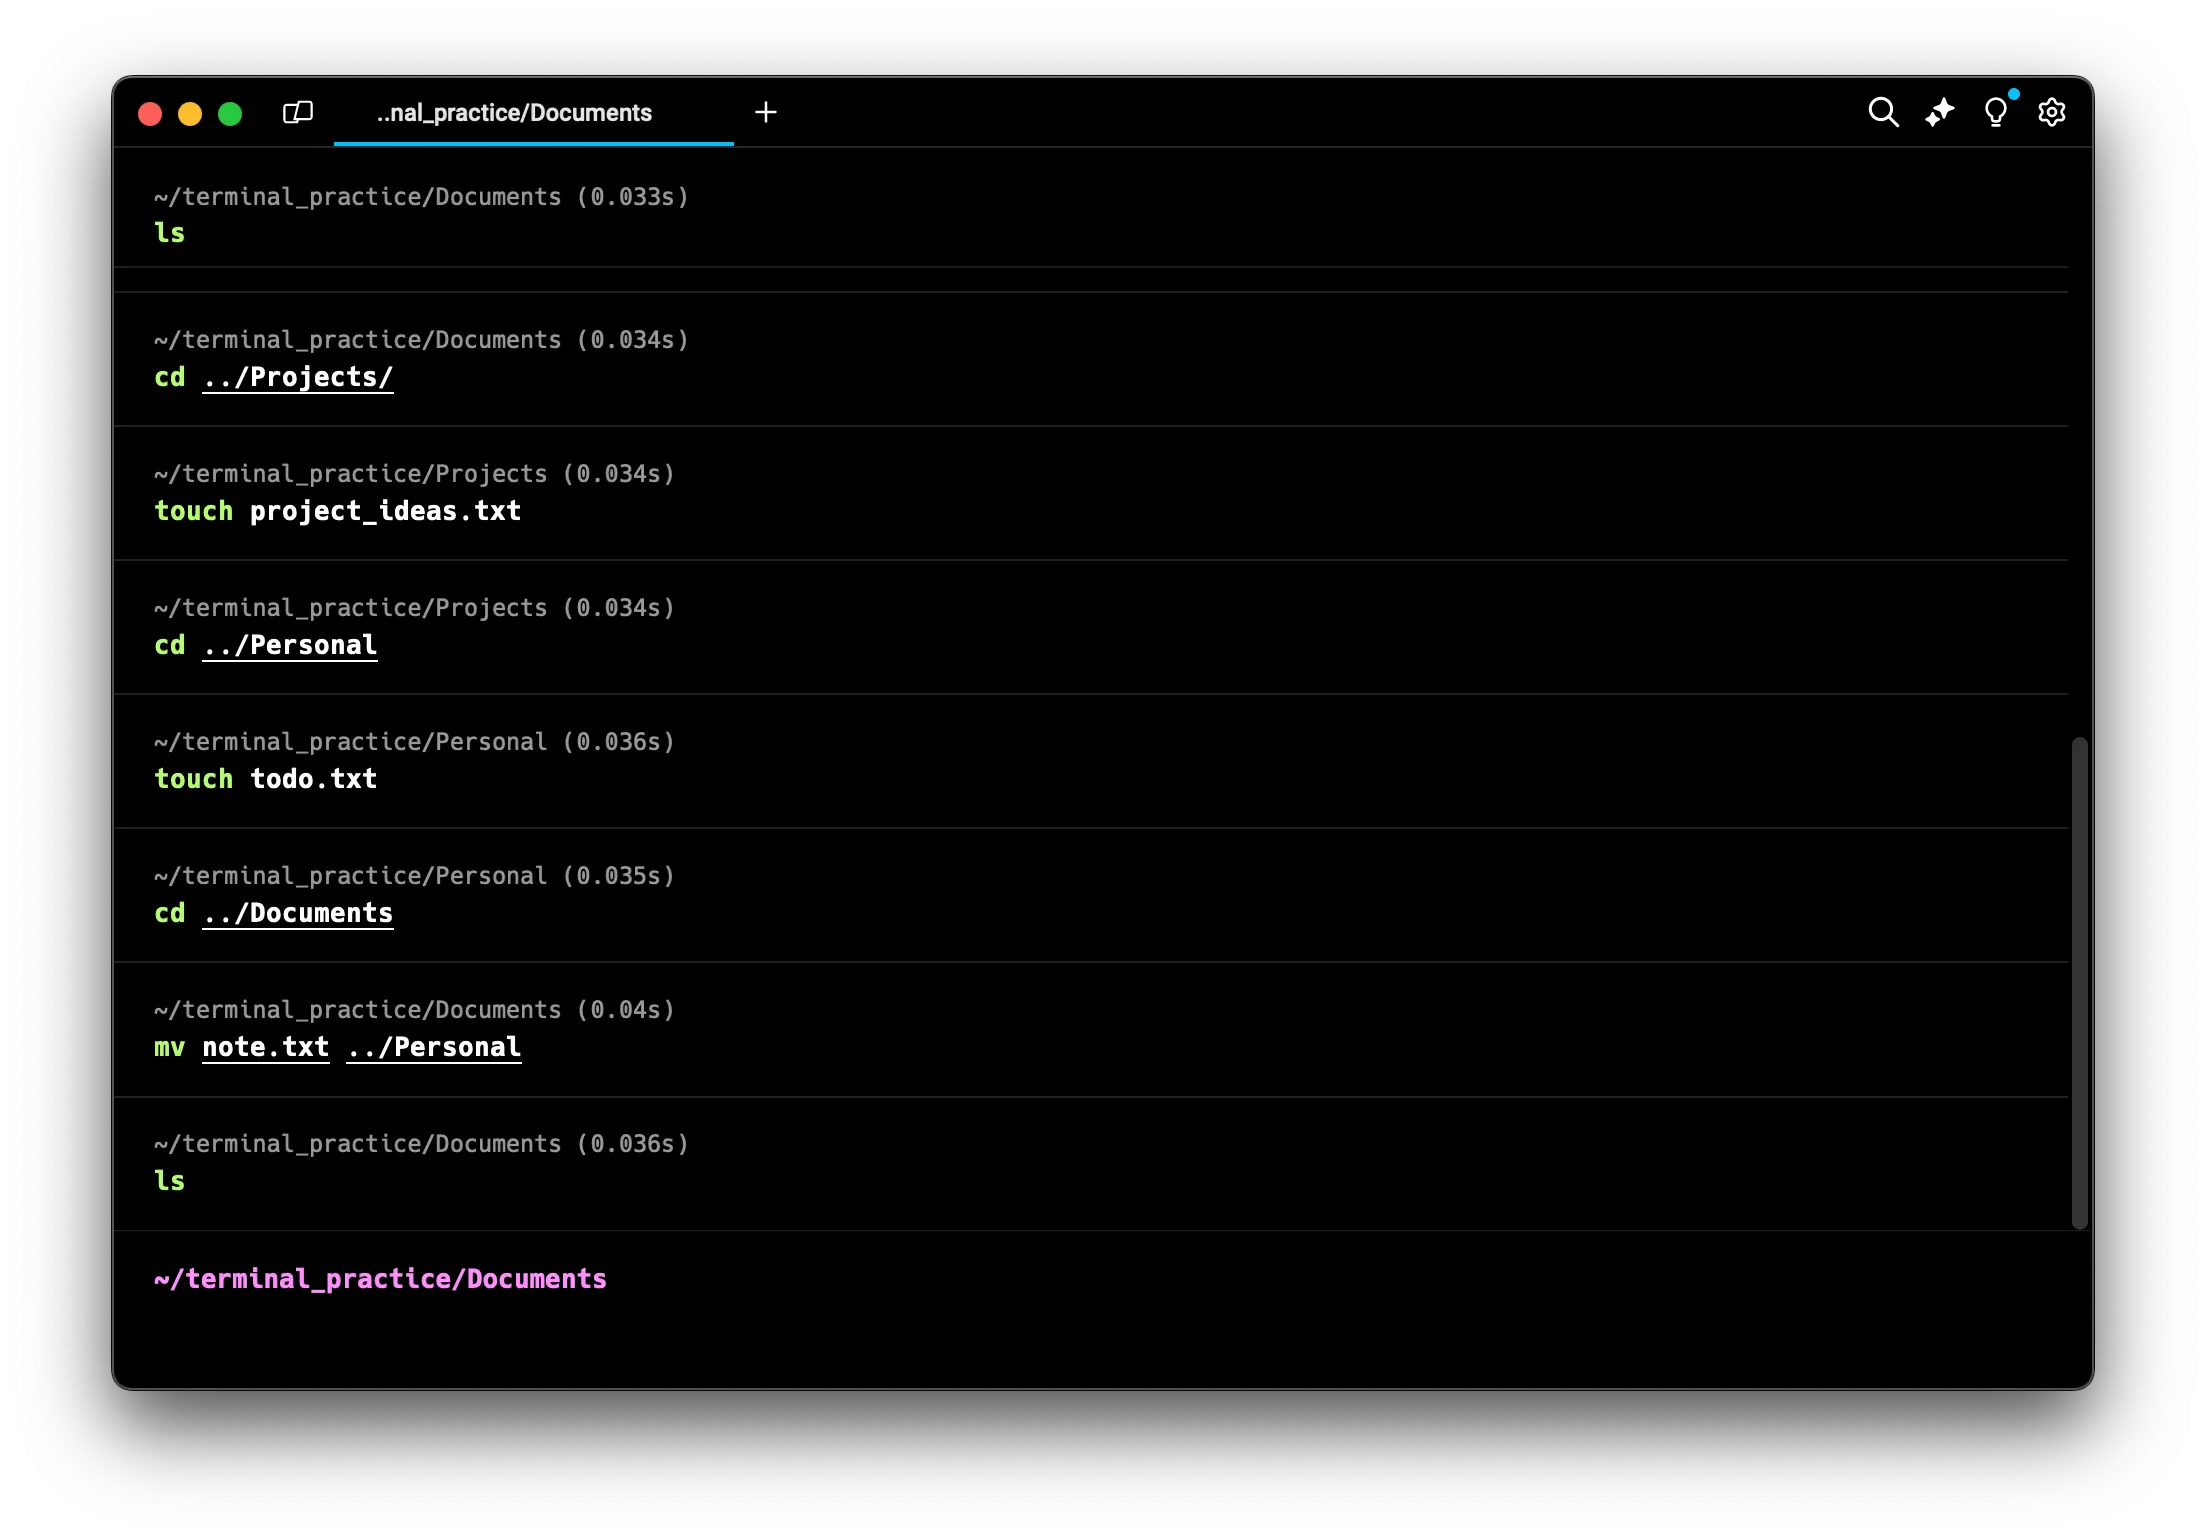
This moves you to the Personal directory and lists its contents. You should see “note.txt” listed here now.cd ../Personal ls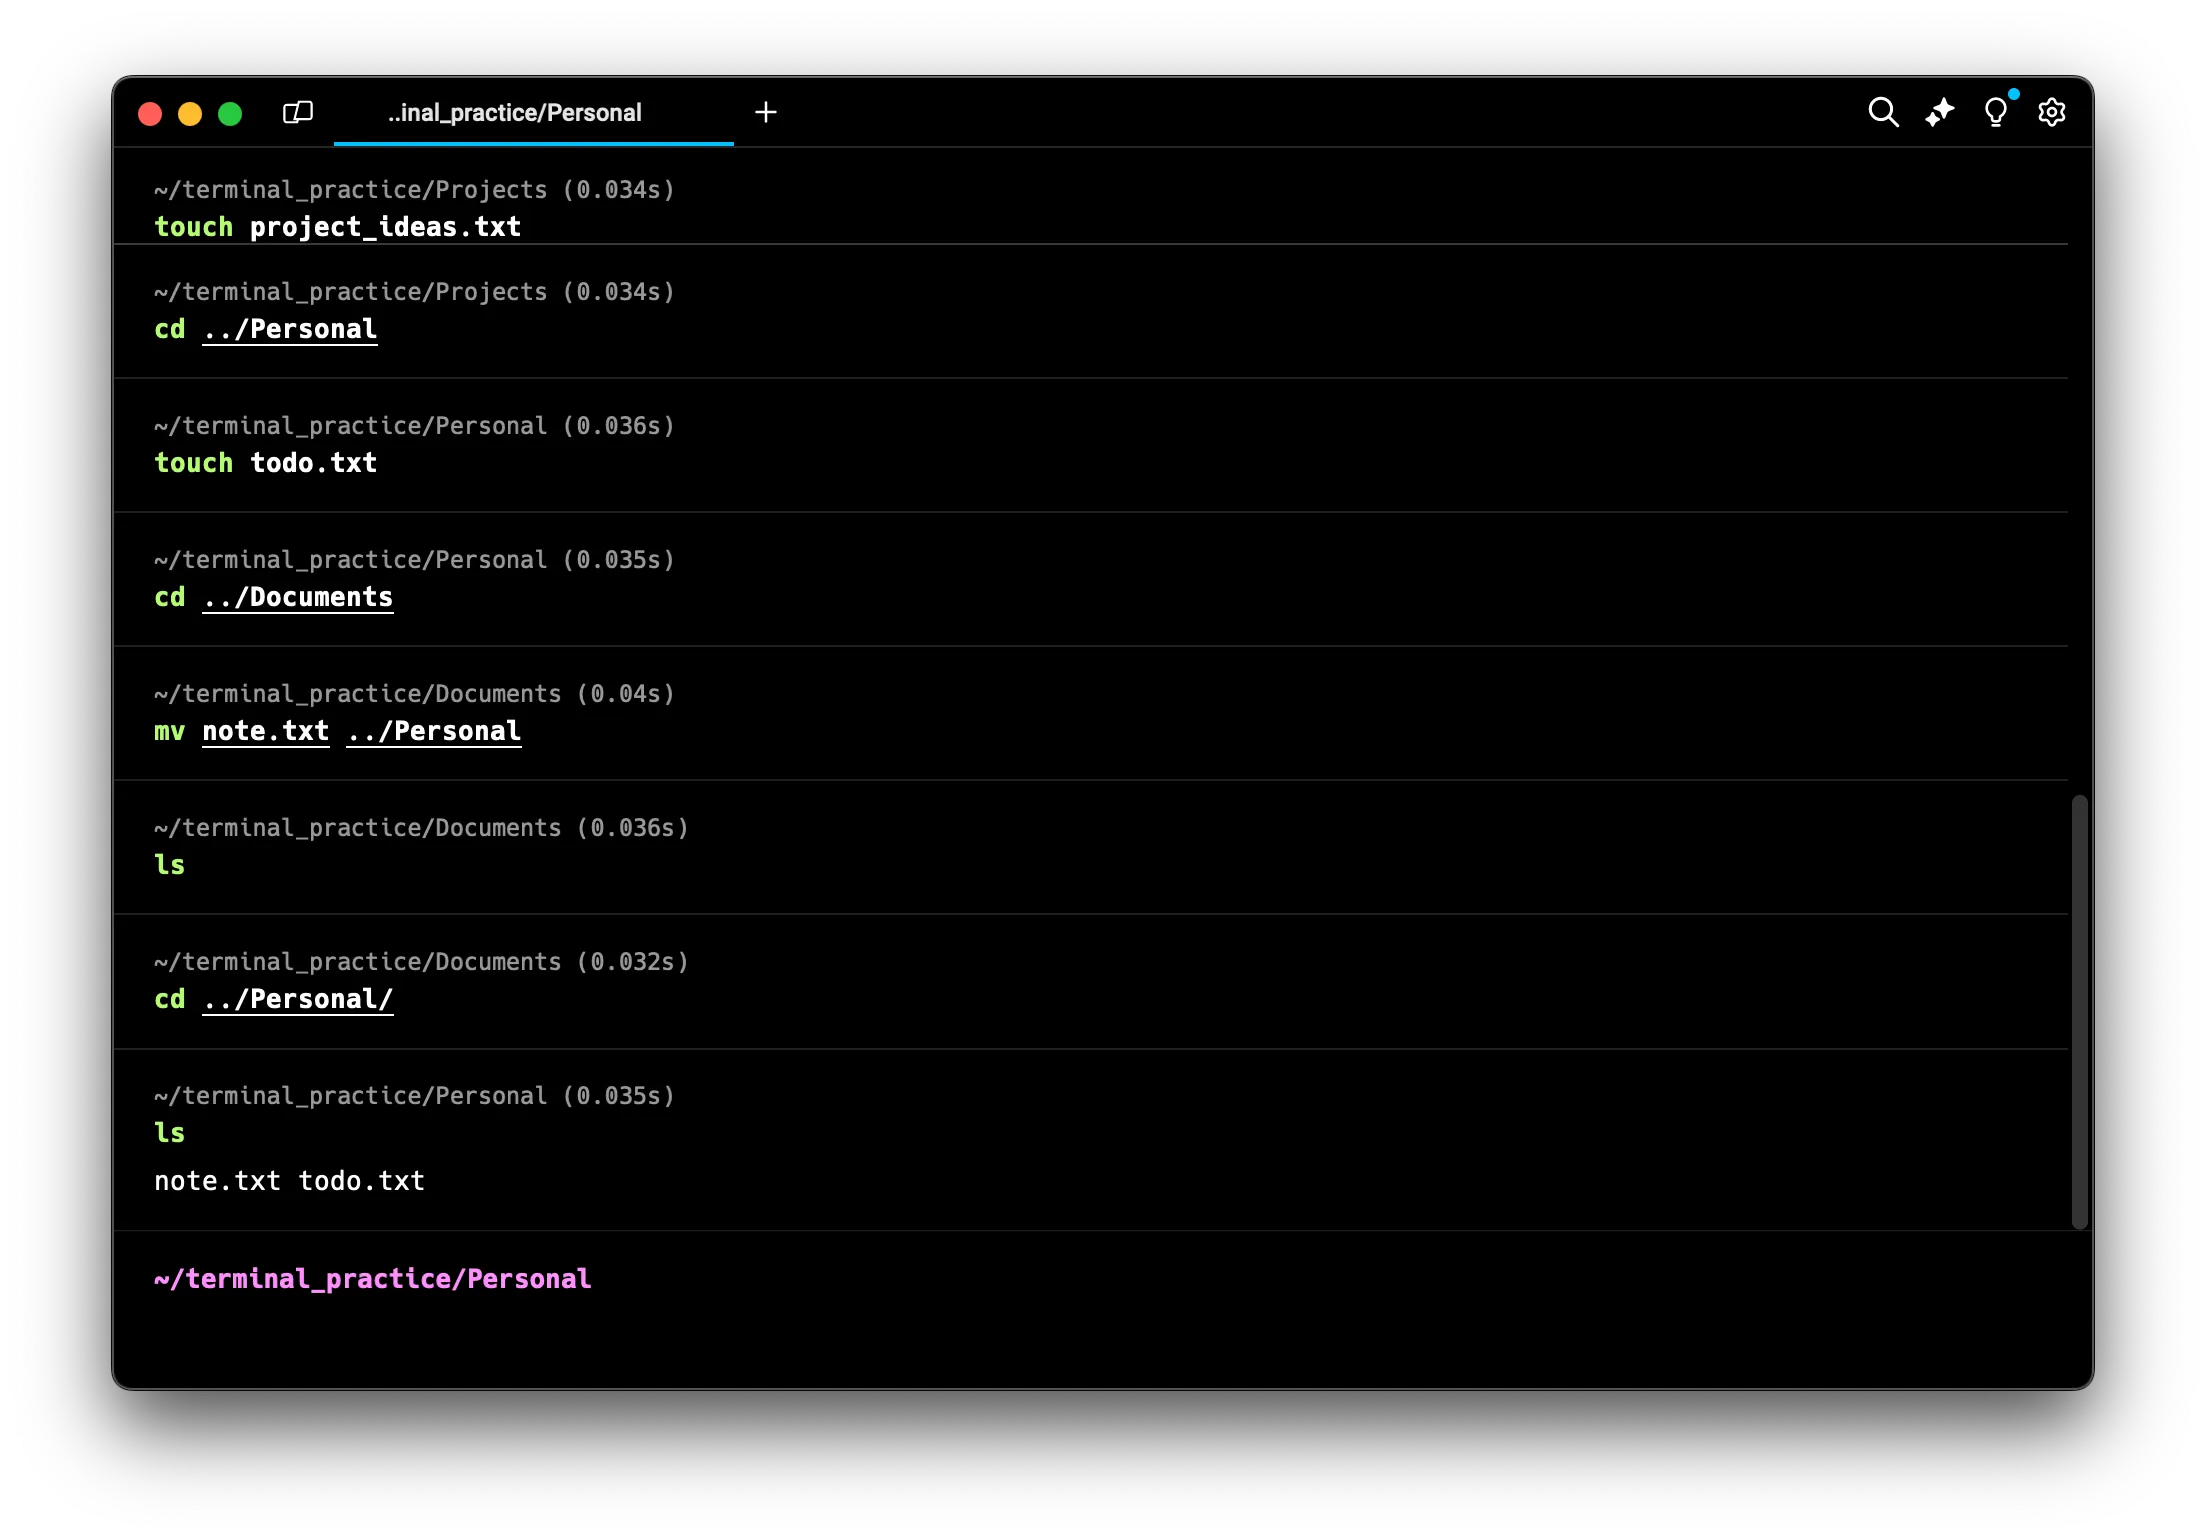 Remember, when using
 mv, be careful with your source and destination paths. If you specify an incorrect path, you might move files to unintended locations. Always double-check your paths before executing the command.
The mv command can also be used to rename files, we’ll cover this in a later section in this article.
Copying Files: Creating Backups With the cp Command
Sometimes, you want to create a copy of a file. For this, we use the cp command. The cp command allows you to duplicate files or directories. Its basic format is:
cp source destination
Here, source is the file you want to copy, and destination is where you want the copy to be placed (this can be a directory or a new filename).
Let’s practice using cp command:
-
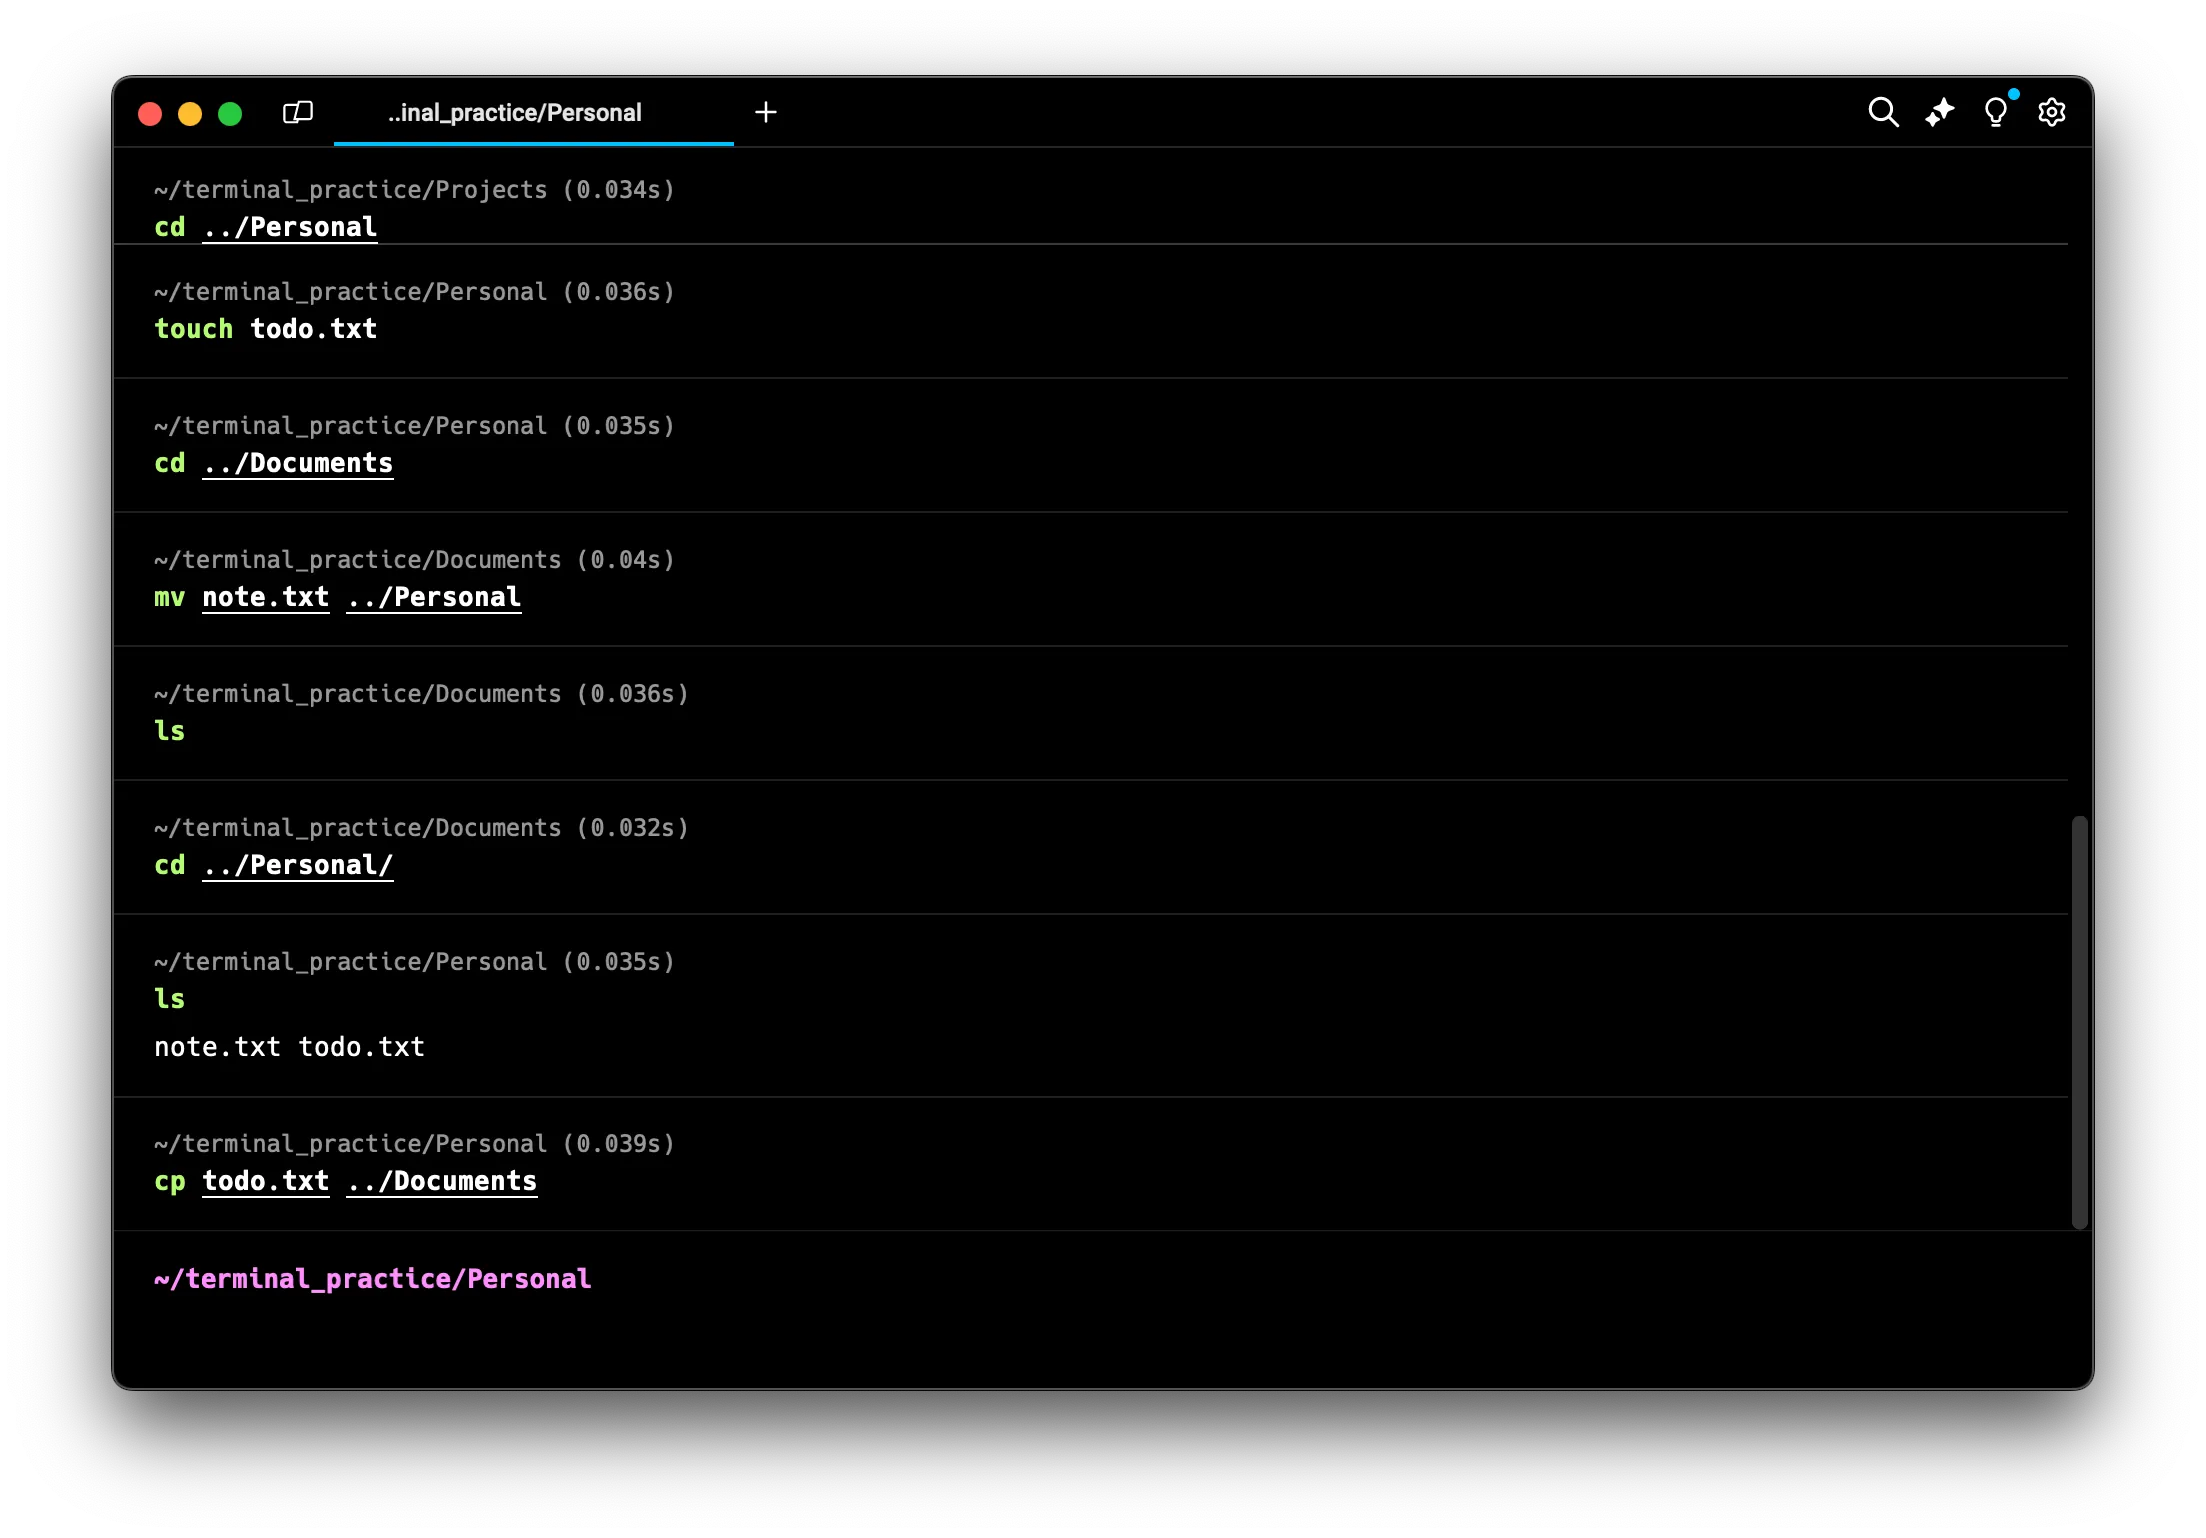
Copy the todo.txt file from Personal to Documents:
cp todo.txt ../DocumentsThis creates a copy of “todo.txt” in the Documents directory while leaving the original in place.
-
Verify the copy:
lsThis should show “todo.txt” still present in the Personal directory.
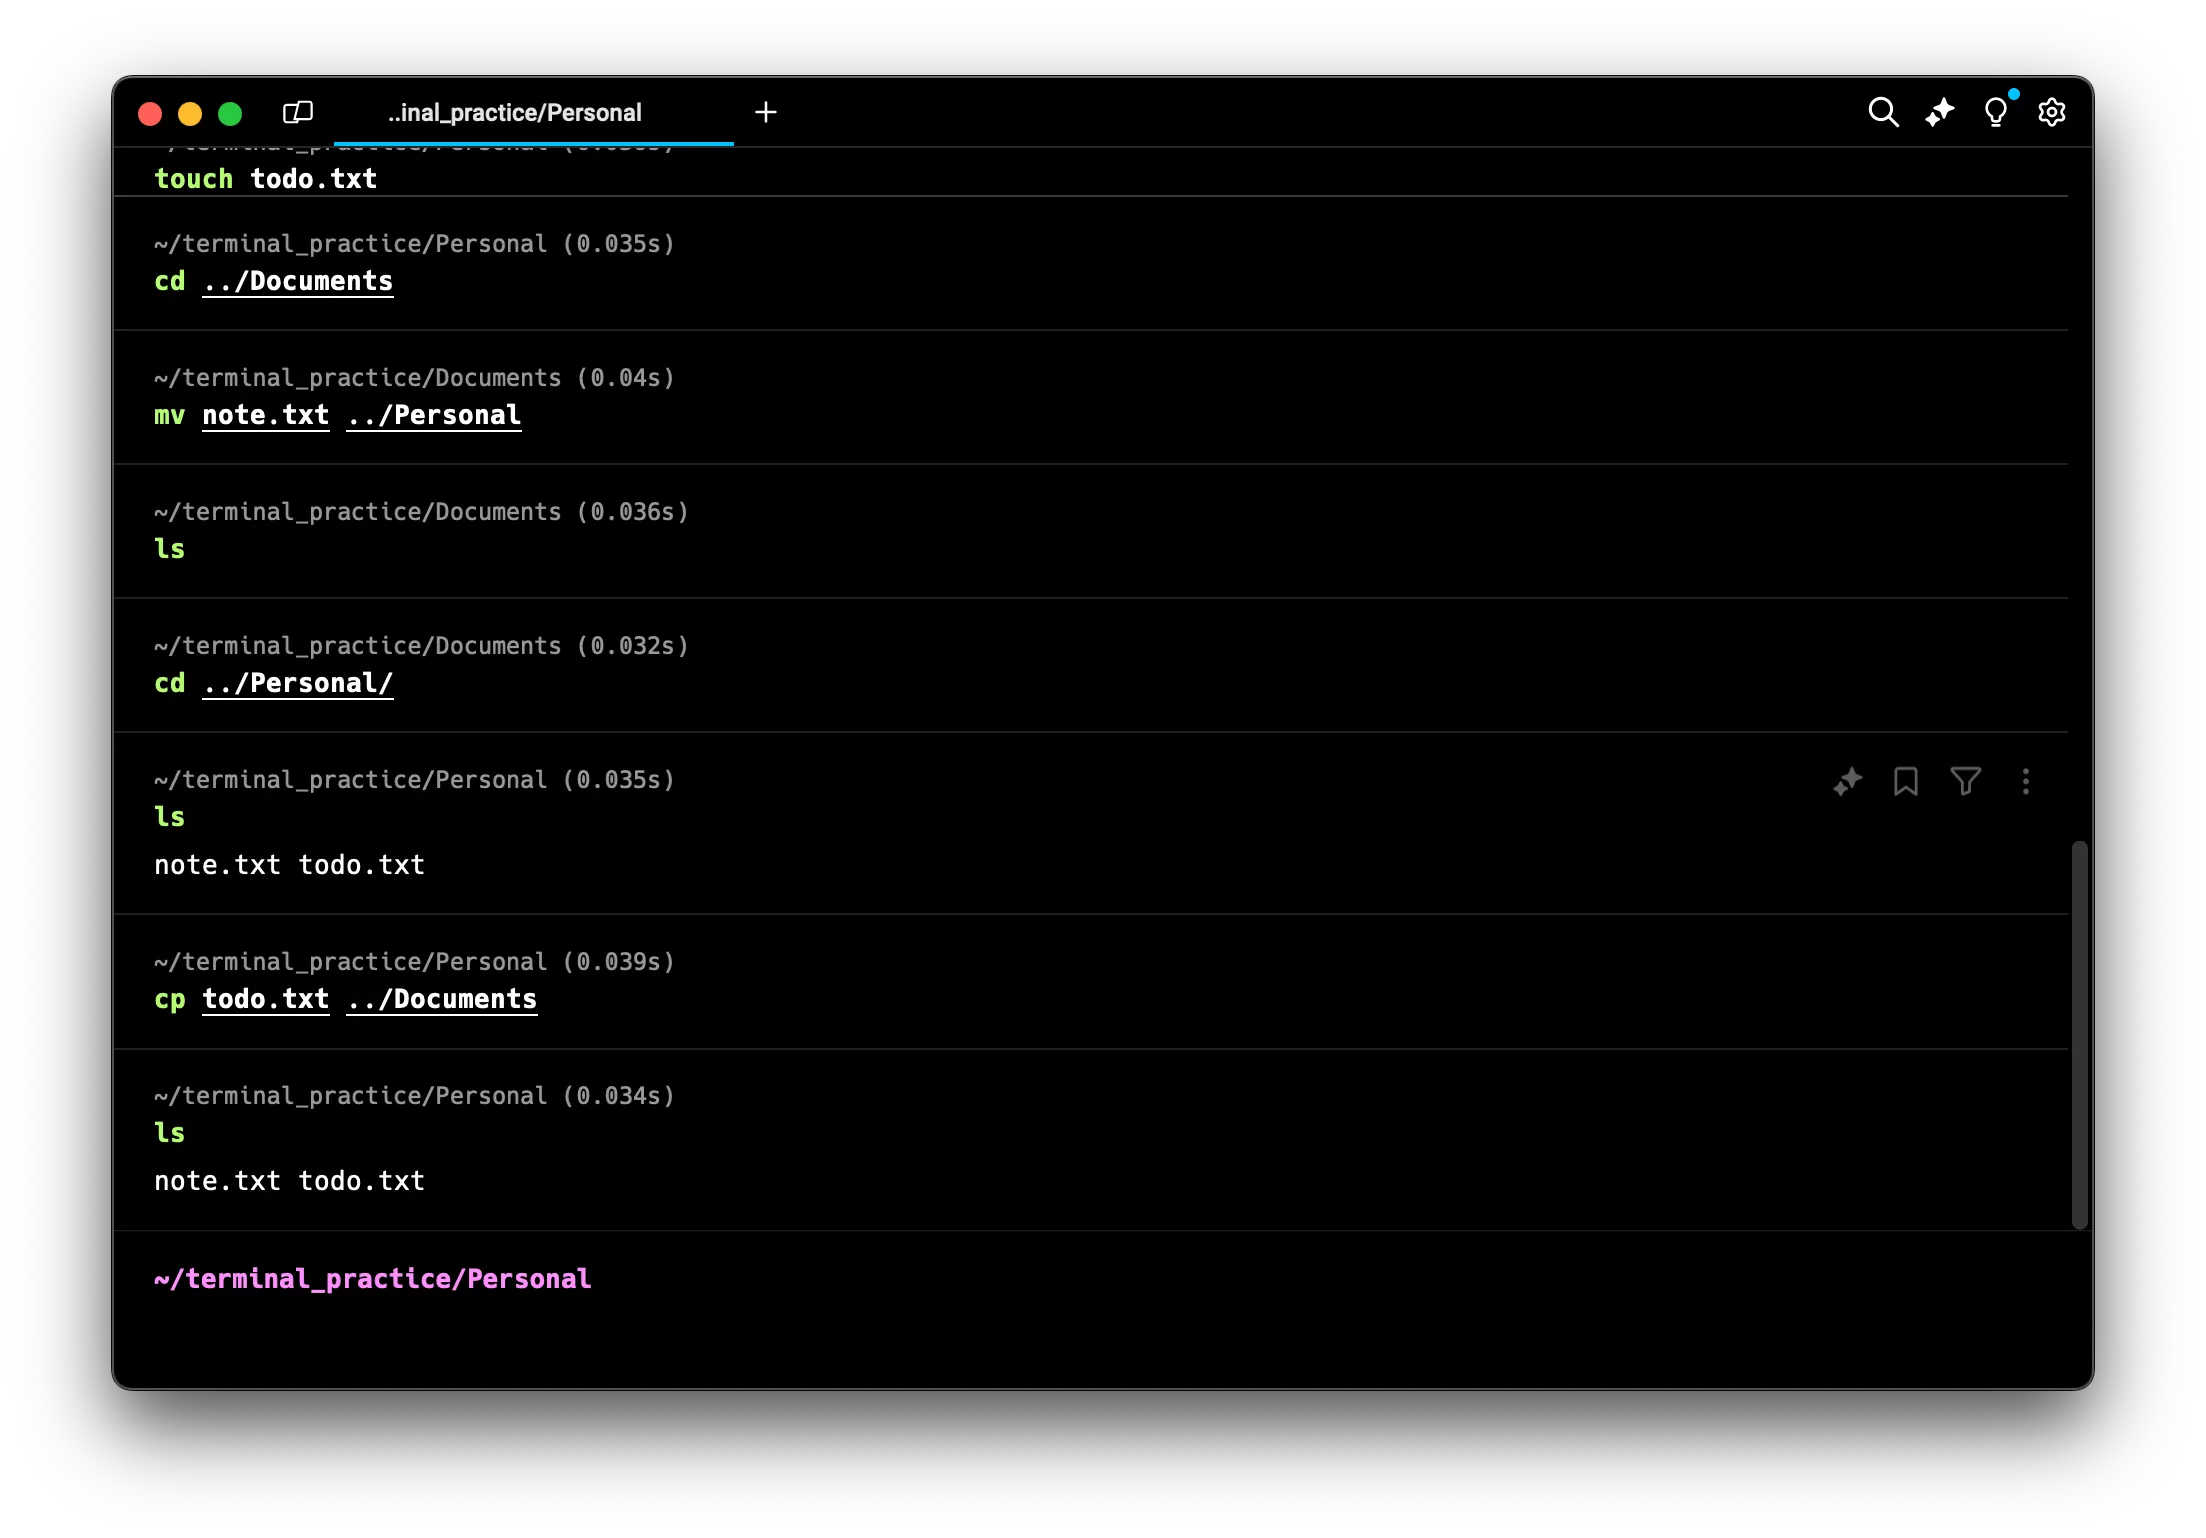
cd ../Documents
ls
This moves you to the Documents directory and lists its contents. You should now see “todo.txt” here as well.
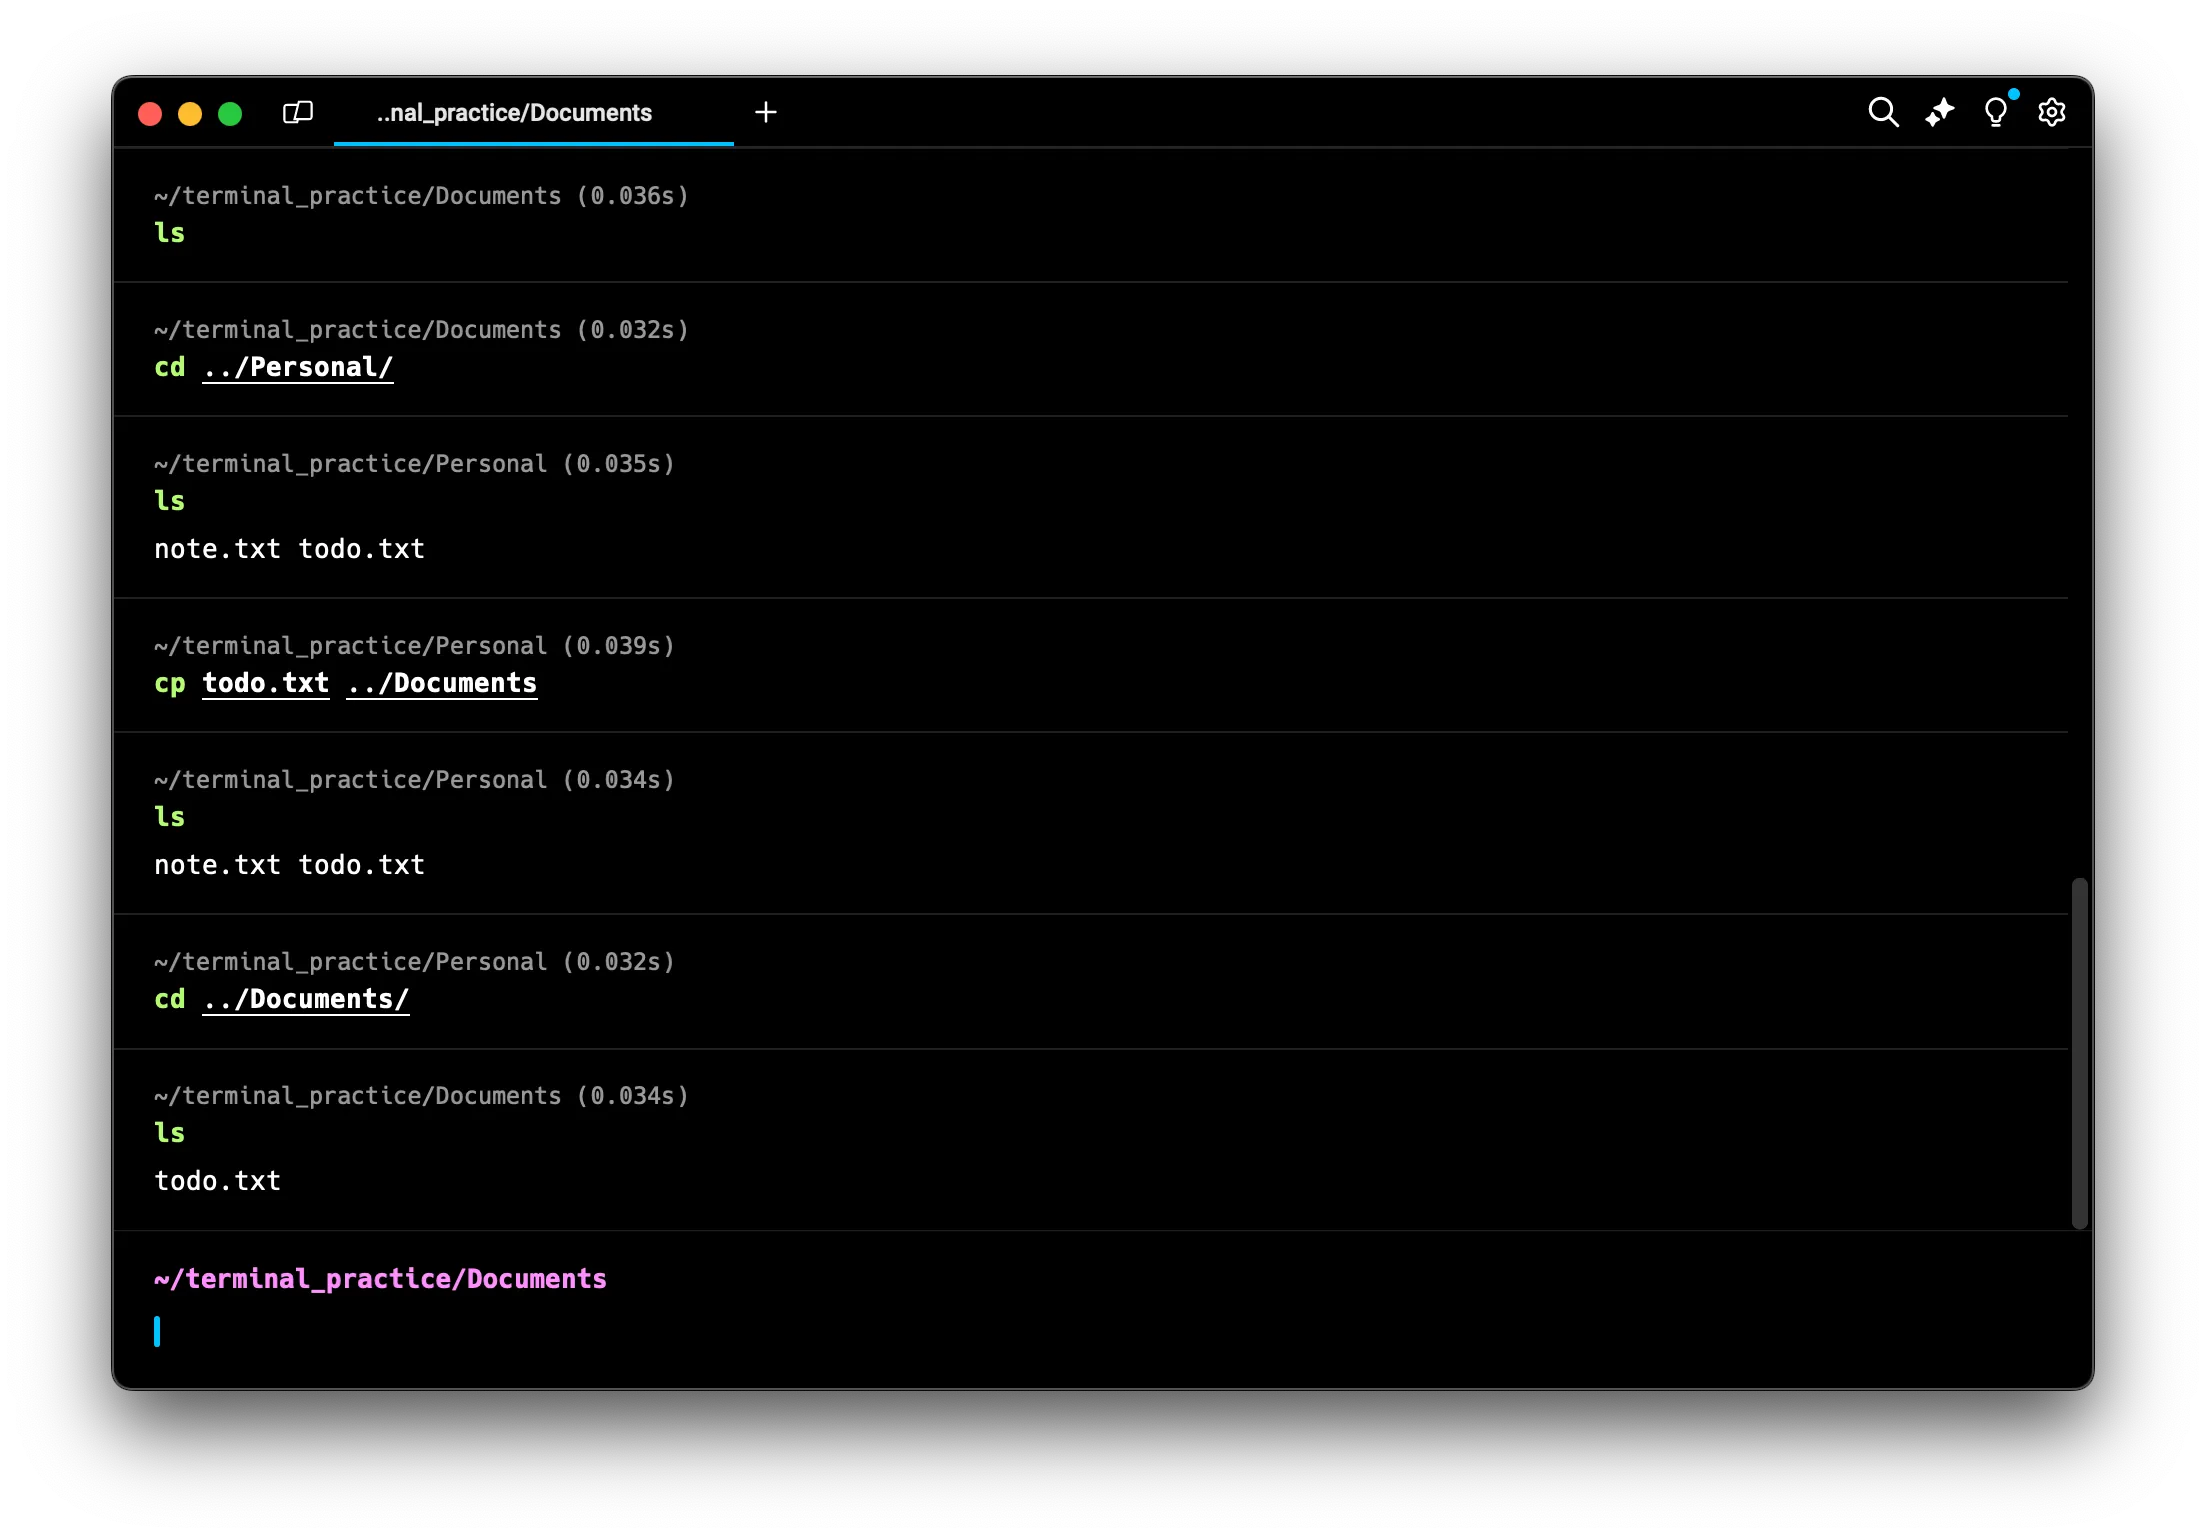 Remember,
 cpdoesn’t move the original file, it creates a duplicate. This means you can safely create copies without affecting the original file. However, be cautious not to overwrite existing files unintentionally.
Renaming Files: Giving Files Meaningful Names
To rename files, we also use the mv command. While mv is primarily used for moving files, it can also rename files when used within the same directory. The basic format for renaming is:
mv oldname newname
Here, oldname is the current name of the file, and newname is the new name you want to give it.
Let’s practice renaming files with the mv command:
- Rename todo.txt in the Documents folder:
This renames the file “todo.txt” to “tasks.txt” in the current directory (Documents).mv todo.txt tasks.txt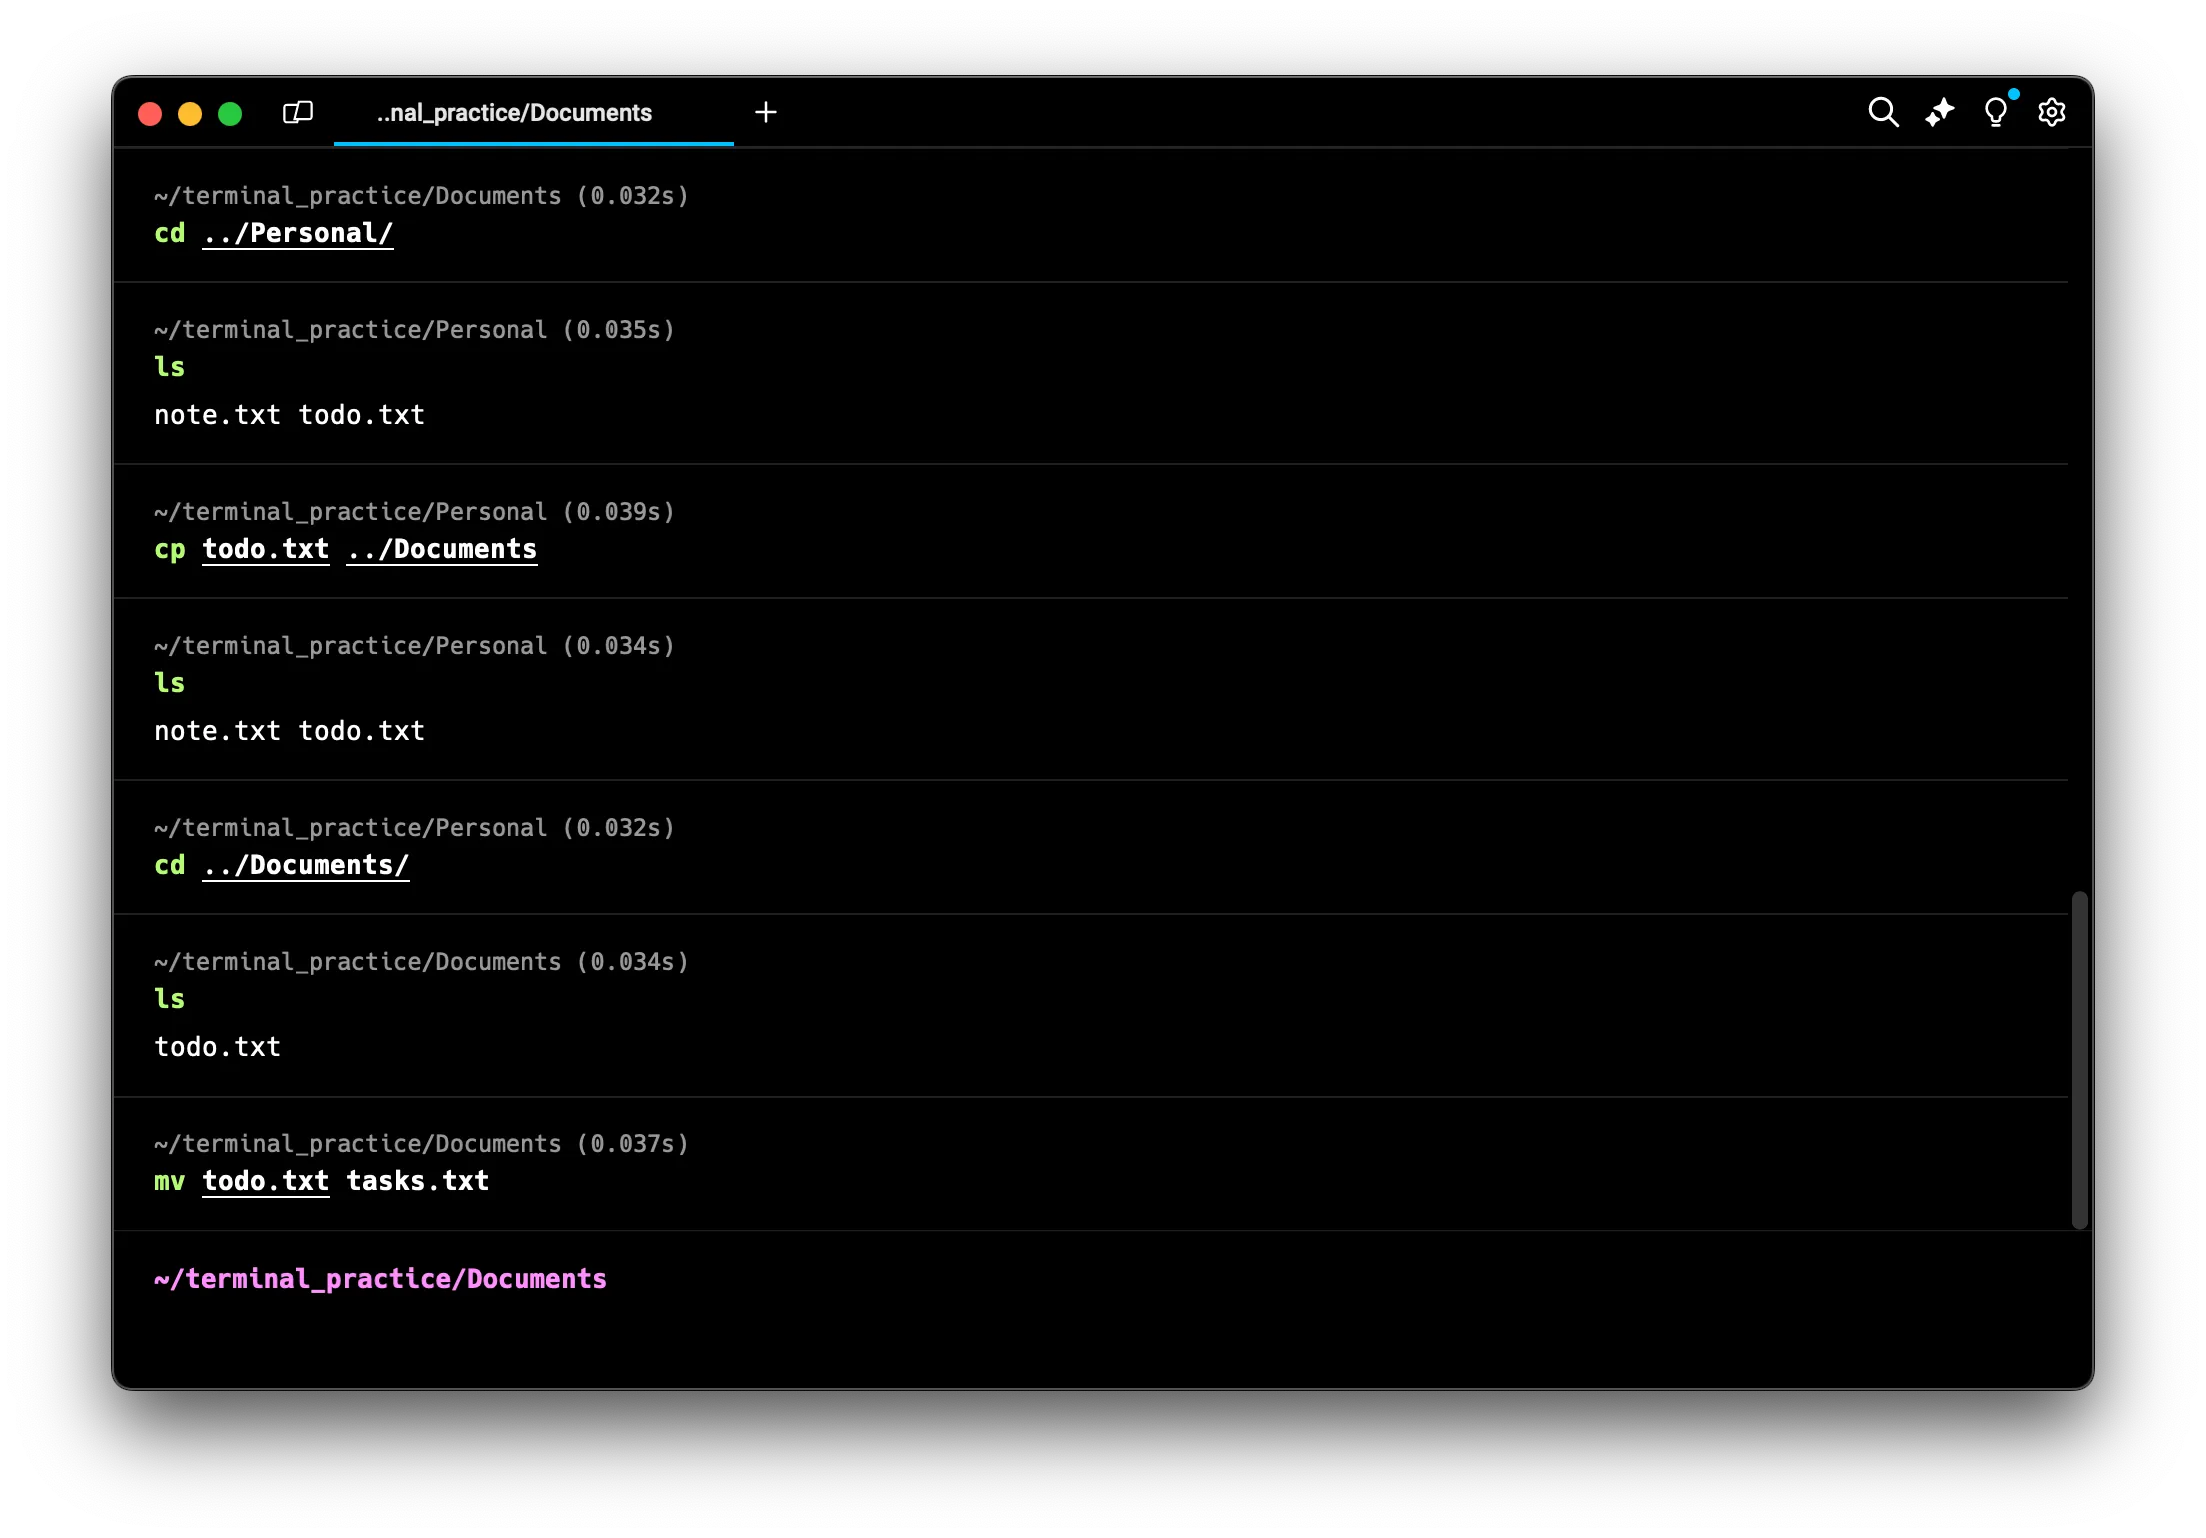
- Check the result:
You should now see “tasks.txt” instead of “todo.txt” in the Documents directory.ls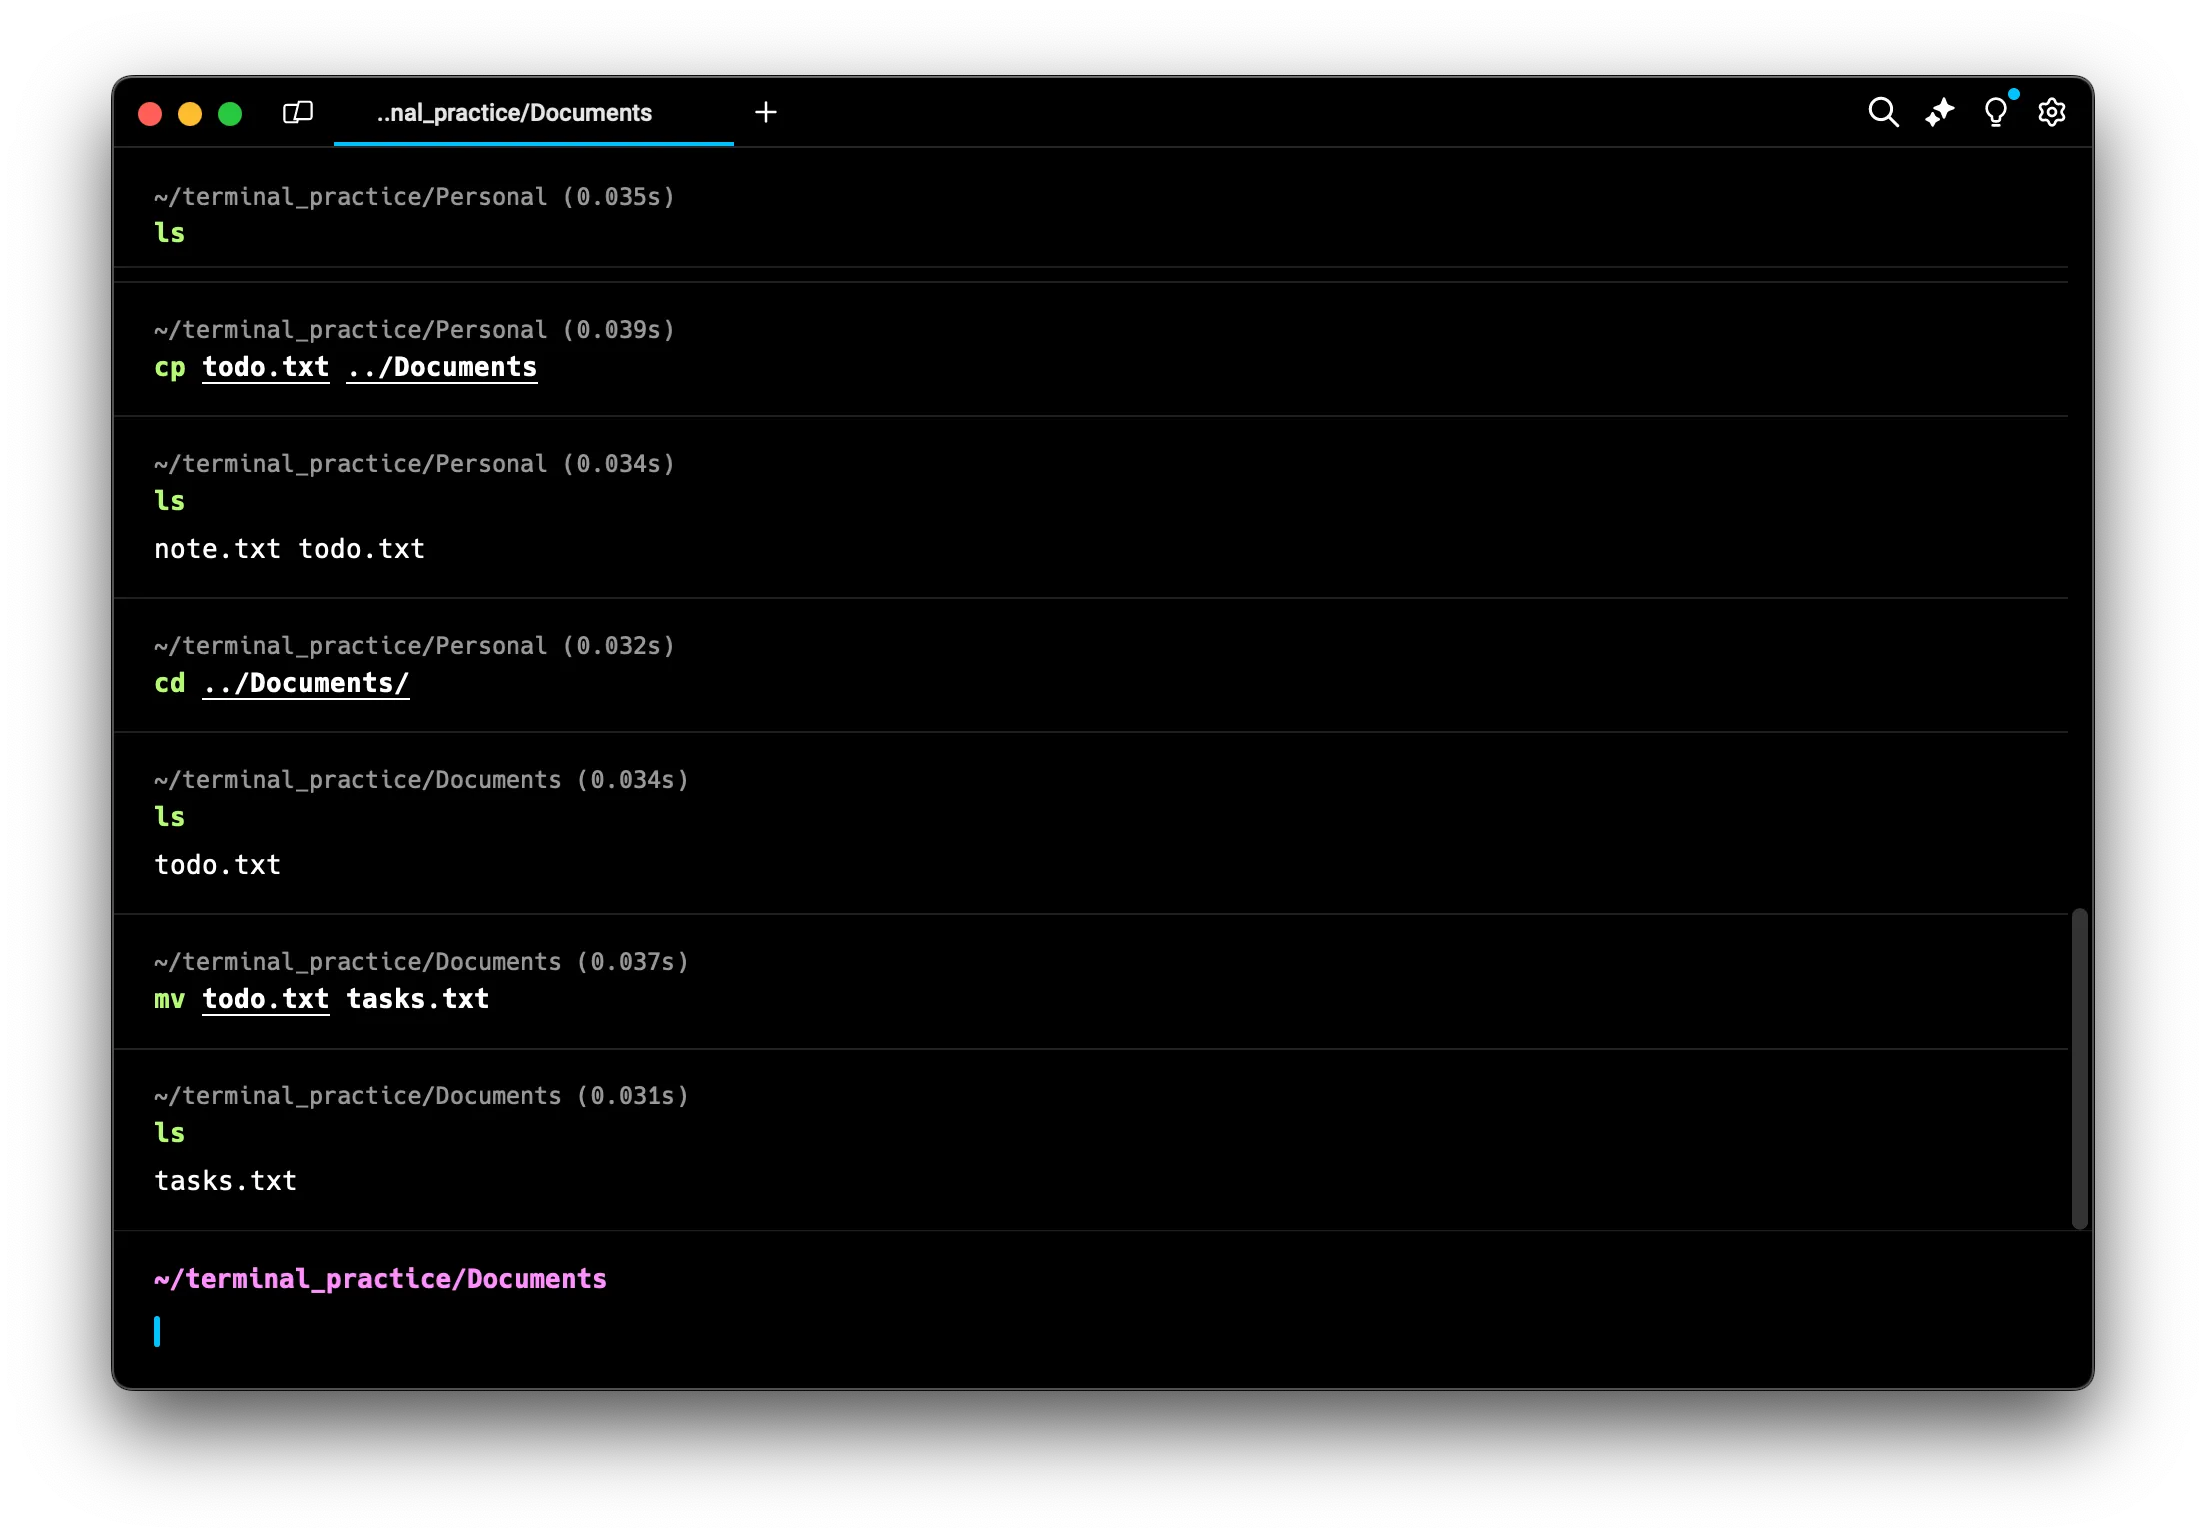 Remember, when renaming files with
 mv, you’re essentially “moving” the file to a new name in the same directory. Be careful not to accidentally move the file to a different directory by specifying a path in the new name.
Deleting Files and Directories: Cleaning Up Your Workspace
As you organize your digital space, you’ll often need to remove files or directories that are no longer needed. Linux provides several commands for this purpose, but it’s crucial to use them carefully as deleted items cannot be easily recovered.
Removing Files with rm
The rm command (short for “remove”) is used to delete files. Its basic syntax is:
rm filename
Let’s practice using the rm command:
- Navigate to the Documents folder:
cd ~/terminal_practice/Documents
- Create a test file:
touch test_file.txt
- Verify the file was created:
ls
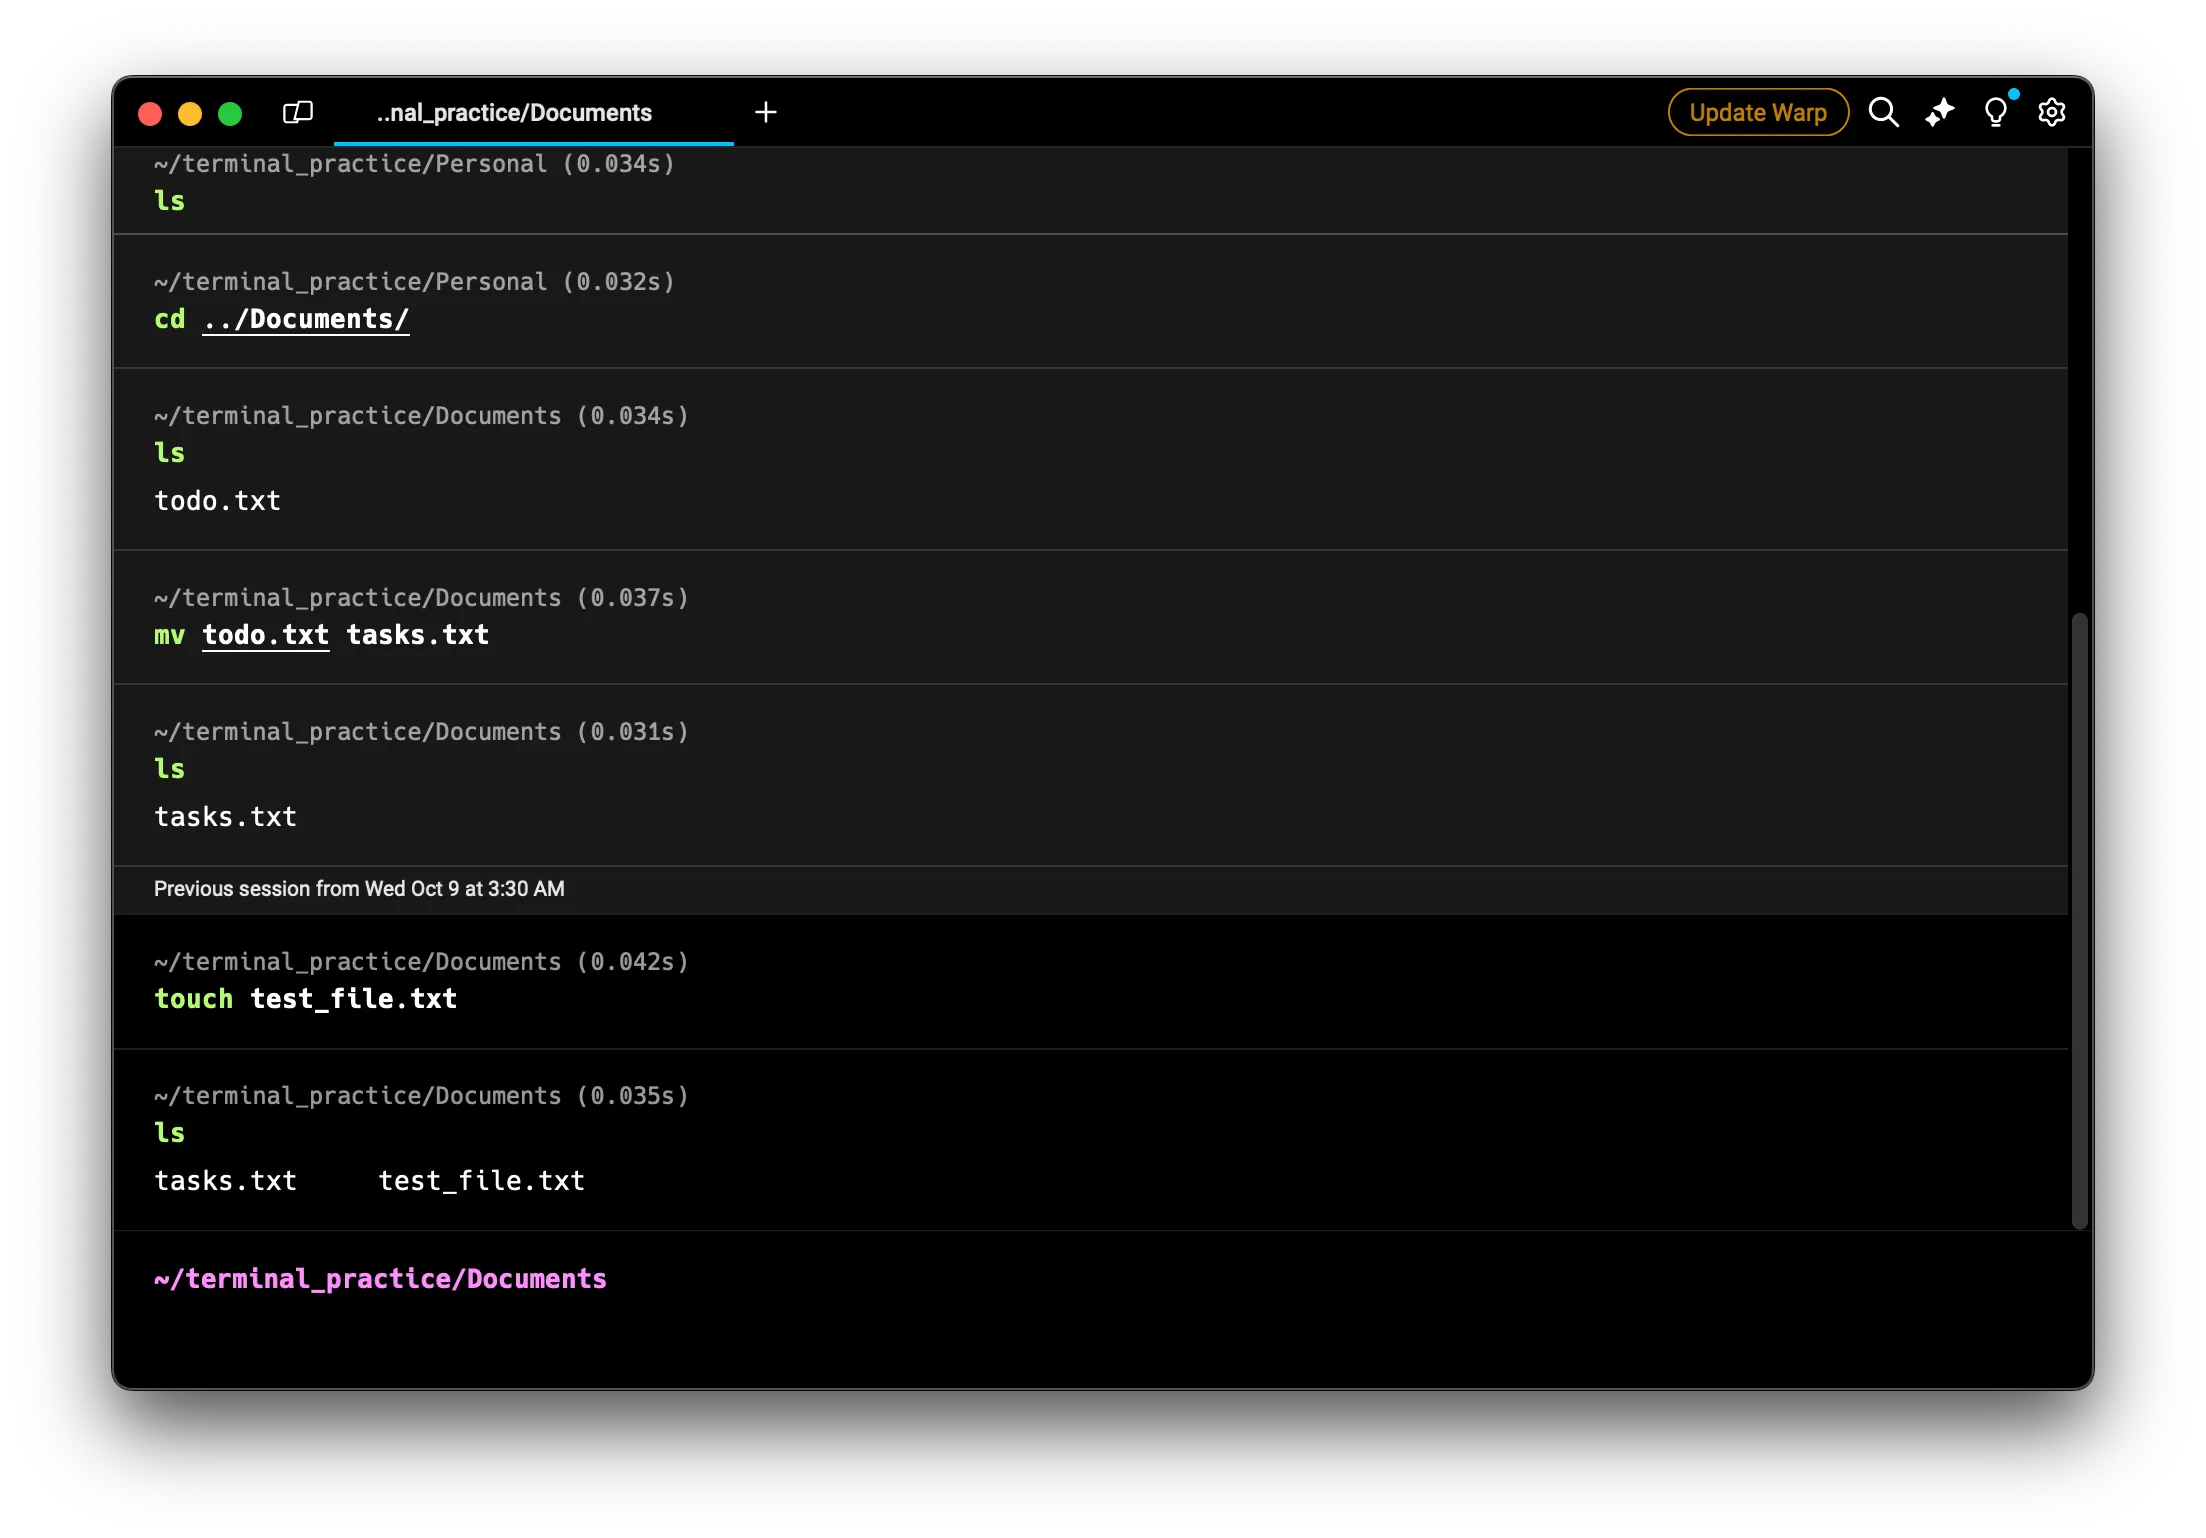 You should see “test_file.txt” listed
- Now, let’s delete the file:
rm test_file.txt
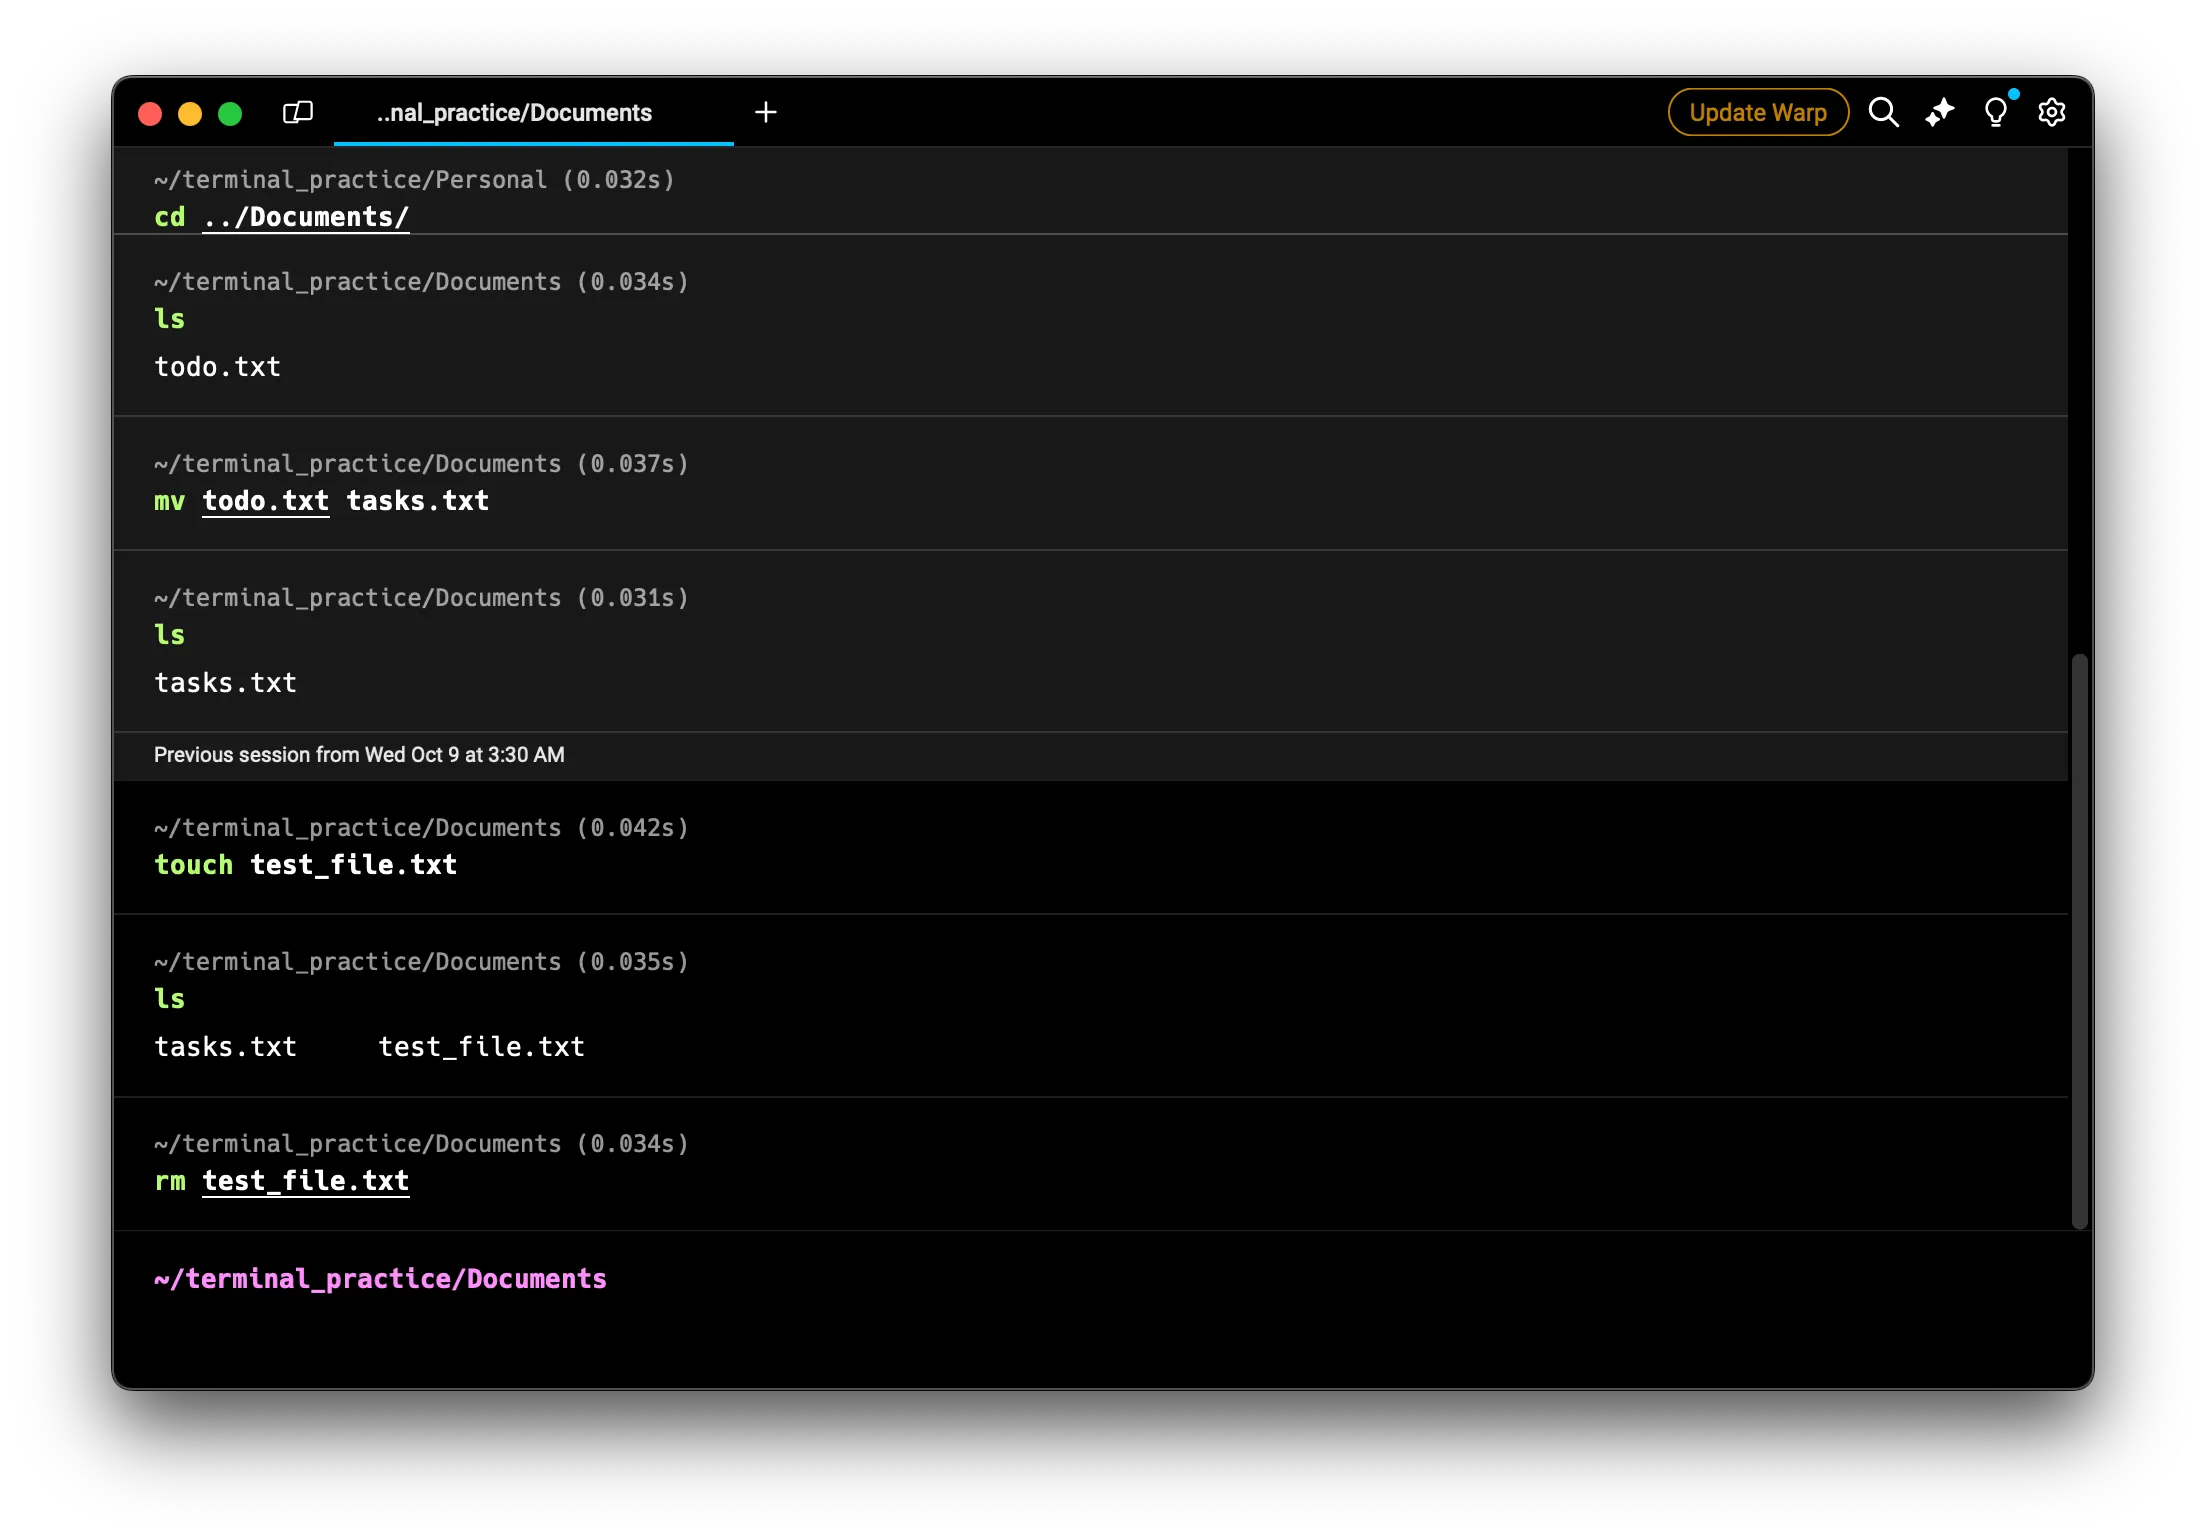 5. Verify the file was deleted:
ls
“test_file.txt” should no longer be listed.
Removing Empty Directories with rmdir
To remove an empty directory, use the rmdir command:
rmdir directory_name
Let’s try it out:
- Create a new directory:
mkdir empty_folder
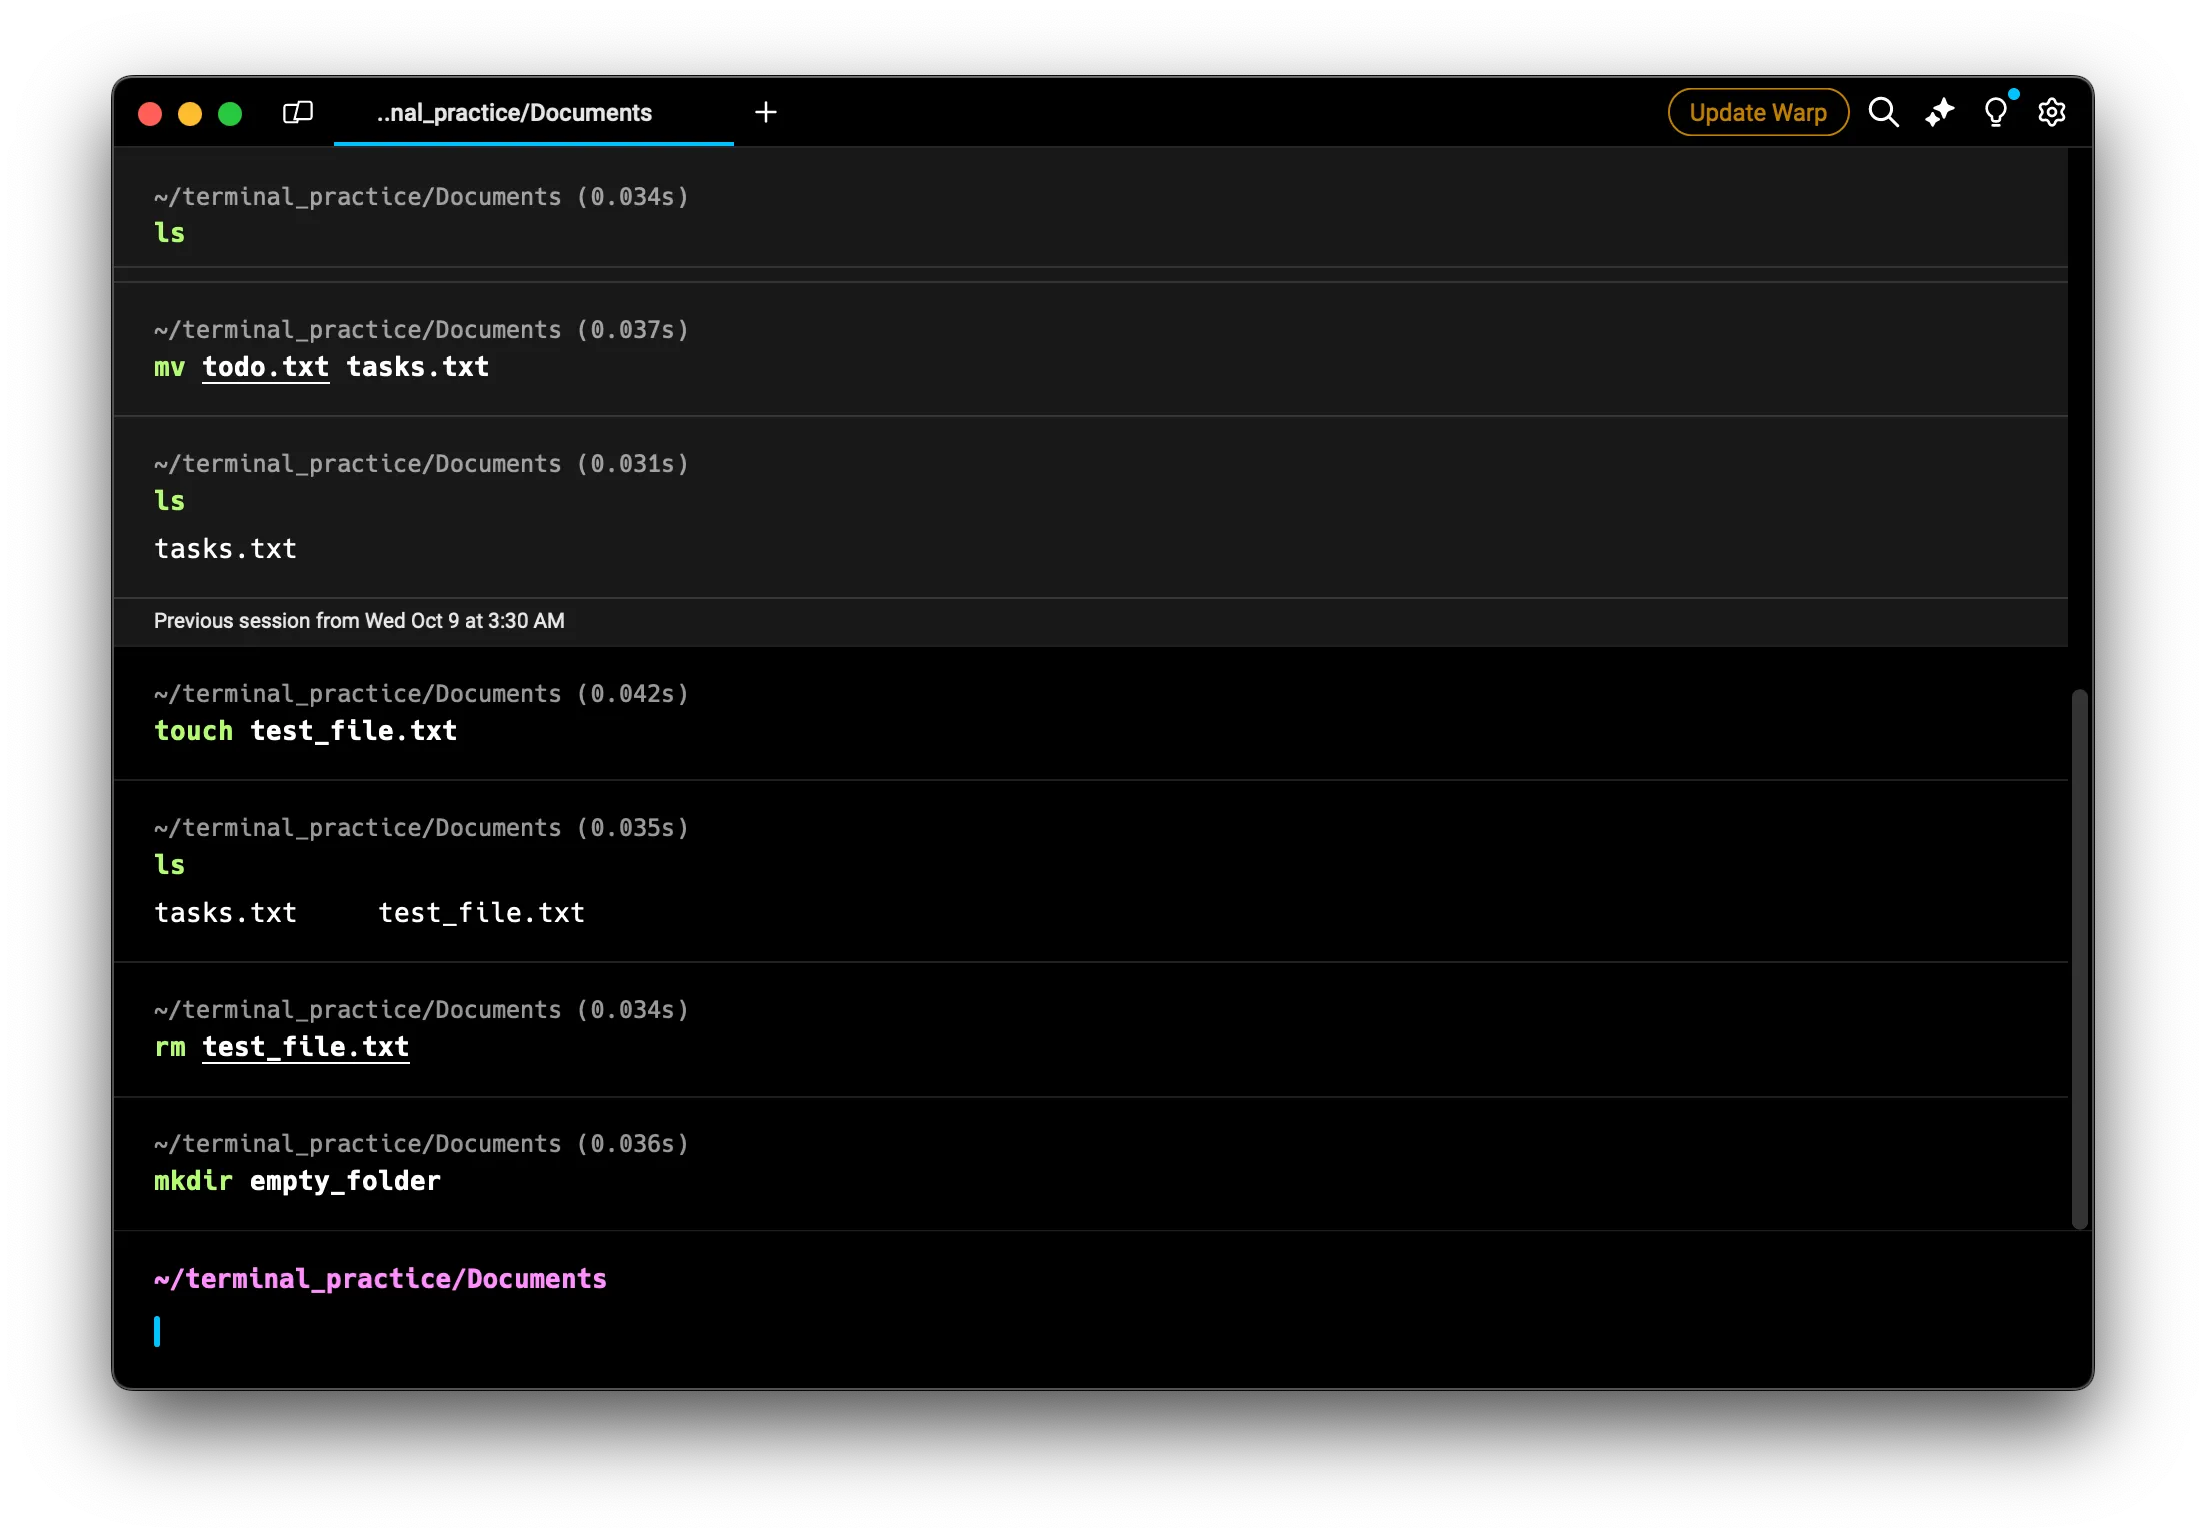 2. Now, remove it:
rmdir empty_folder
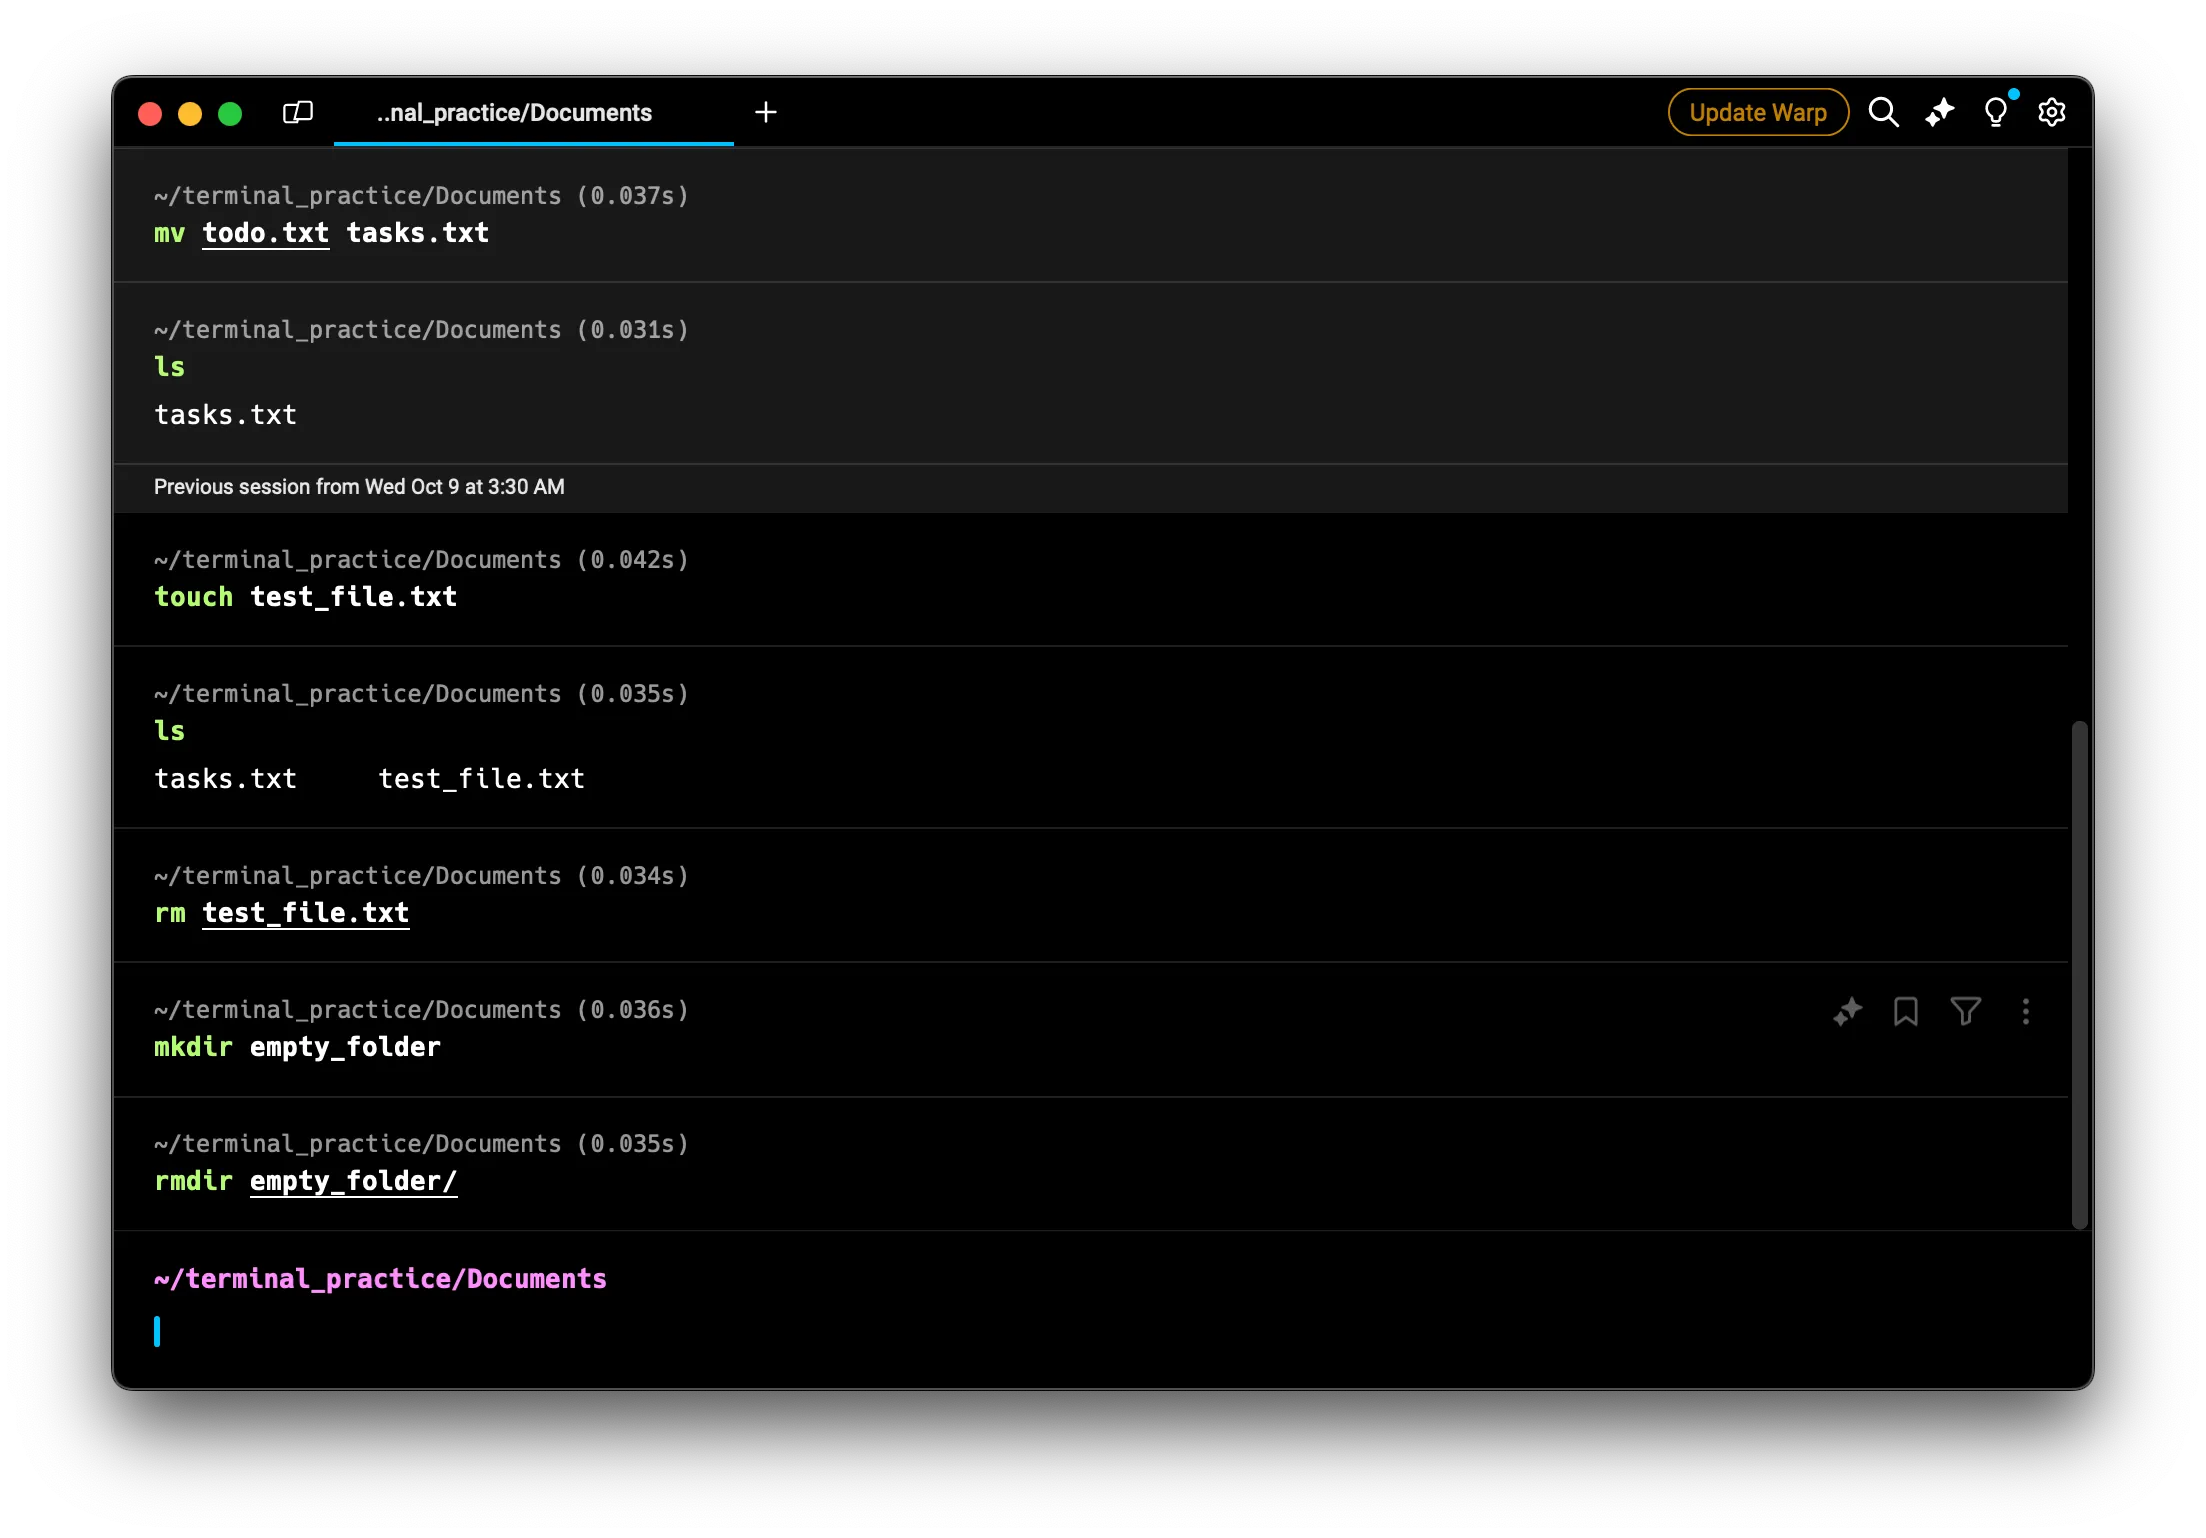 3. Verify it’s gone:
ls
Note:
rmdironly works on empty directories. If the directory contains files or other directories, you’ll need to userm -rinstead.
Removing Non-Empty Directories with rm -r
To remove a directory and all its contents, use rm with the -r (recursive) flag:
rm -r directory_name
Let’s practice:
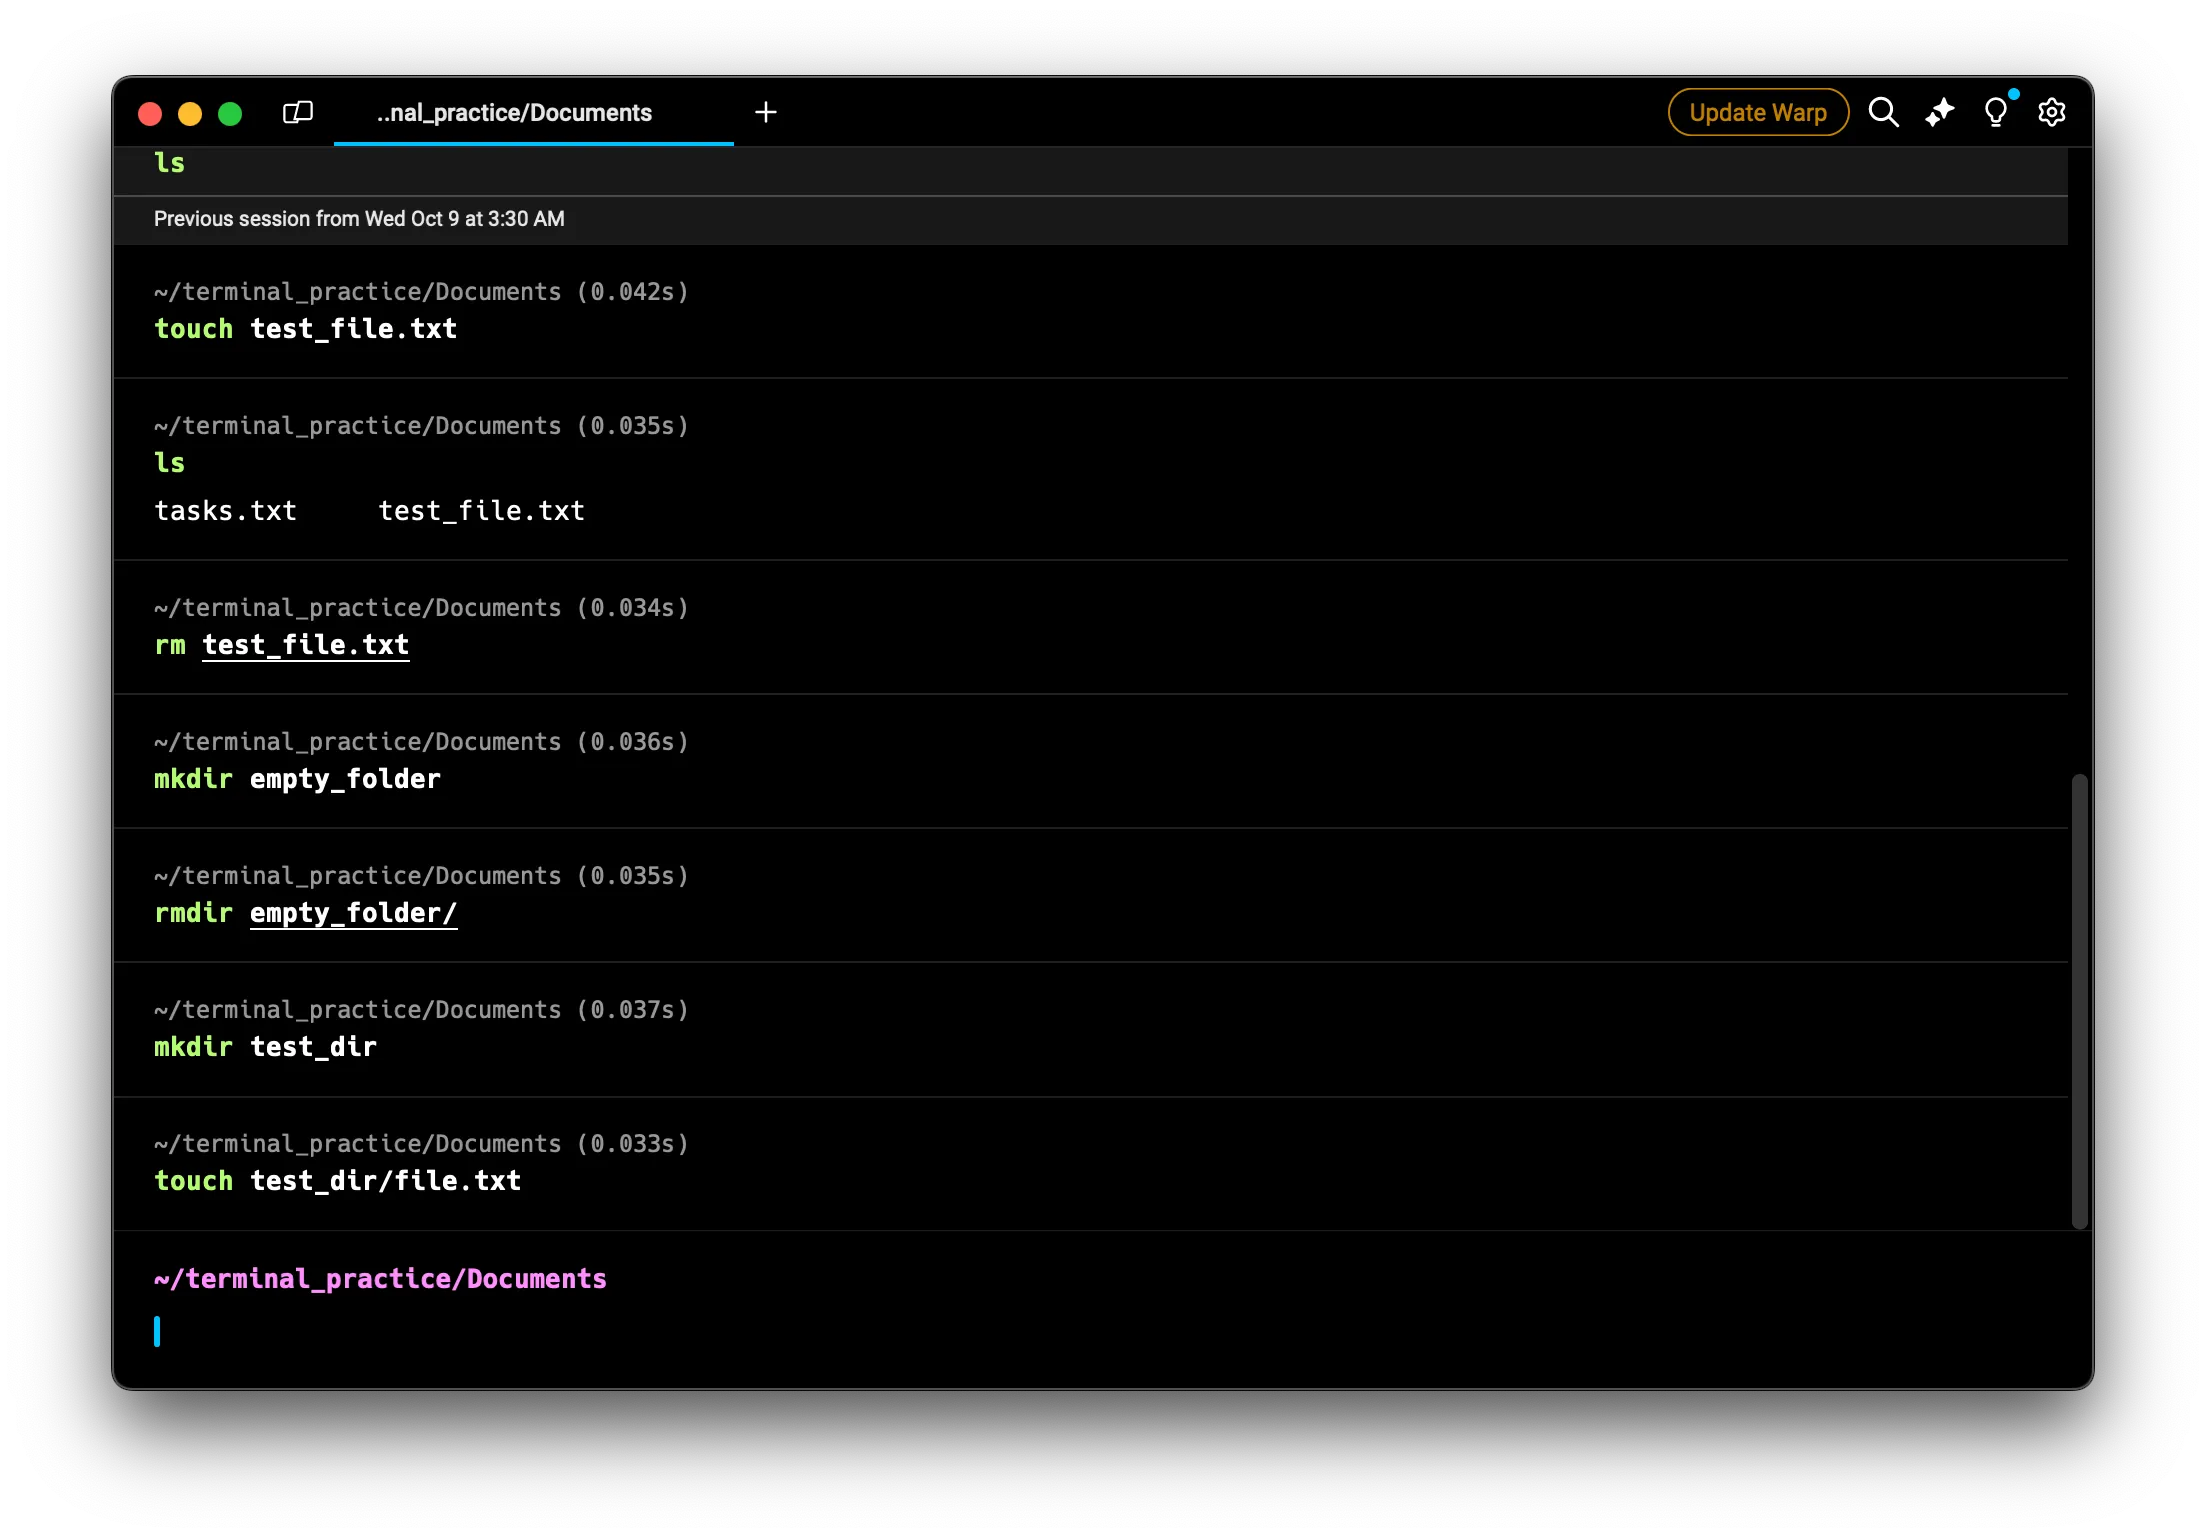
- Create a directory with a file in it:
mkdir test_dir
touch test_dir/file.txt
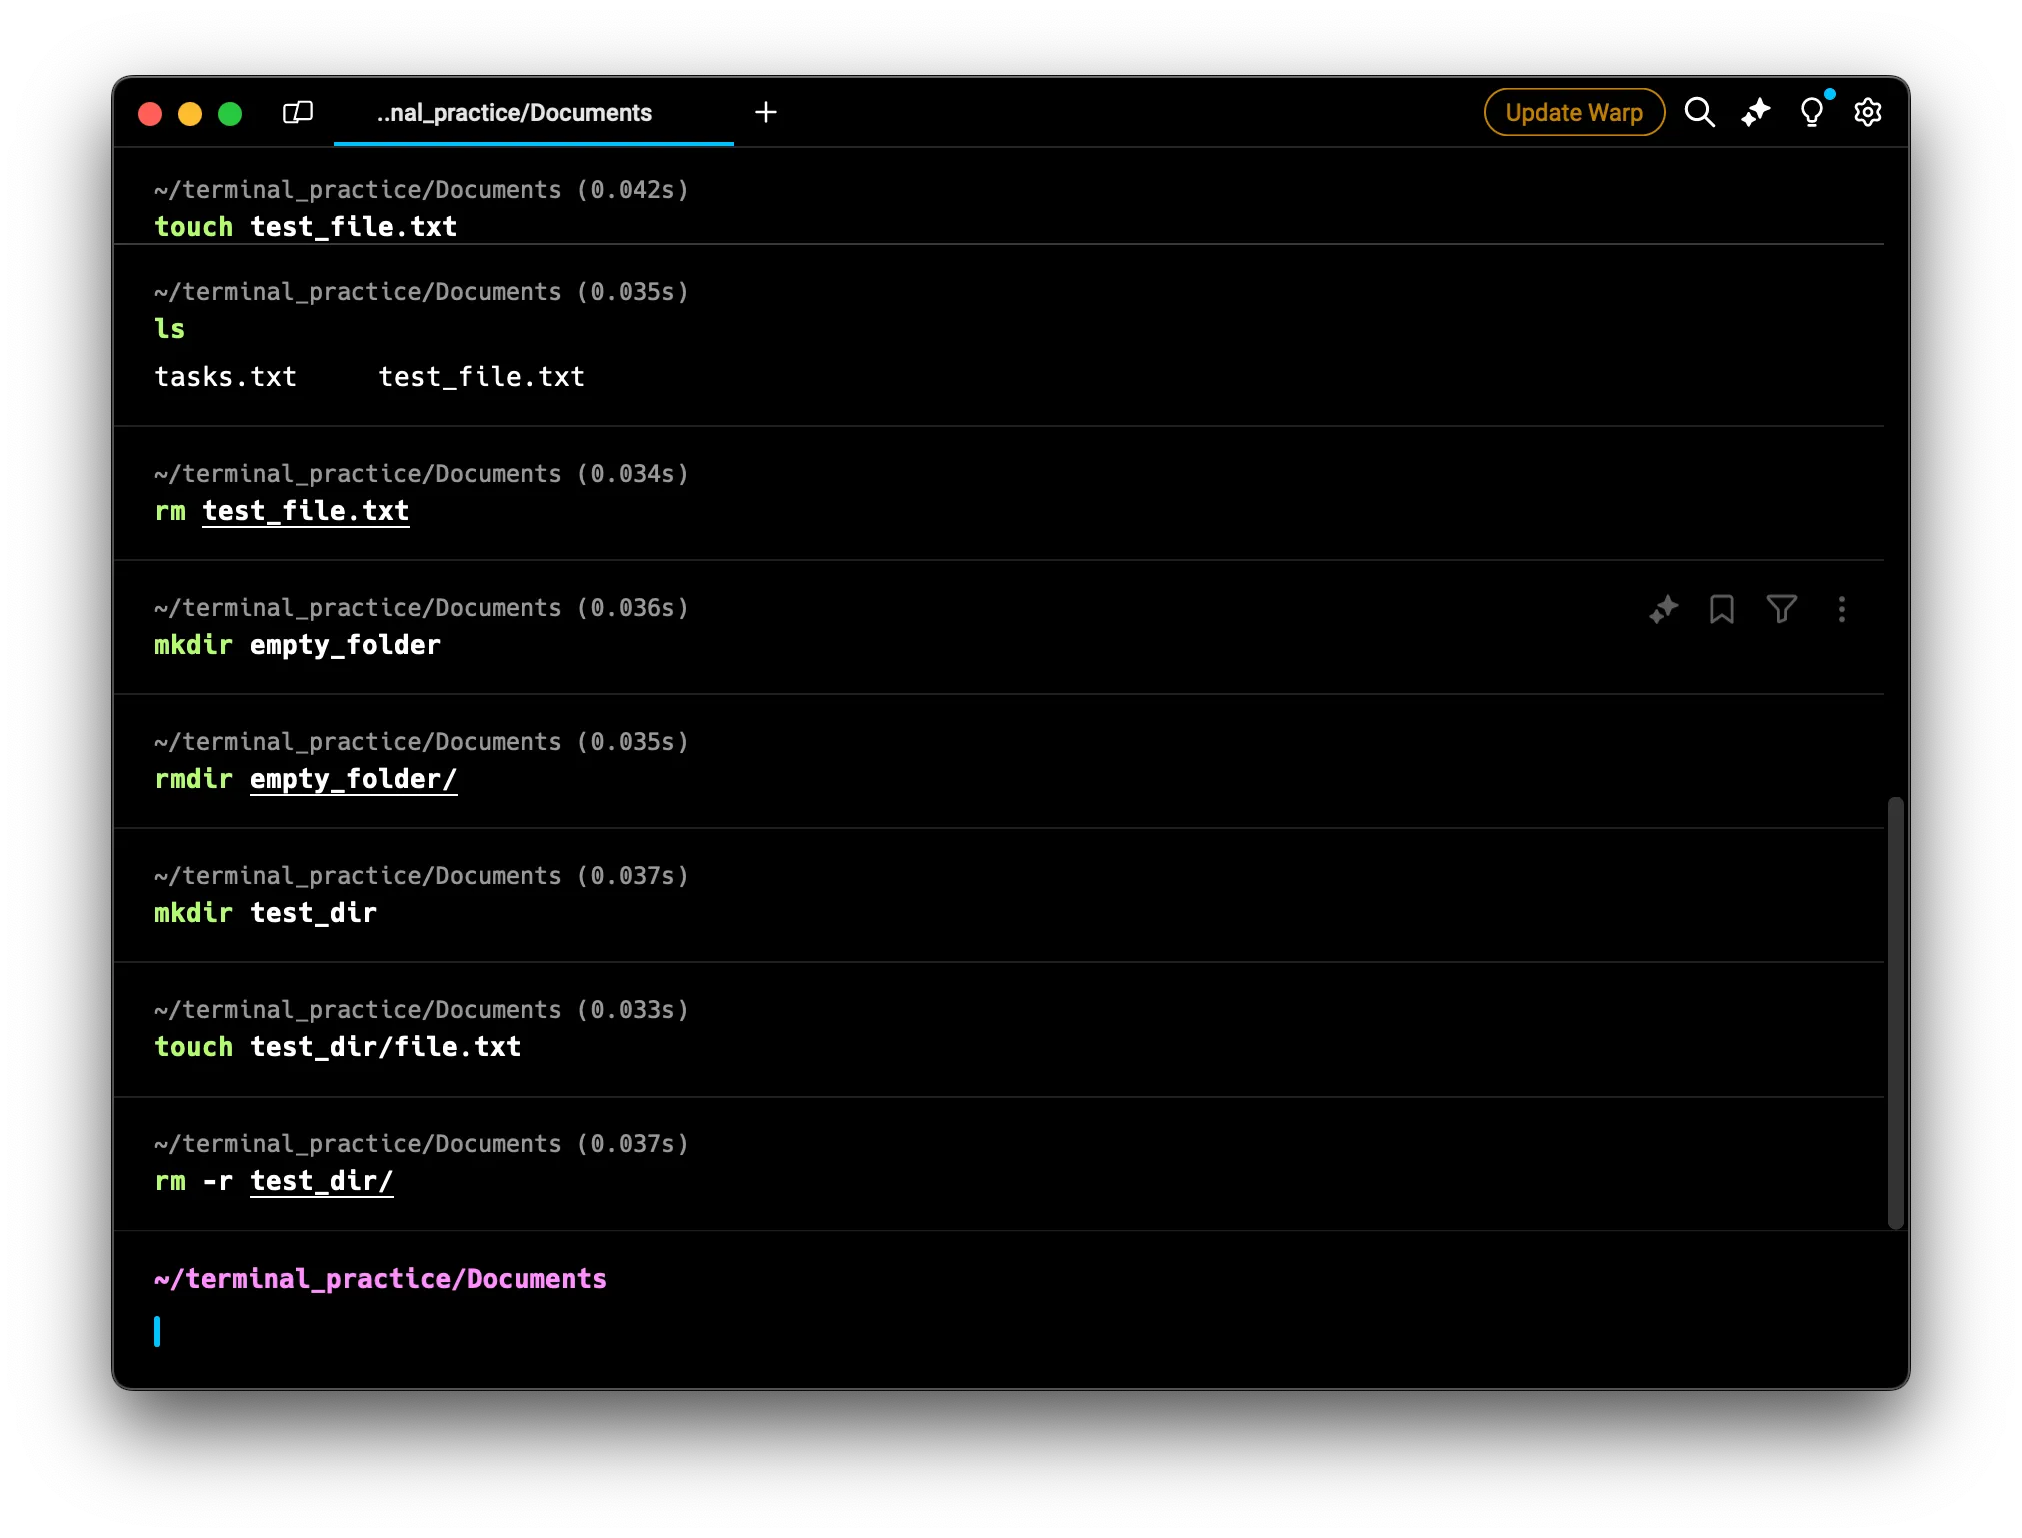
 2. Now, remove the directory and its contents:
rm -r test_dir
 3. Verify it’s gone:
ls
Safety Precautions: The -i Flag
When deleting files or directories, it’s easy to accidentally remove something important. To add a layer of protection, you can use the -i (interactive) flag, which will prompt you for confirmation before each deletion:
rm -i filename
rm -ri directory_name
For example:
touch important_file.txt
rm -i important_file.txt
This will prompt you with “rm: remove regular empty file ‘important_file.txt’?“. You’ll need to respond with ‘y’ to confirm deletion.
Remember, in Linux, deletion is typically permanent. There’s no Recycle Bin or Trash to recover from, so always double-check before deleting!
Directory Manipulation: Mastering Folder Management
We’ve already learned how to create basic directories with mkdir, but let’s explore some more advanced directory operations.
Creating Nested Directories with mkdir -p
The -p flag allows you to create parent directories as needed. This is useful for creating a whole directory structure in one command:
mkdir -p parent_dir/child_dir/grandchild_dir
Let’s try it:
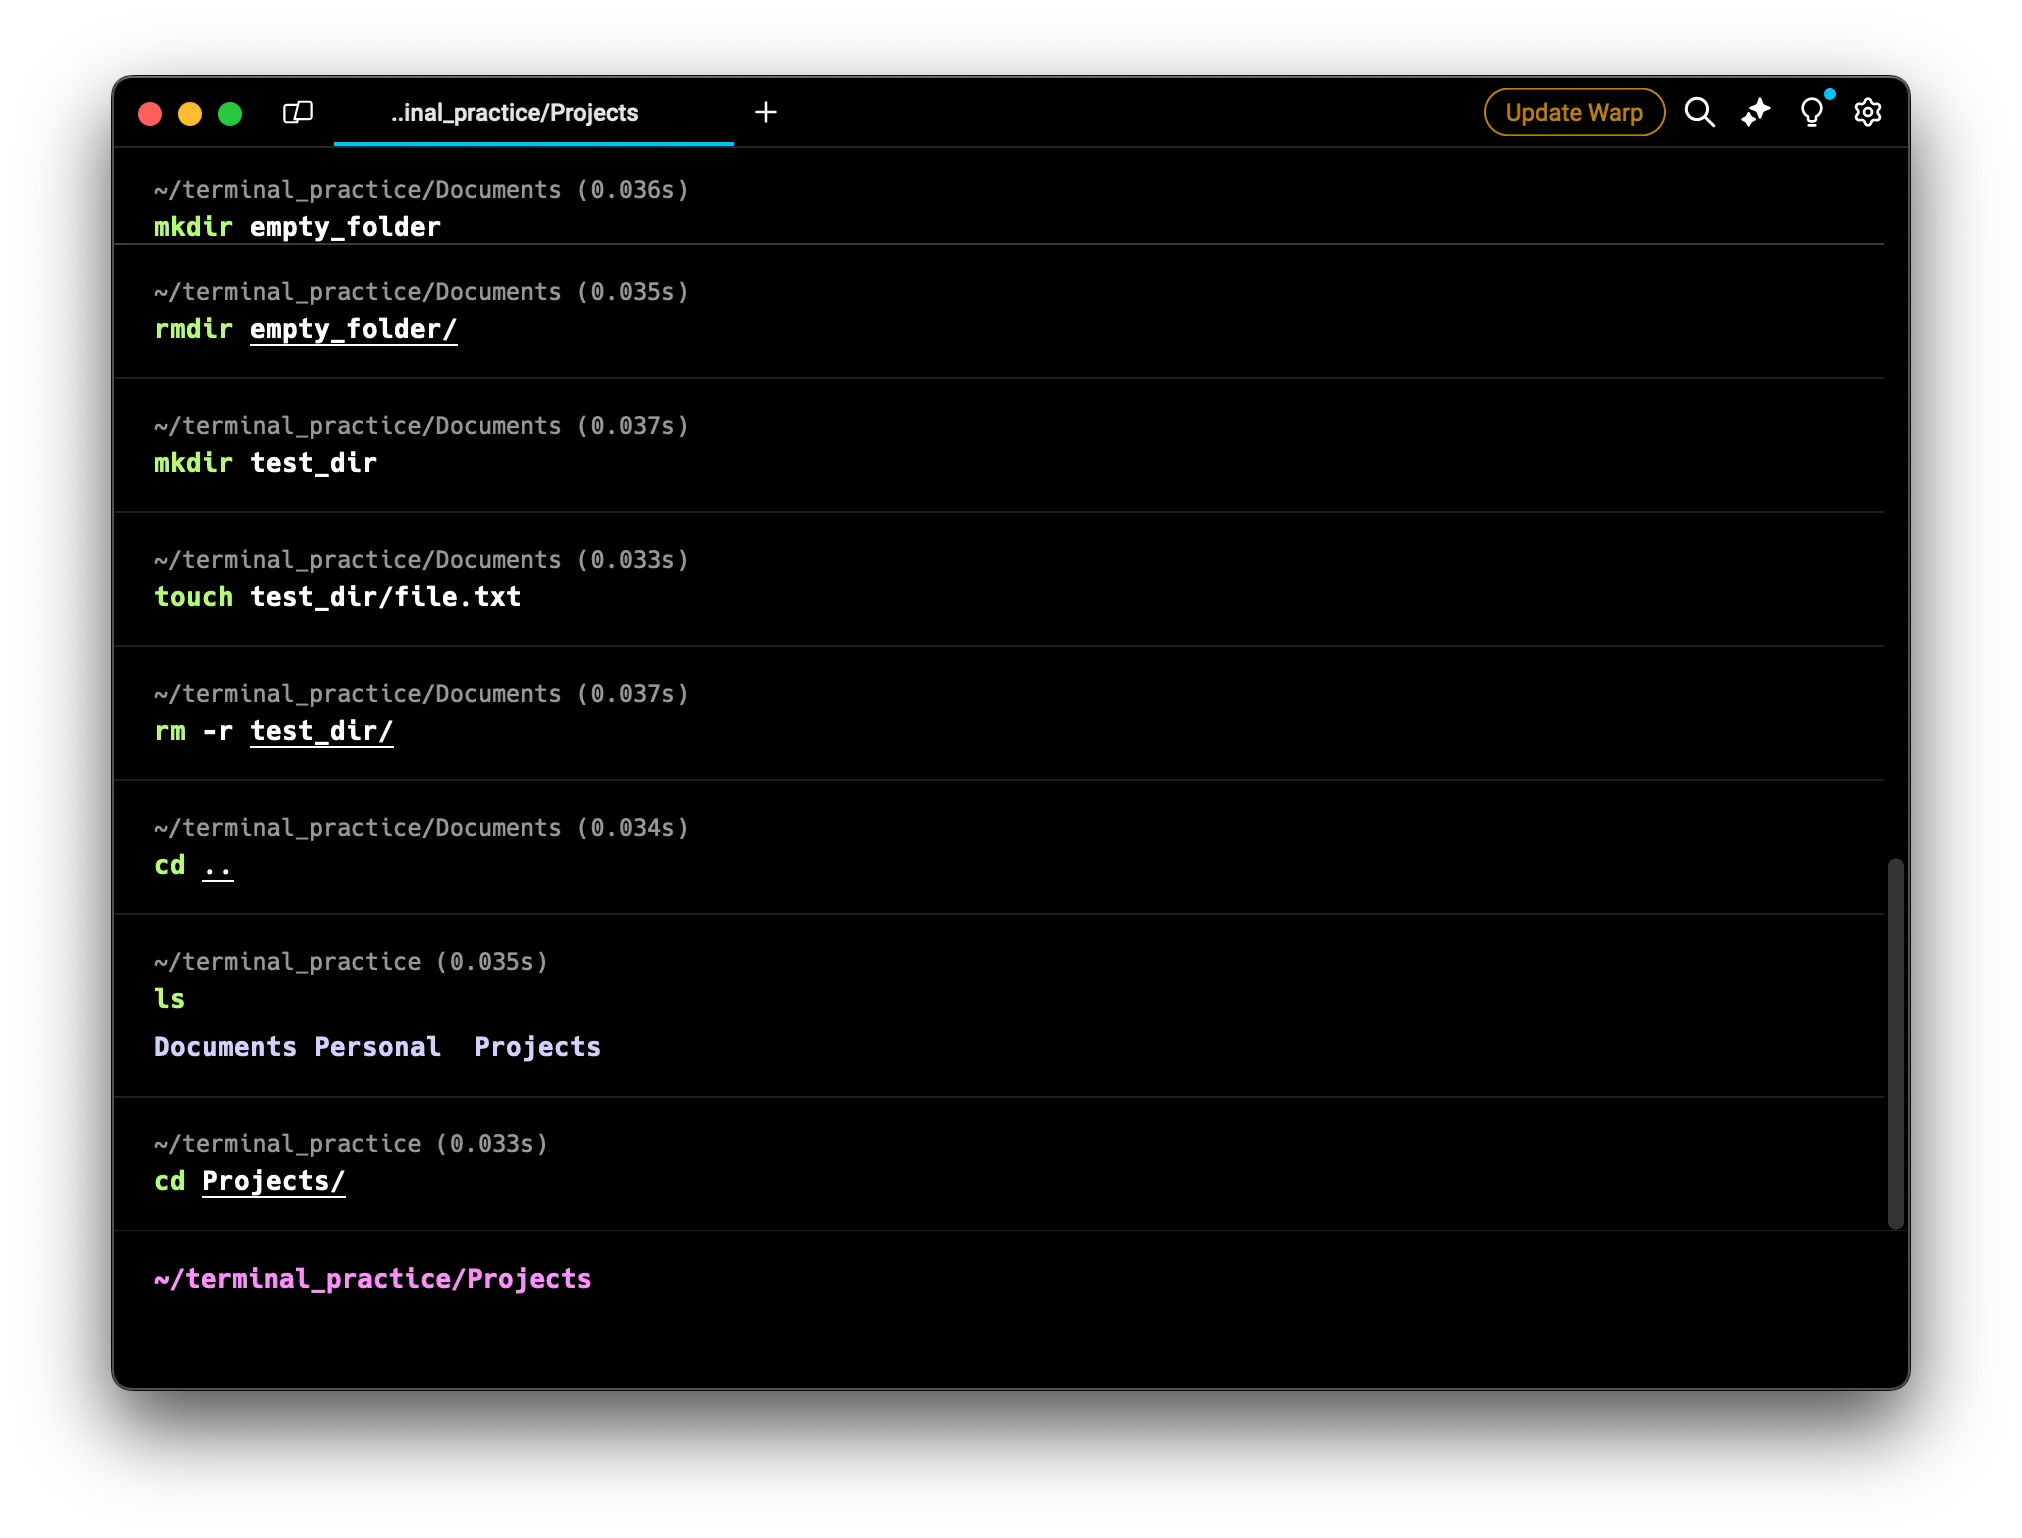
- Navigate you Projects directory:
cd ../Projects
 2. Create Nested Directories:
mkdir -p Projects/WebDev/css
ls Projects
ls Projects/WebDev
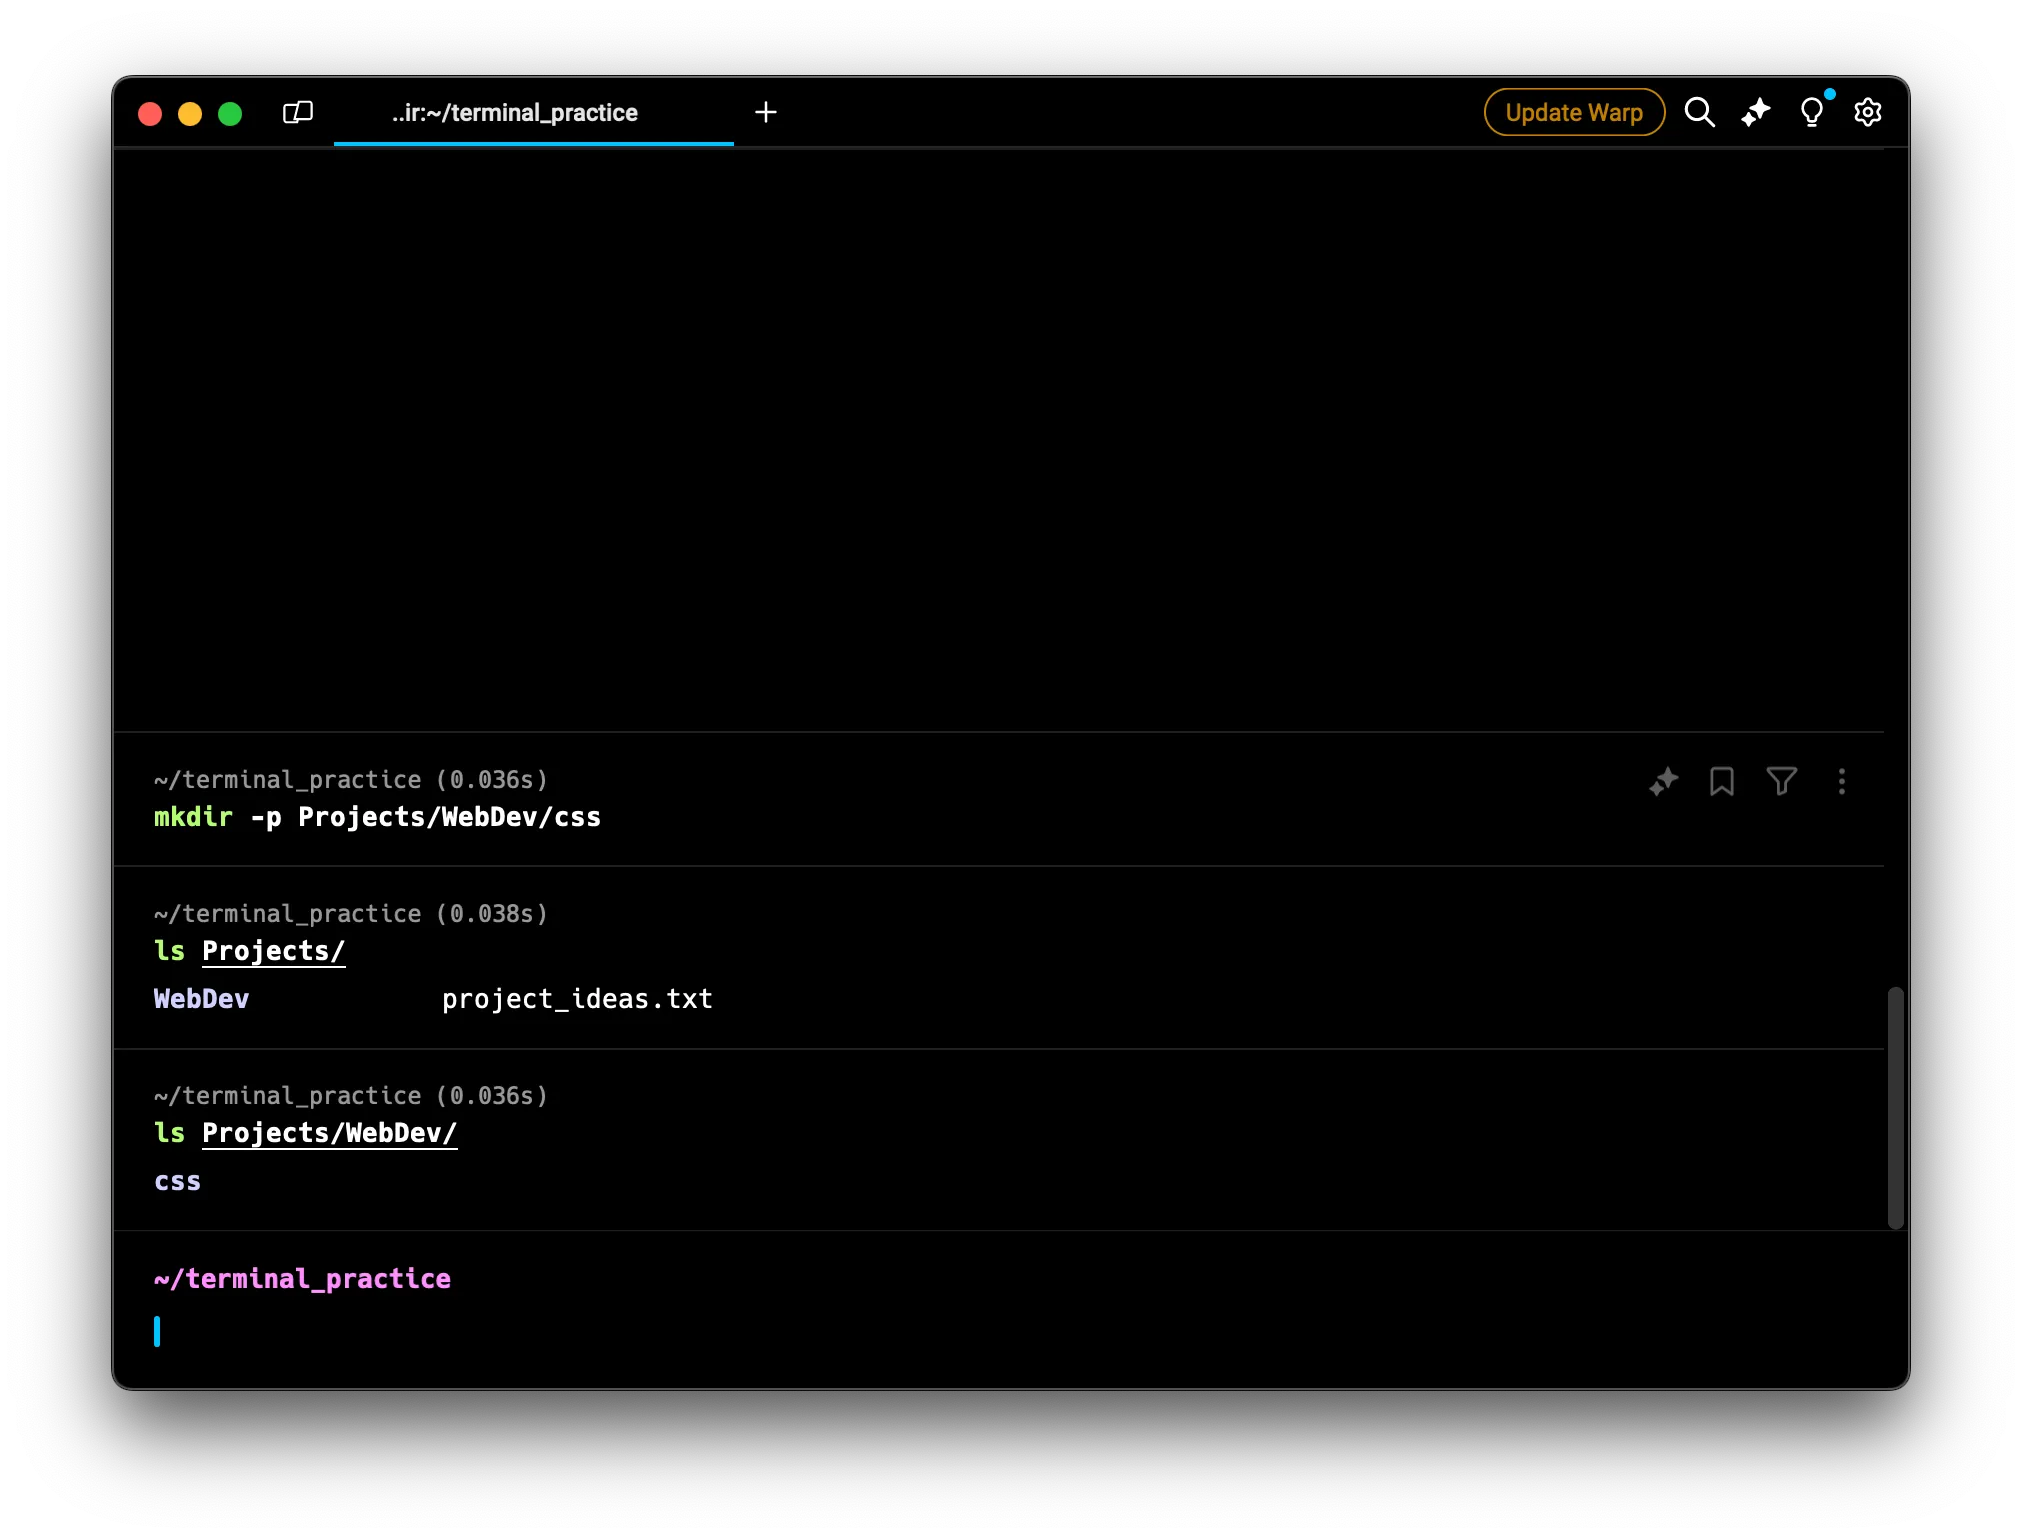
This creates a “WebDev” directory inside “Projects”, and a “css” directory inside “WebDev”, all in one command.
Moving Directories with mv
Just like with files, you can use mv to move entire directories:
mv source_directory destination_directory
Let’s practice:
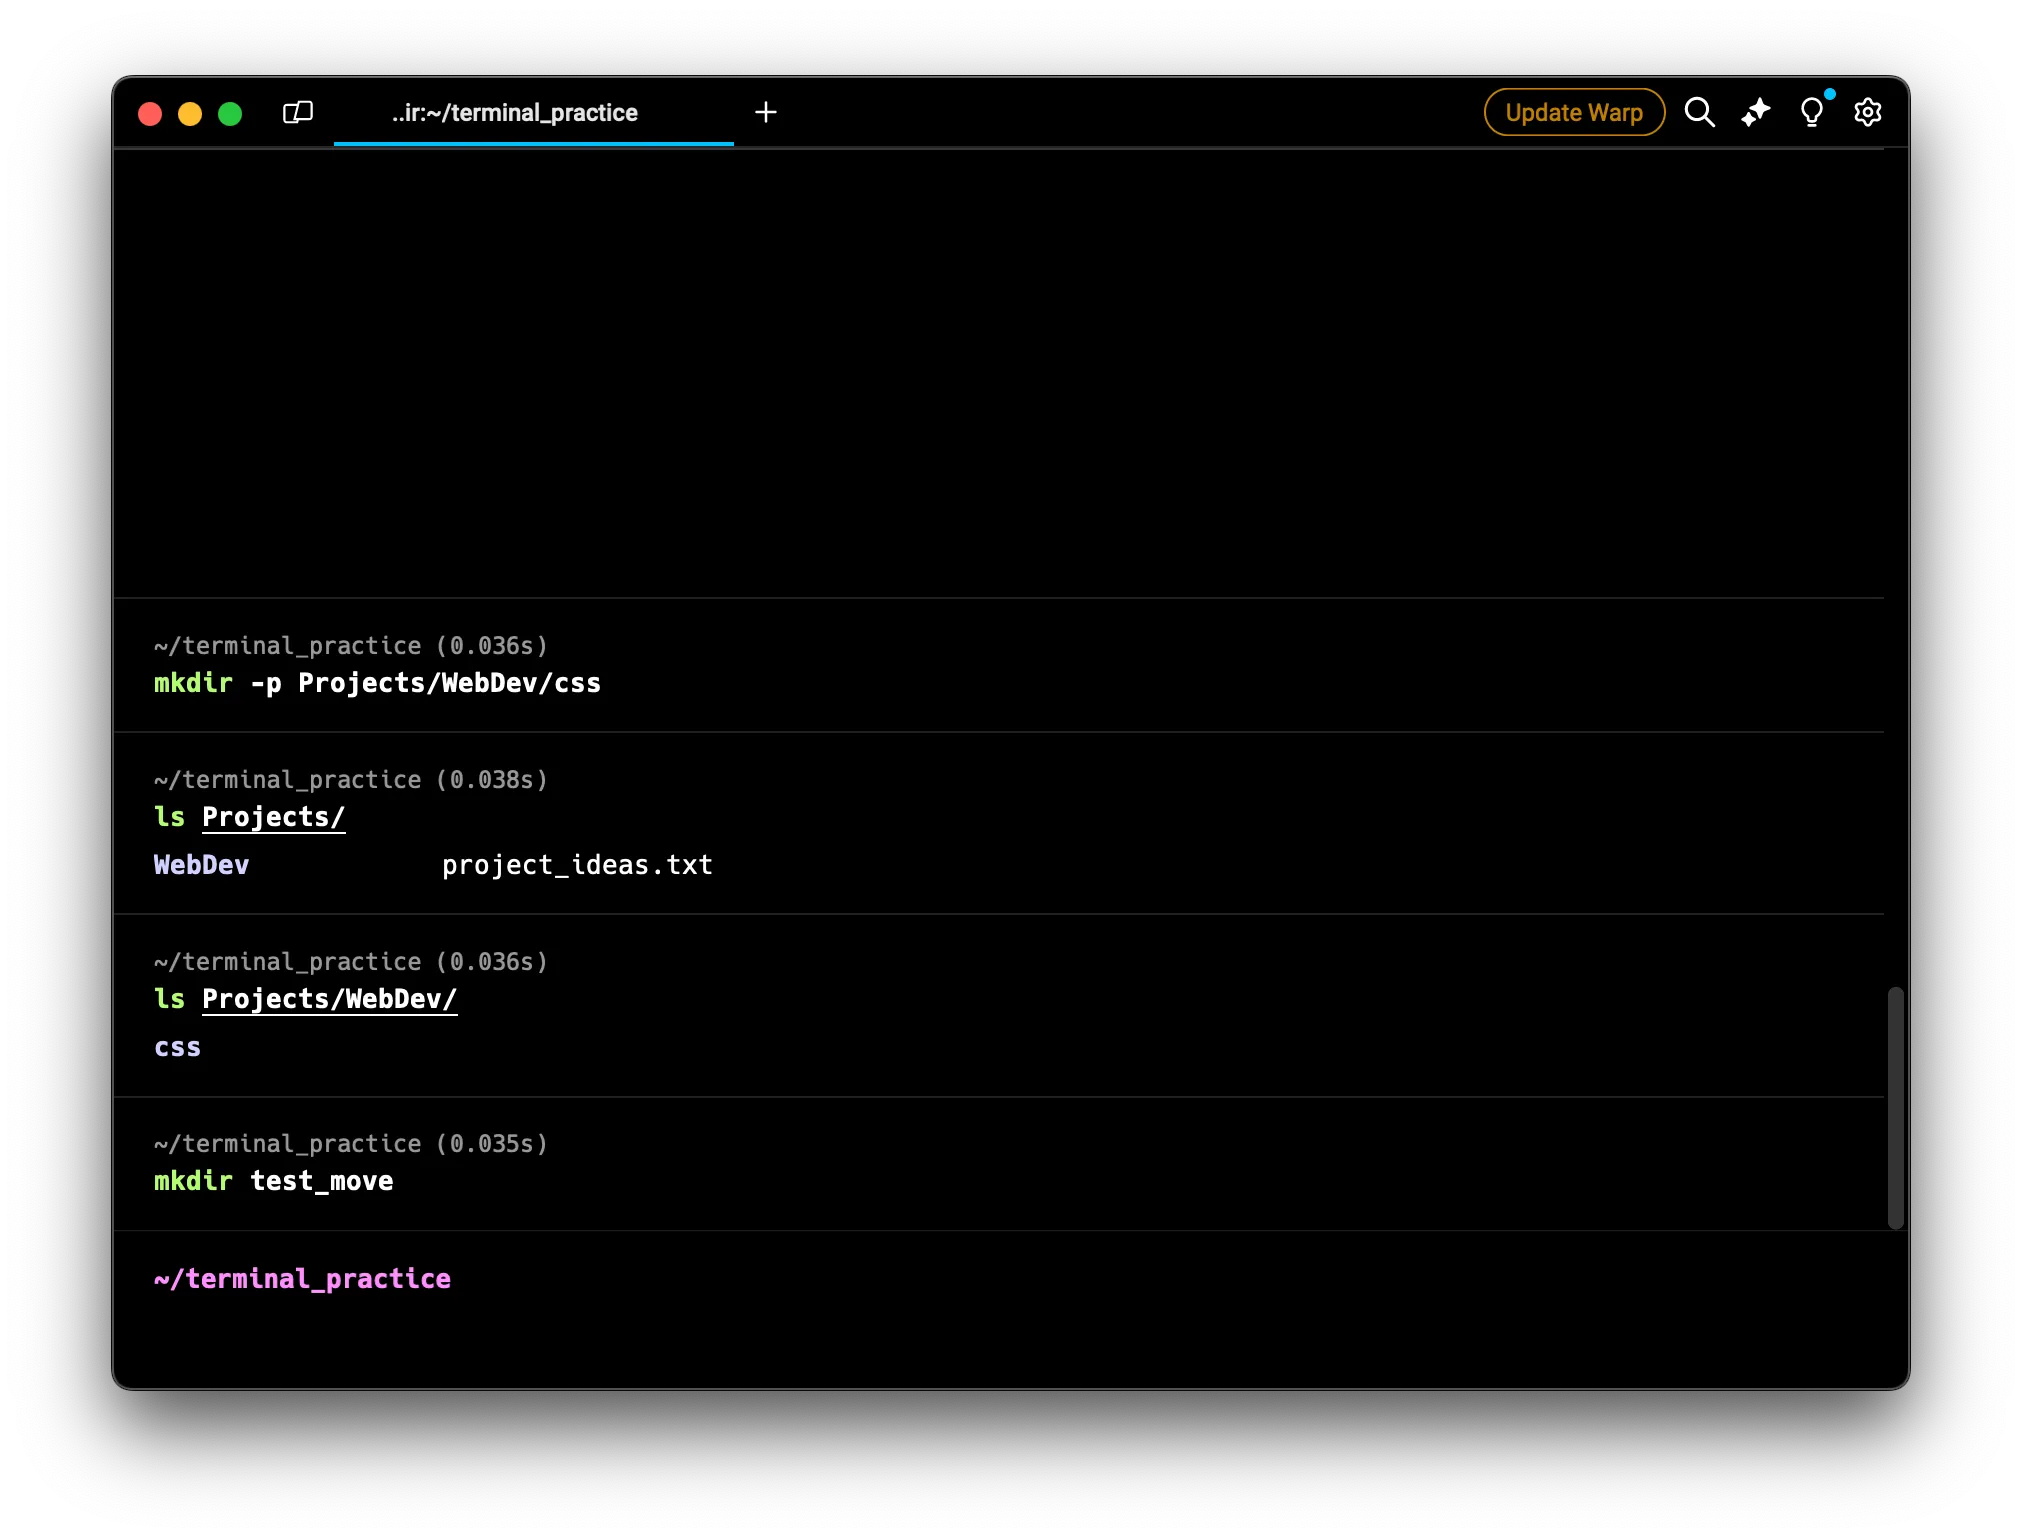
- Create a test directory:
mkdir test_move
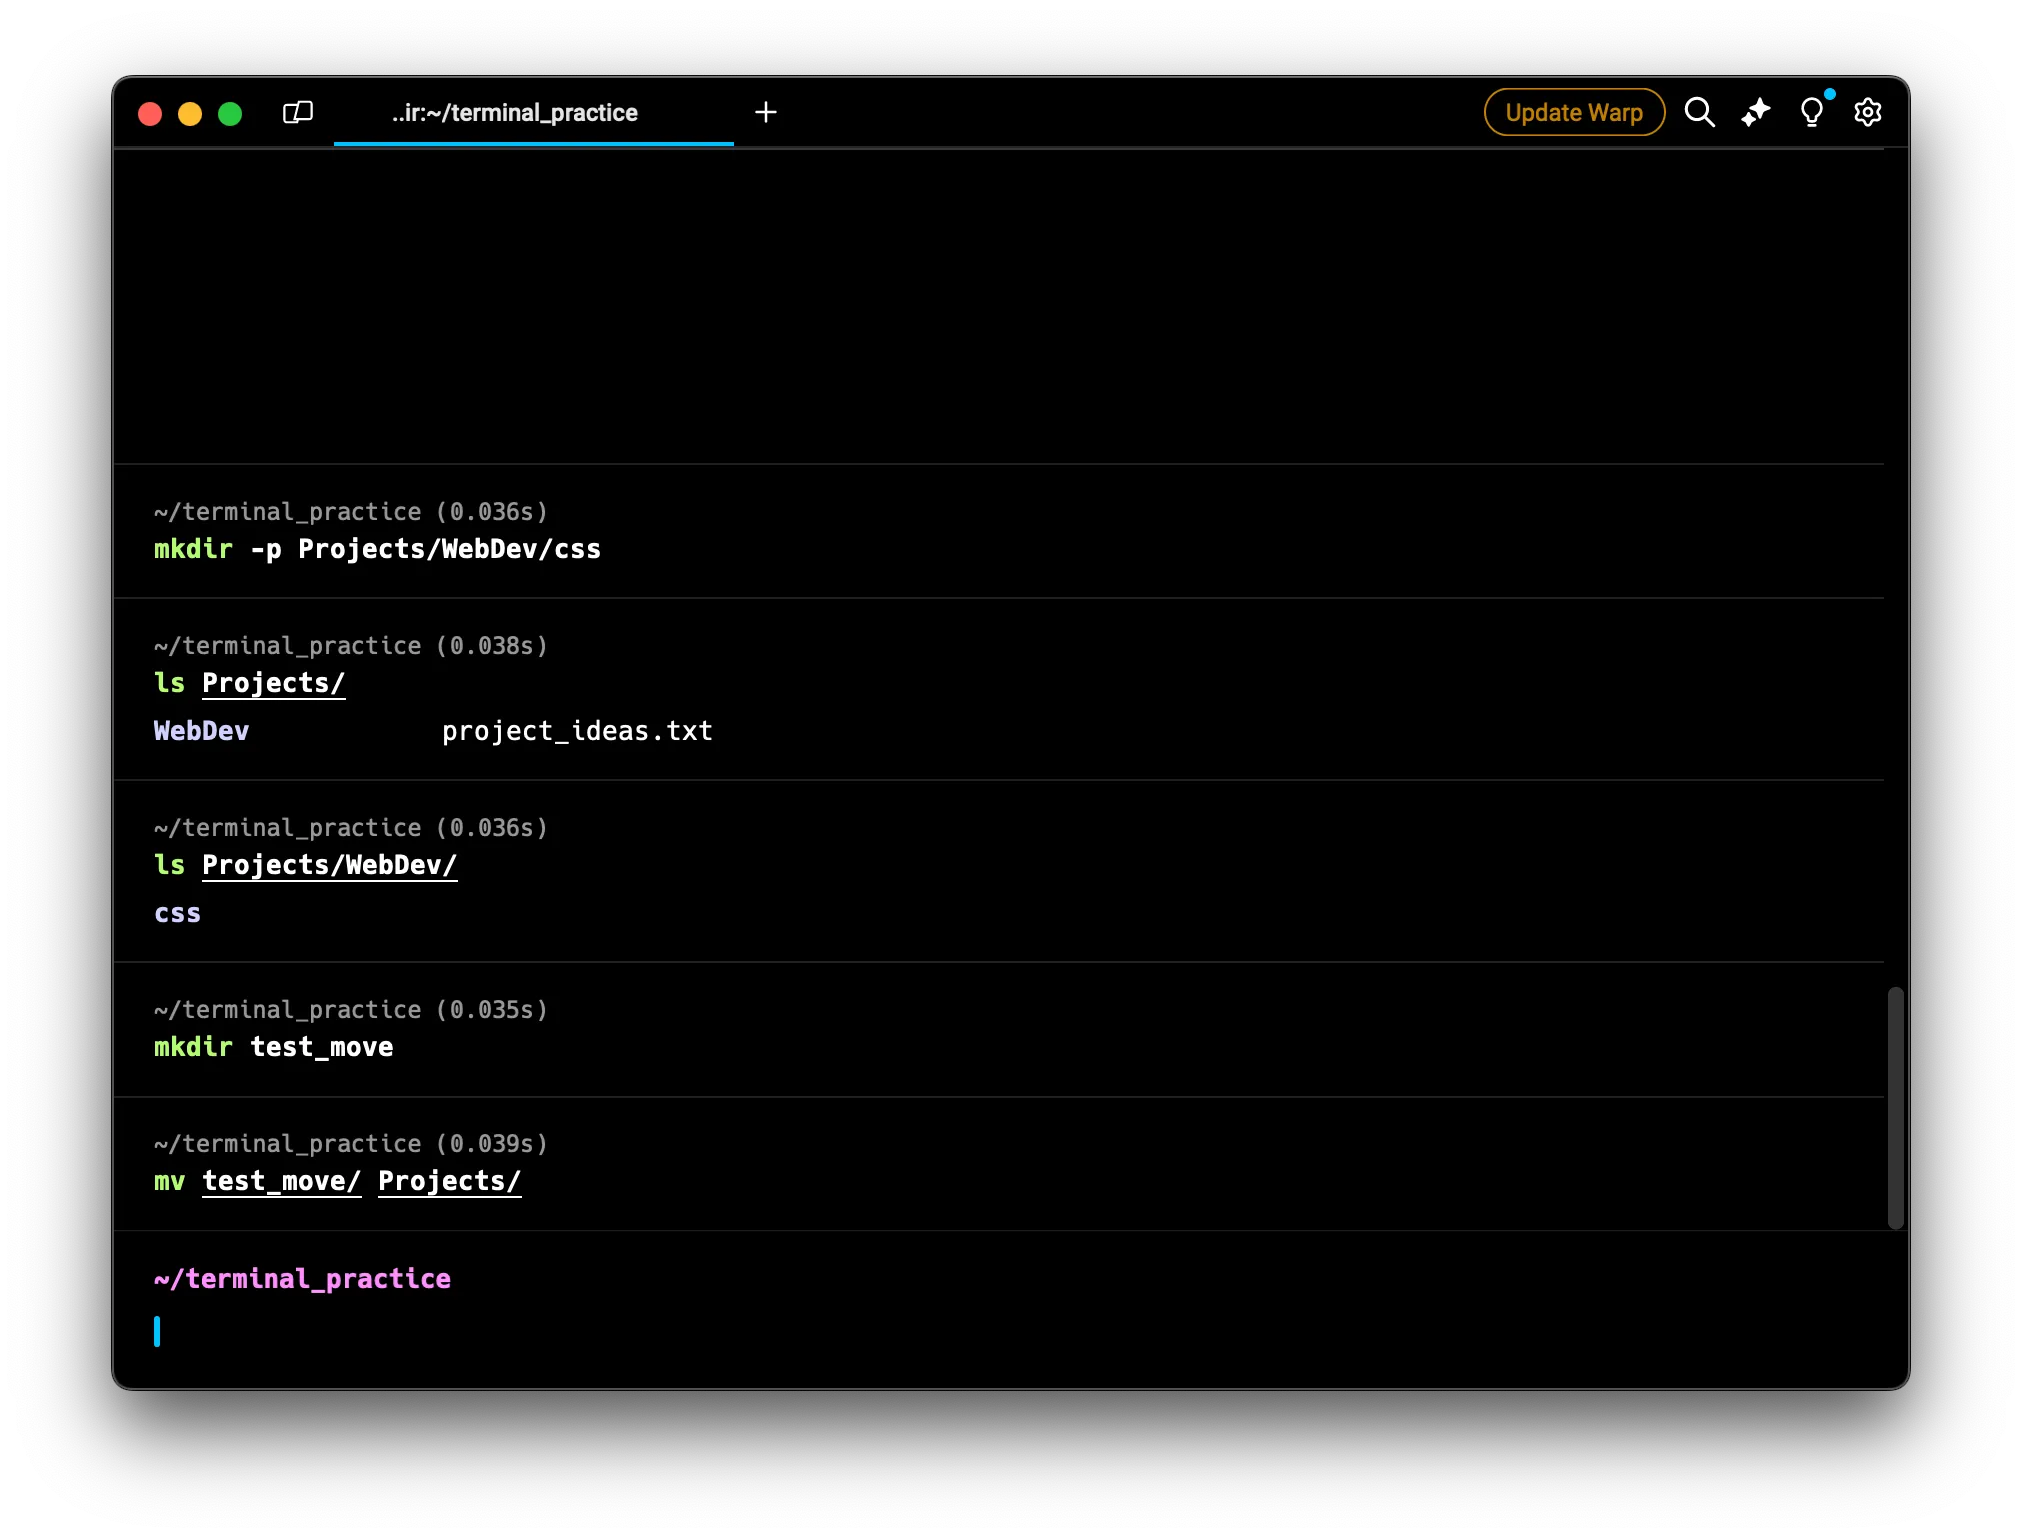
 2. Move it into the Projects directory:
mv test_move Projects/
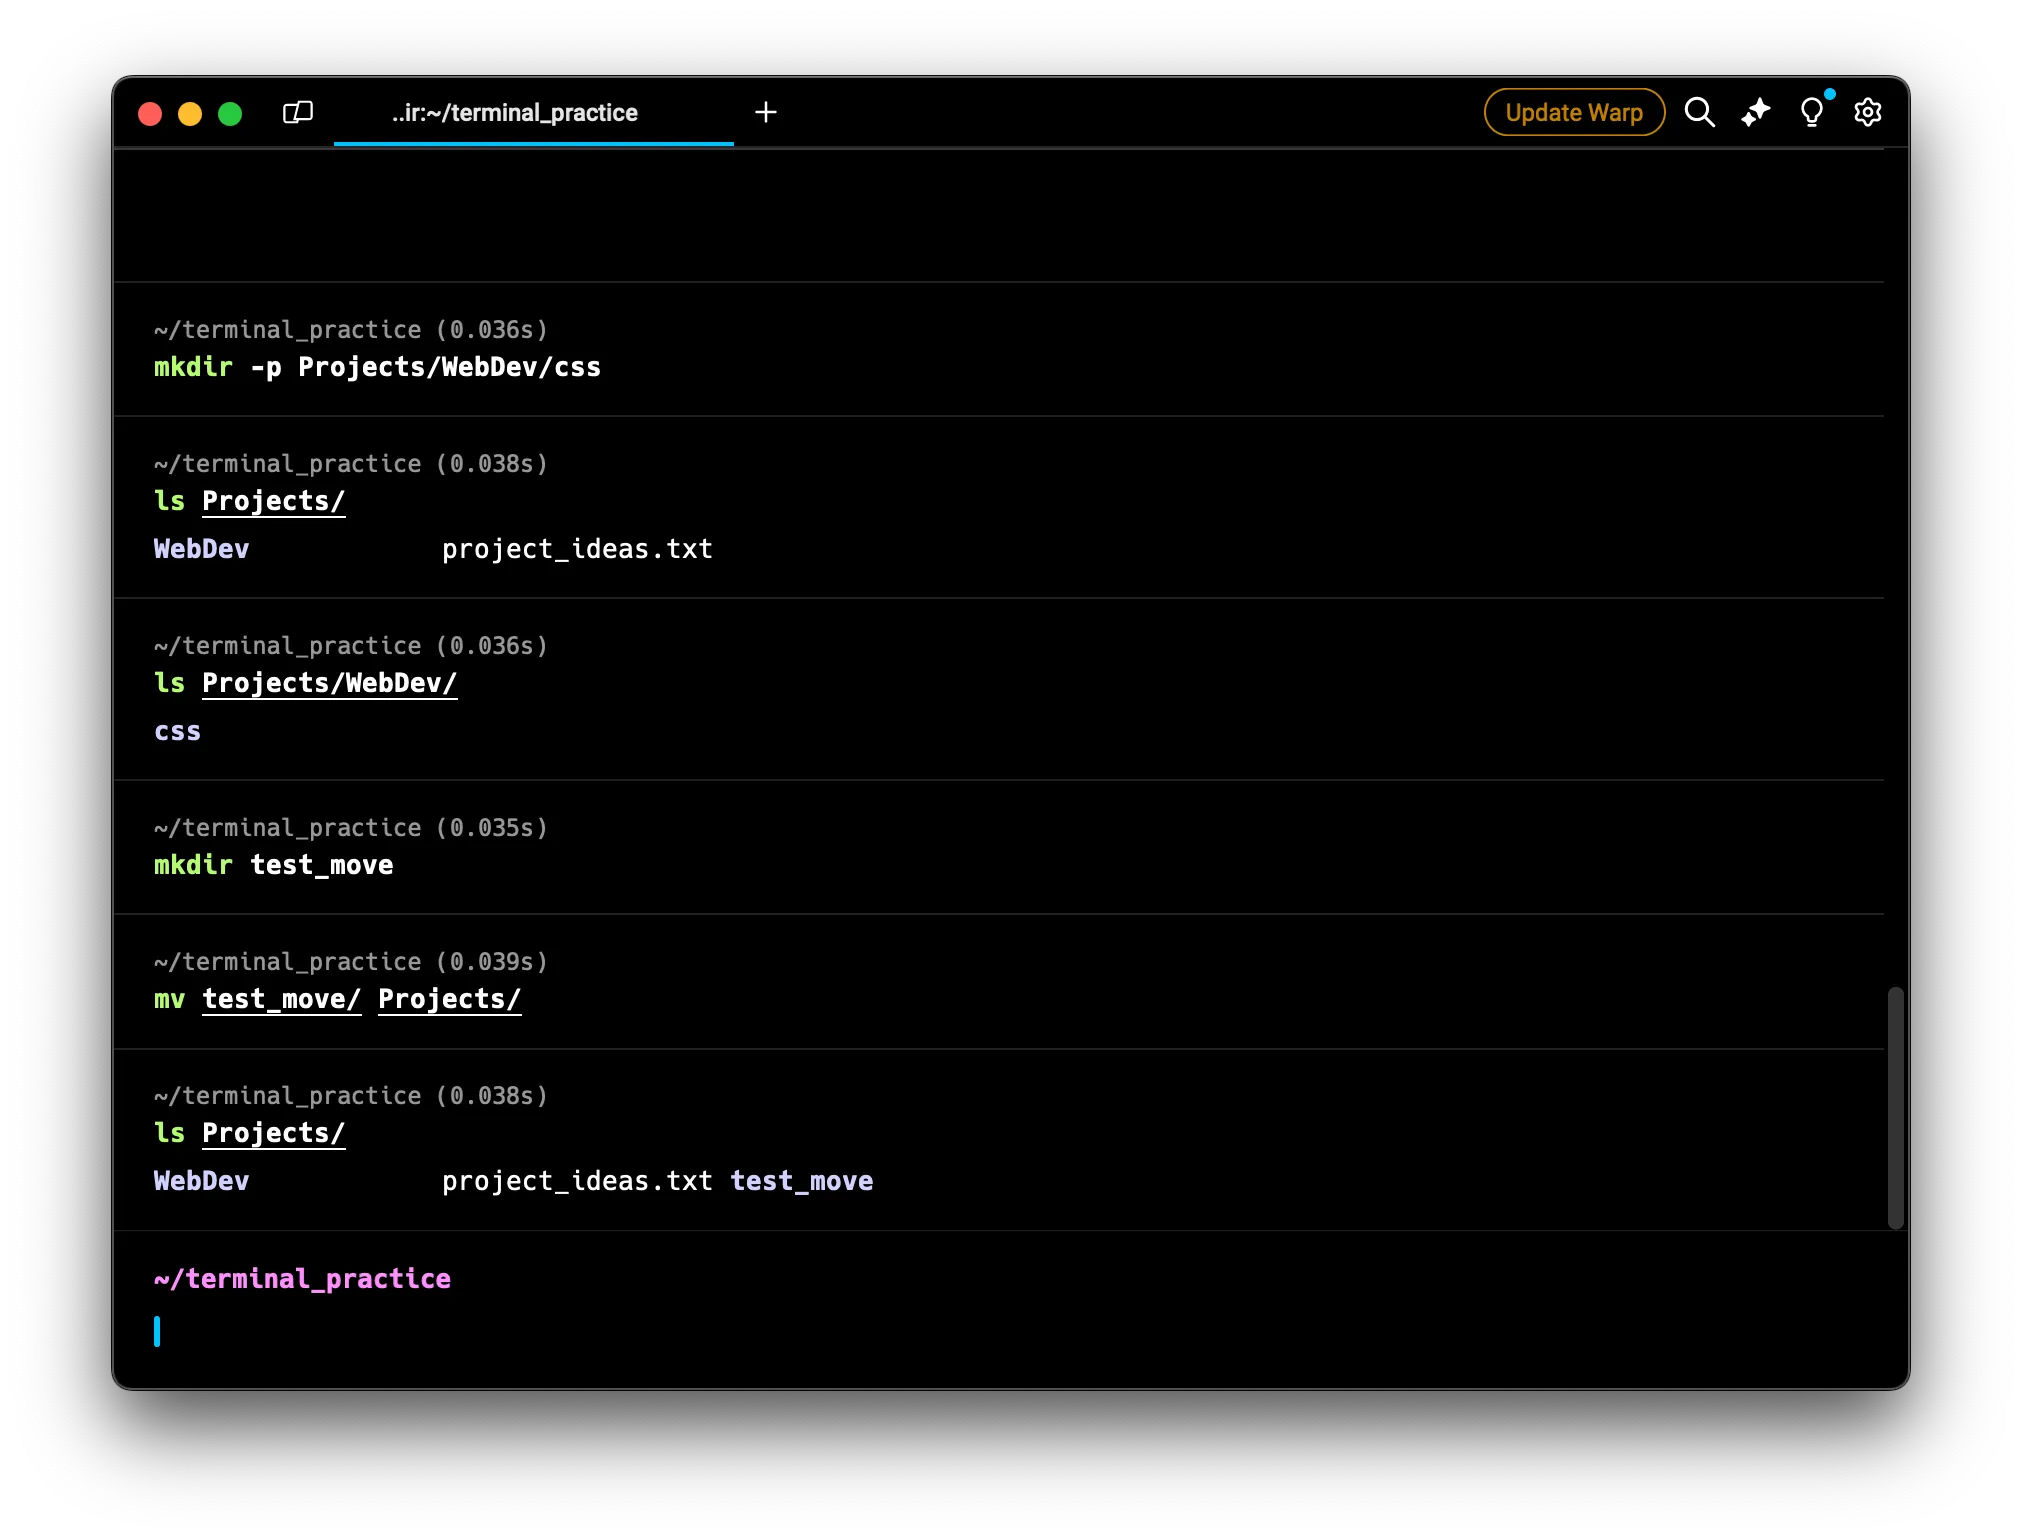
 3. Verify the move:
ls Projects
You should see “test_move” listed under Projects.
Copying Directories with cp -r
To copy a directory and all its contents, use cp with the -r flag:
cp -r source_directory destination_directory
Let’s try it:
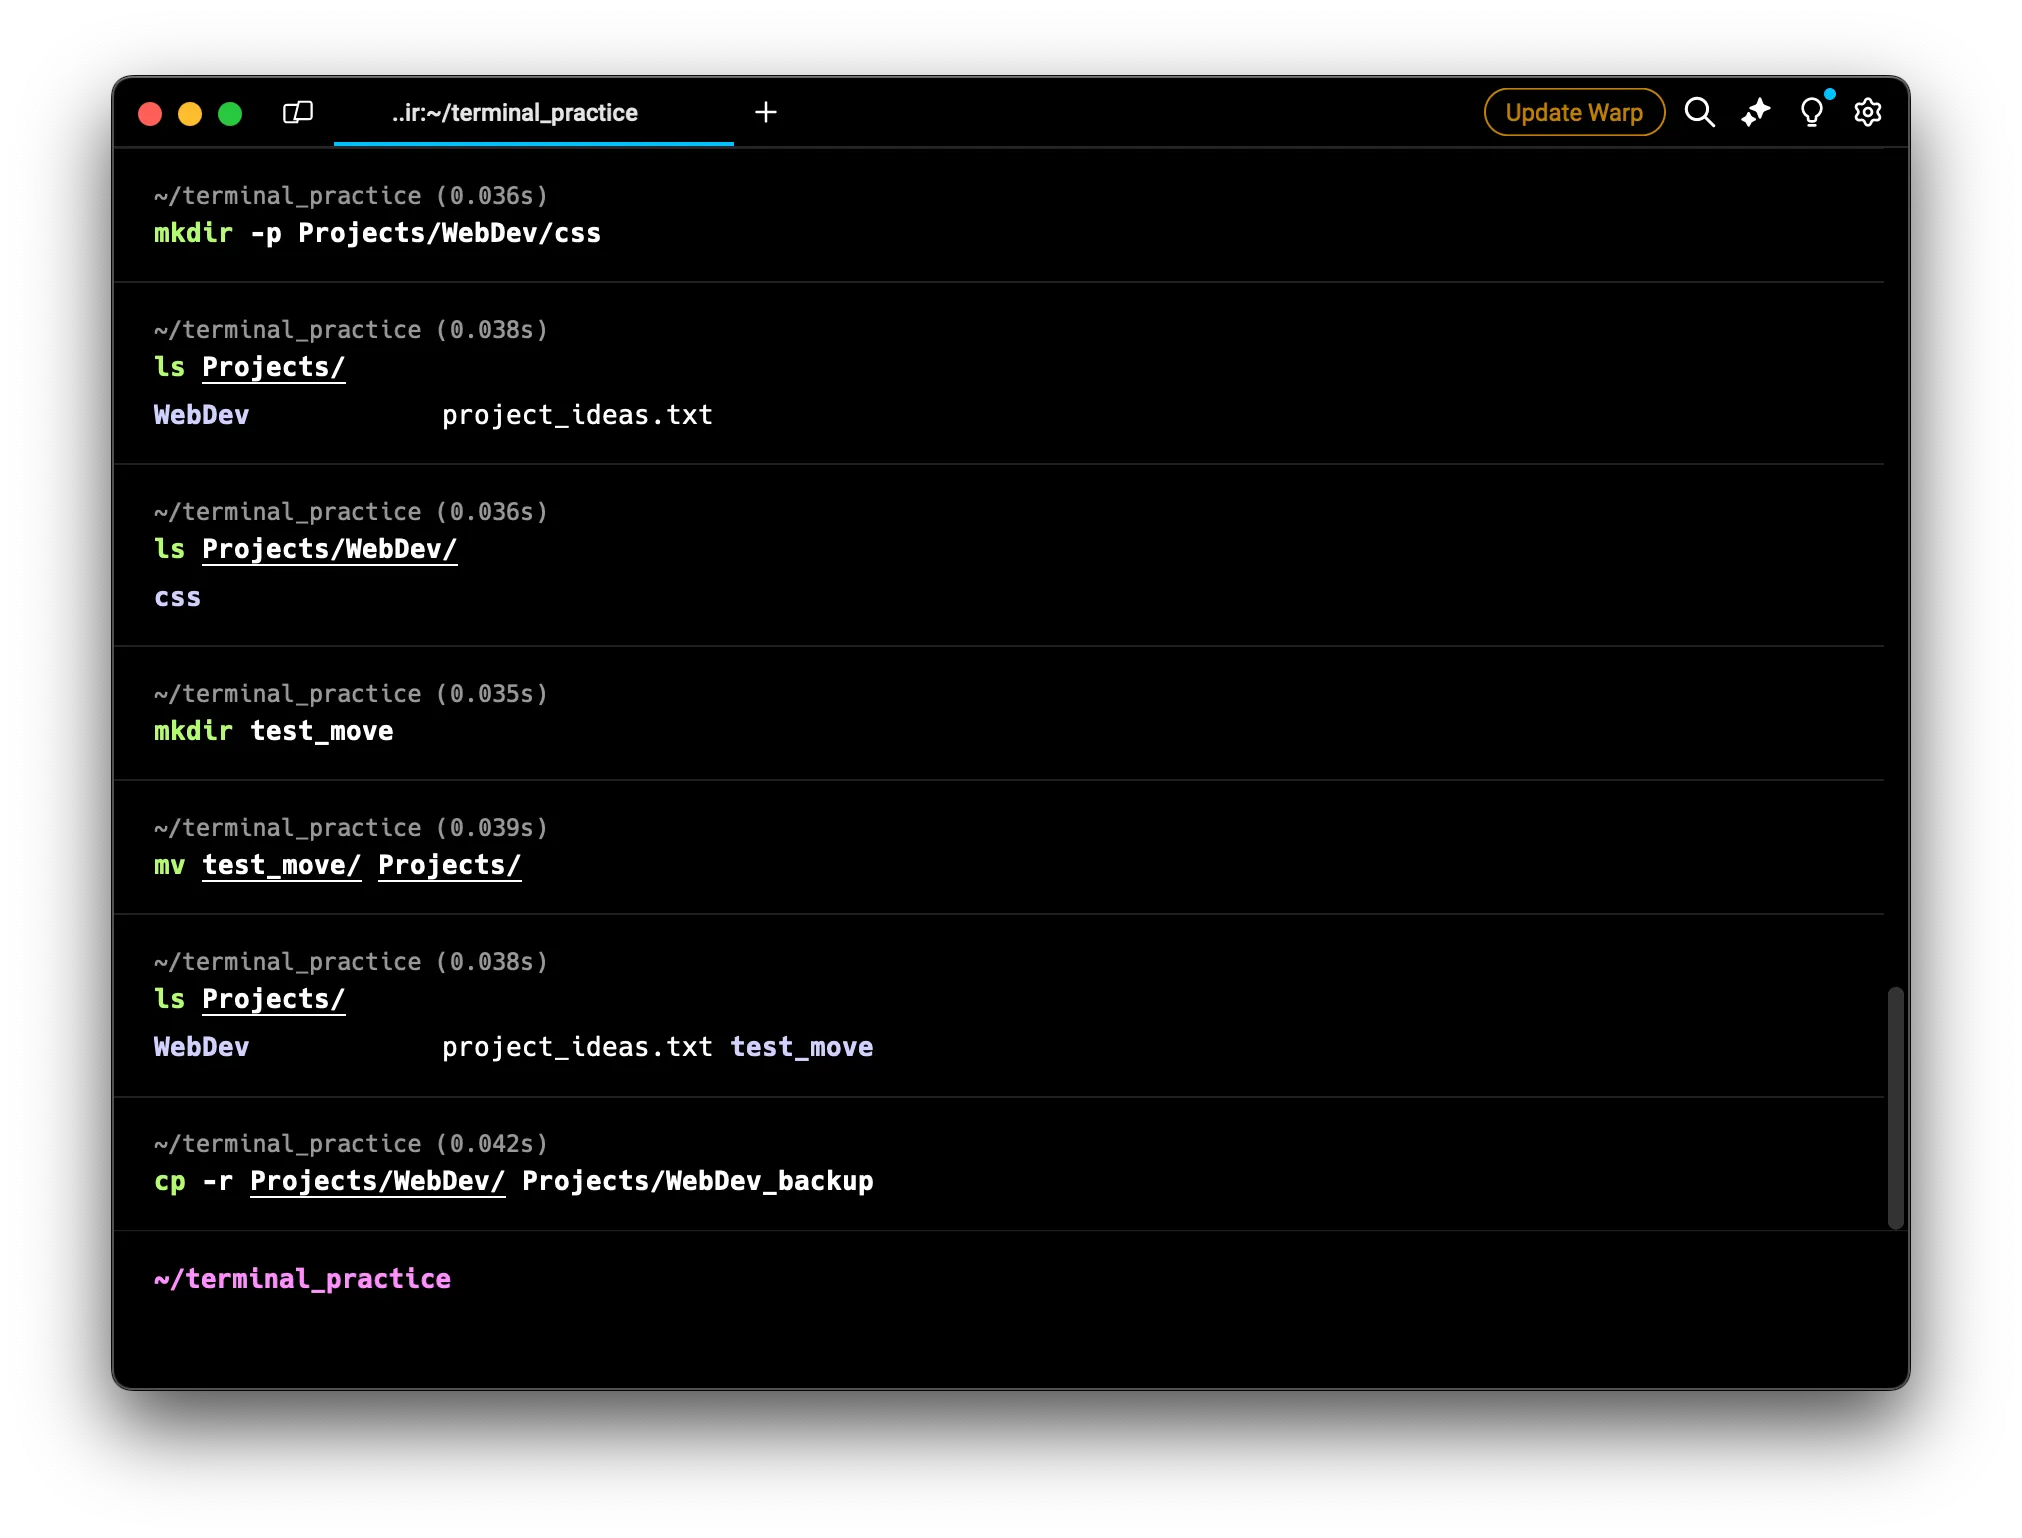
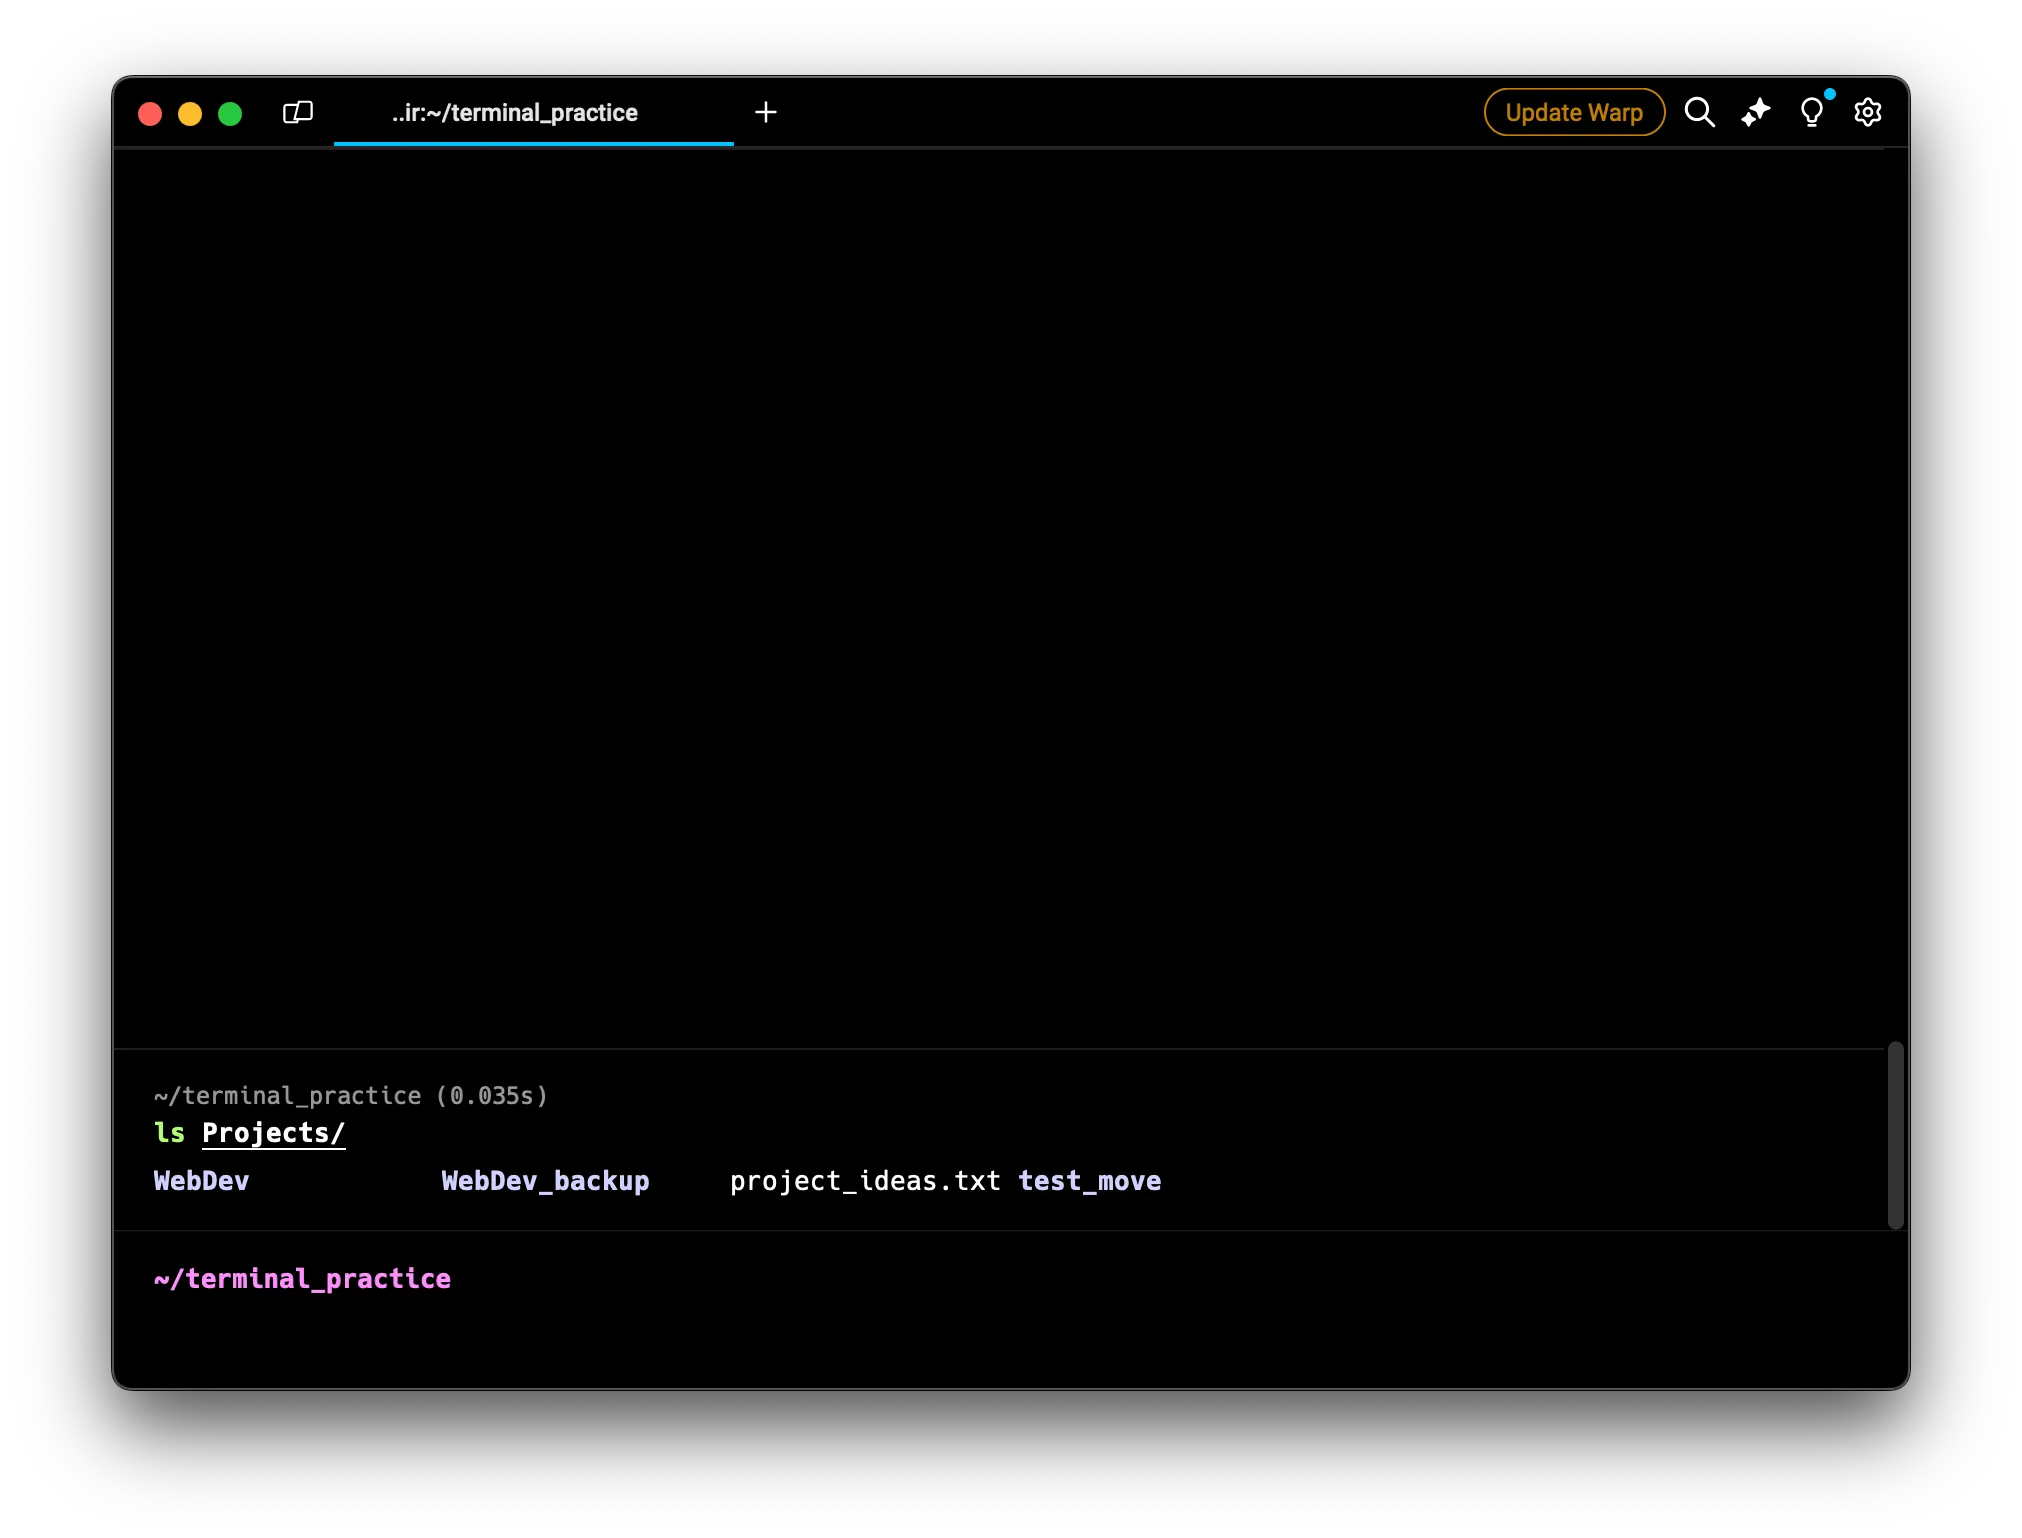
- Copy the WebDev directory:
cp -r Projects/WebDev Projects/WebDev_backup
- Verify the copy:
ls Projects
You should now see both “WebDev” and “WebDev_backup”
Practice Mission: Organizing Your Digital Space
Let’s put all these skills together:
- Navigate to the terminal_practice directory
- Create a new directory structure: Projects/PythonDev/scripts
- Create a file named “hello_world.py” in the scripts directory
- Copy the entire PythonDev directory to a new directory named PythonDev_backup
- Move the PythonDev_backup directory into the Documents directory
- Delete the original PythonDev directory from Projects
- Use
lsafter each step to verify your actions
Wrapping Up
Congratulations! You’ve just expanded your file management toolkit with some powerful new skills:
- Using
..to navigate up directories touch: Create empty filesmv: Move or rename files and directoriescp: Copy files and directoriesrm: Remove files and non-empty directoriesrmdir: Remove empty directoriesmkdir -p: Create nested directory structures
These commands form the backbone of file and directory manipulation in Linux. With practice, you’ll be able to efficiently organize and manage your digital workspace entirely from the command line.
Remember, the power of these commands also means they can be destructive if used carelessly. Always double-check your commands, especially when using rm, and consider using the -i flag for an extra layer of safety.
In our next lesson, we’ll dive into text processing and output redirection, opening up even more possibilities for working with your files and data in the terminal.
If you found yourself enjoying working in the terminal today, you might want to give Warp a try. Its modern interface and helpful features like auto-suggestions and clear output formatting can make your terminal experience even more enjoyable and productive. And remember, it’s completely free to use! You can download Warp here if you’re interested in enhancing your terminal experience.
Show Off Your Terminal Mastery!
You’ve accomplished a lot today! Why not share your achievements?
- Complete the practice mission
- Take a screenshot of your terminal showing the commands you used
- Post it on Twitter or LinkedIn
- Tag me (@introvertedbot on Twitter)
Keep exploring, and I’ll see you in the next lesson!