 Welcome back to our Linux Terminal series! Today, we’re diving into text processing and output manipulation. These skills are invaluable when you’re working with data or managing systems in Linux.
Imagine you’re a system administrator, and your boss asks you to analyze some server log files. You need to figure out:
- How many log entries are there in total?
- What was the first recorded event?
- What was the most recent event?
- Are there any error messages in the logs?
To tackle this task effectively, you’ll need to know how to work with text in the Linux terminal. Let’s get started!
Table of contents
Open Table of contents
Understanding Command Structure
Before we dive into specific commands, let’s talk about how Linux commands are typically structured. This will help you understand and use any command more effectively.
Basic Command Structure
A typical Linux command follows this basic structure:
command [options] [arguments]
Let’s break this down:
-
Command: This is the name of the program you want to run. For example,
cat,grep, orls. -
Options: These modify the behavior of the command. They usually start with a dash (-) or two dashes (—). For example,
-nor--line-number.- Short options use a single dash and a single letter, like
-aor-l. - Long options use two dashes and a word, like
--allor--long. - You can often combine short options, like
-alinstead of-a -l.
- Short options use a single dash and a single letter, like
-
Arguments: These are the targets of the command, often file or directory names.
Examples of Options and Arguments
Let’s look at a few examples to make this clearer:
-
ls -l Documentslsis the command (list directory contents)-lis an option (use long listing format)Documentsis an argument (the directory to list)
-
grep --ignore-case "error" server.loggrepis the command (search for patterns)--ignore-caseis a long option (ignore case distinctions)"error"is an argument (the pattern to search for)server.logis another argument (the file to search in)
-
cat -n file.txtcatis the command (concatenate and print files)-nis an option (number all output lines)file.txtis an argument (the file to display)
Understanding this structure will help you use commands more flexibly and read command documentation more easily. Now, let’s dive into our specific text processing commands!
Setting Up Our Workspace
First, let’s create a workspace and a sample log file to practice with. We’ll use several commands to do this.
cd (Change Directory)
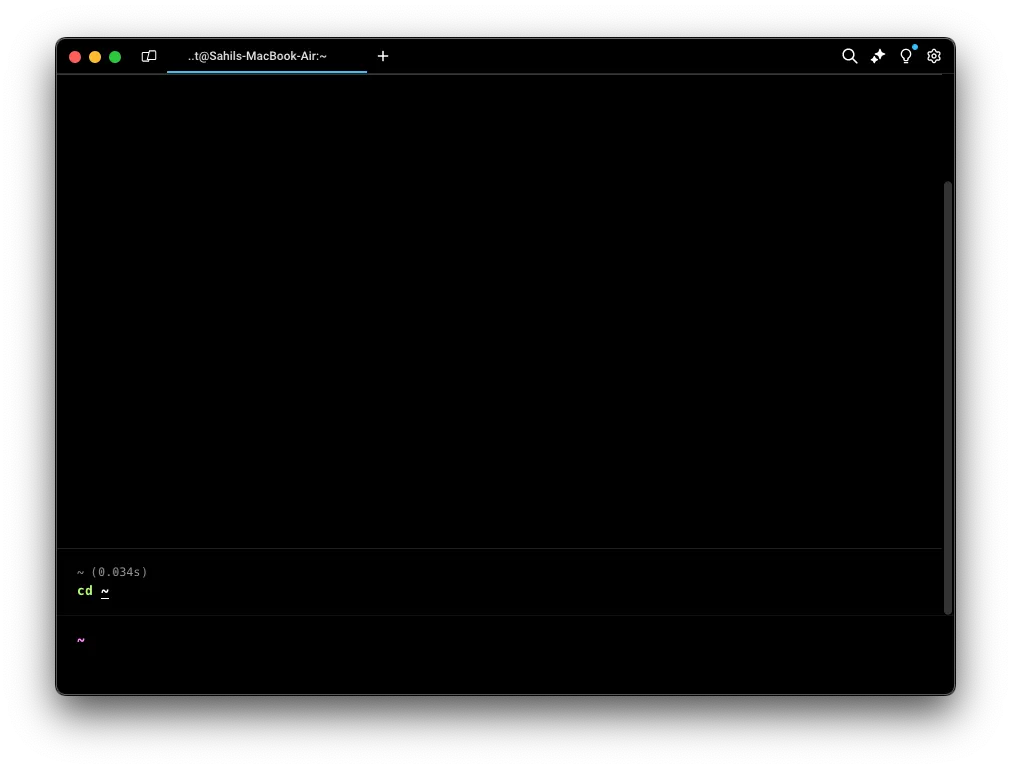
The cd command is our navigation tool. It stands for “change directory” and helps us move around the file system. To go to your home directory, type:
cd ~
mkdir (Make Directory)
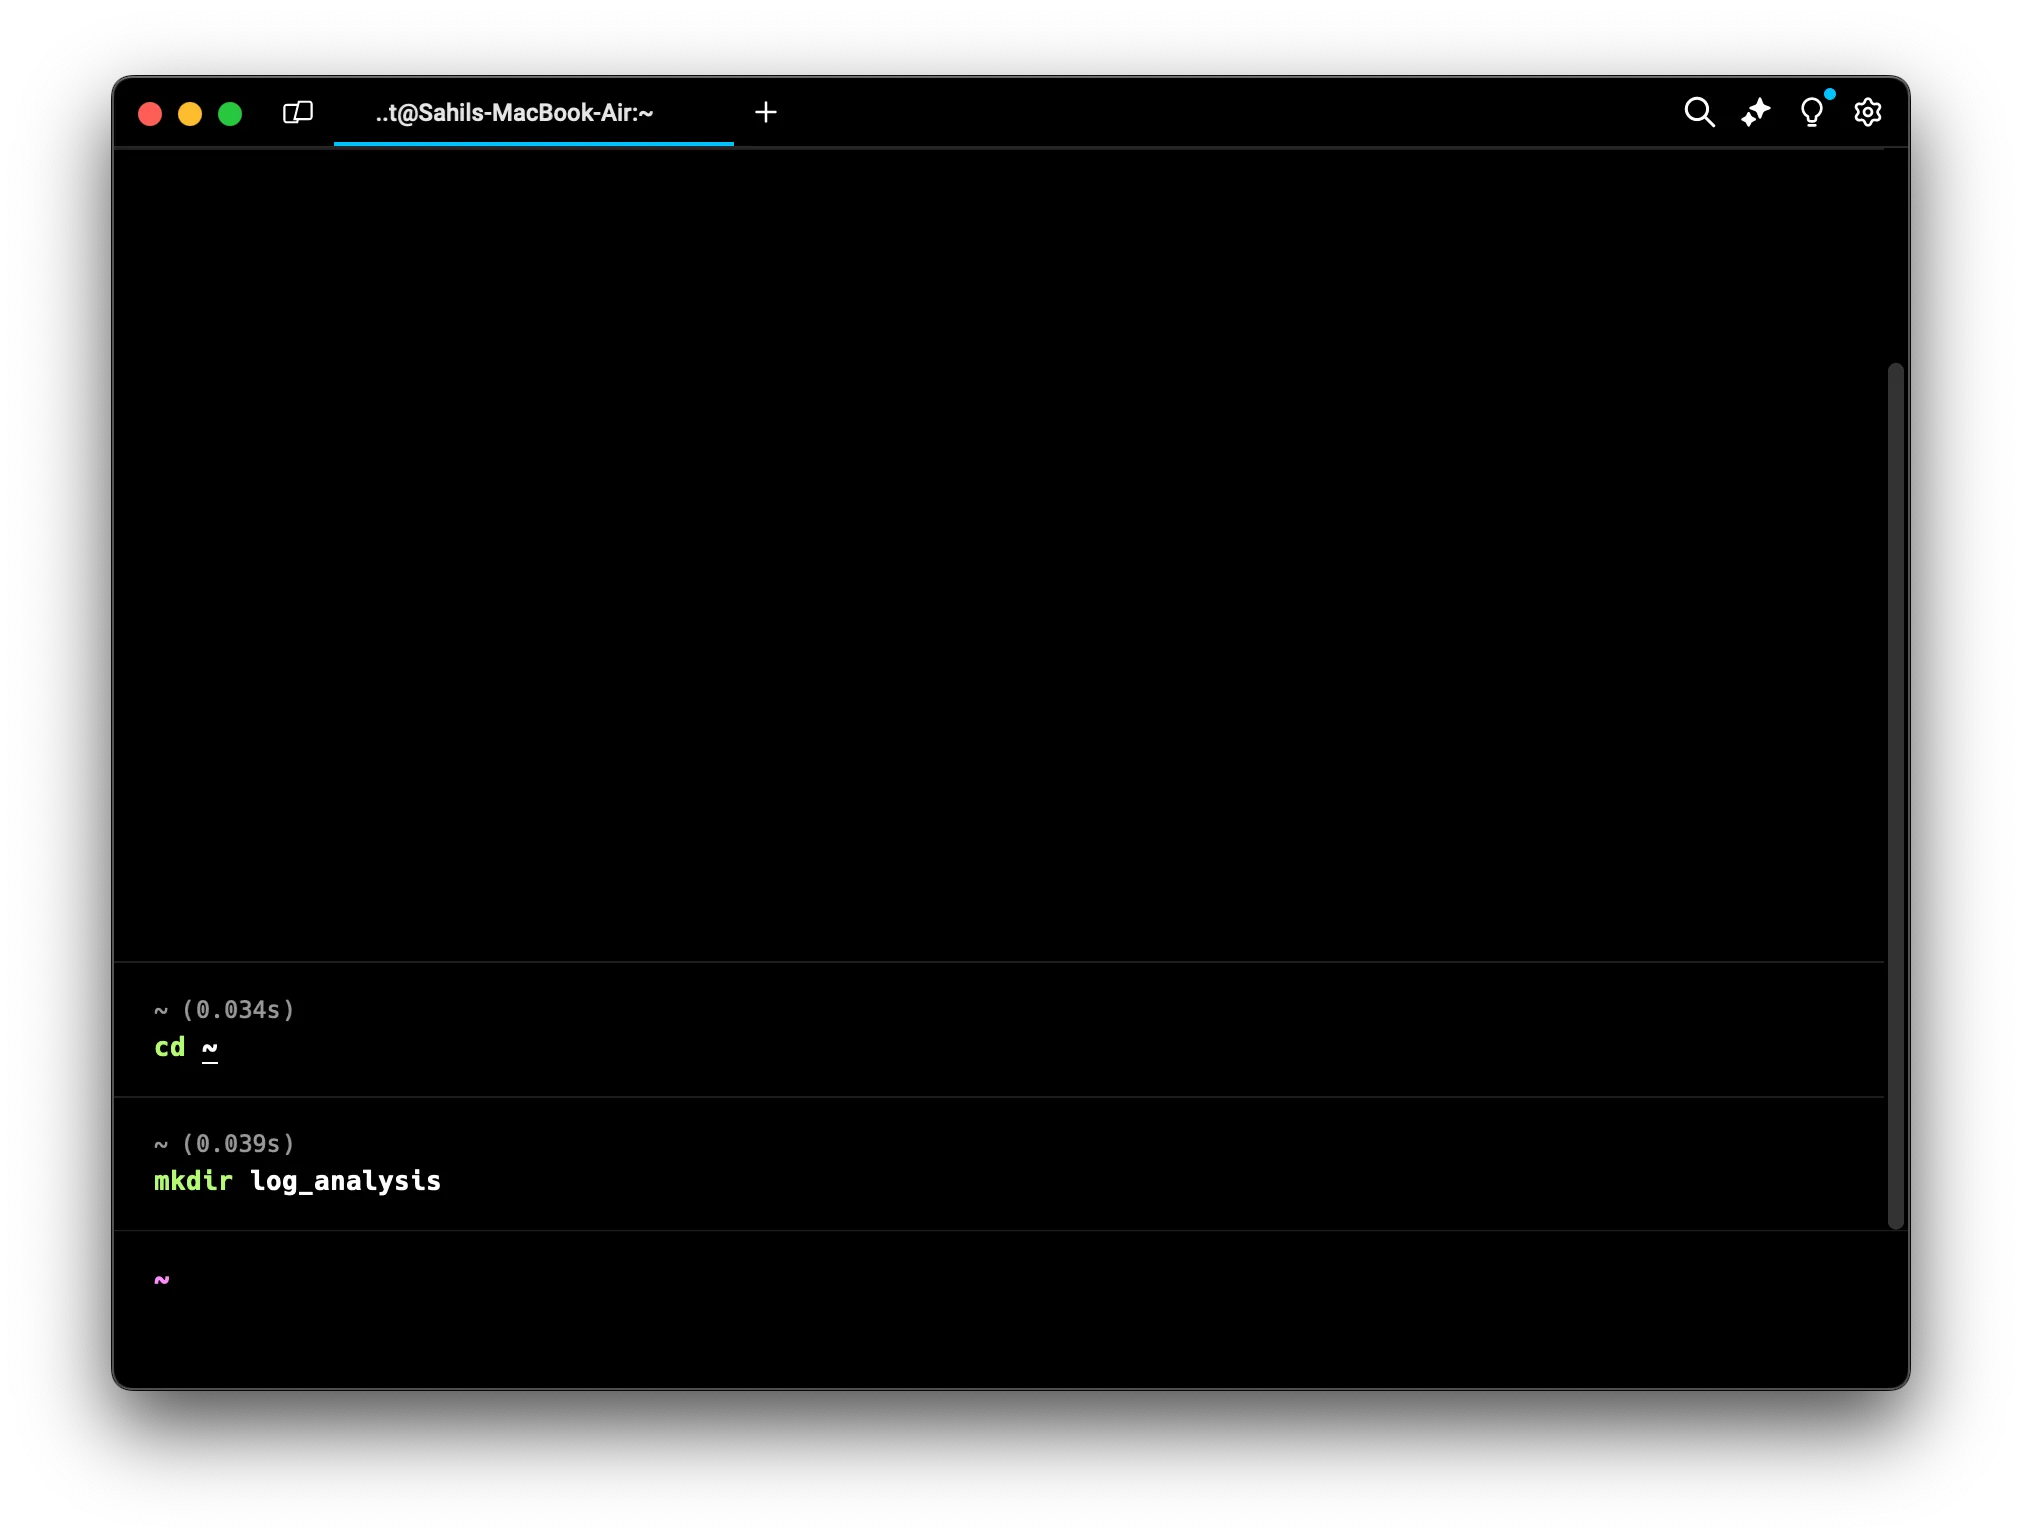
Now, let’s create a new folder for our project. We’ll use the mkdir command, which makes a new directory. Create a folder called “log_analysis” like this:
mkdir log_analysis
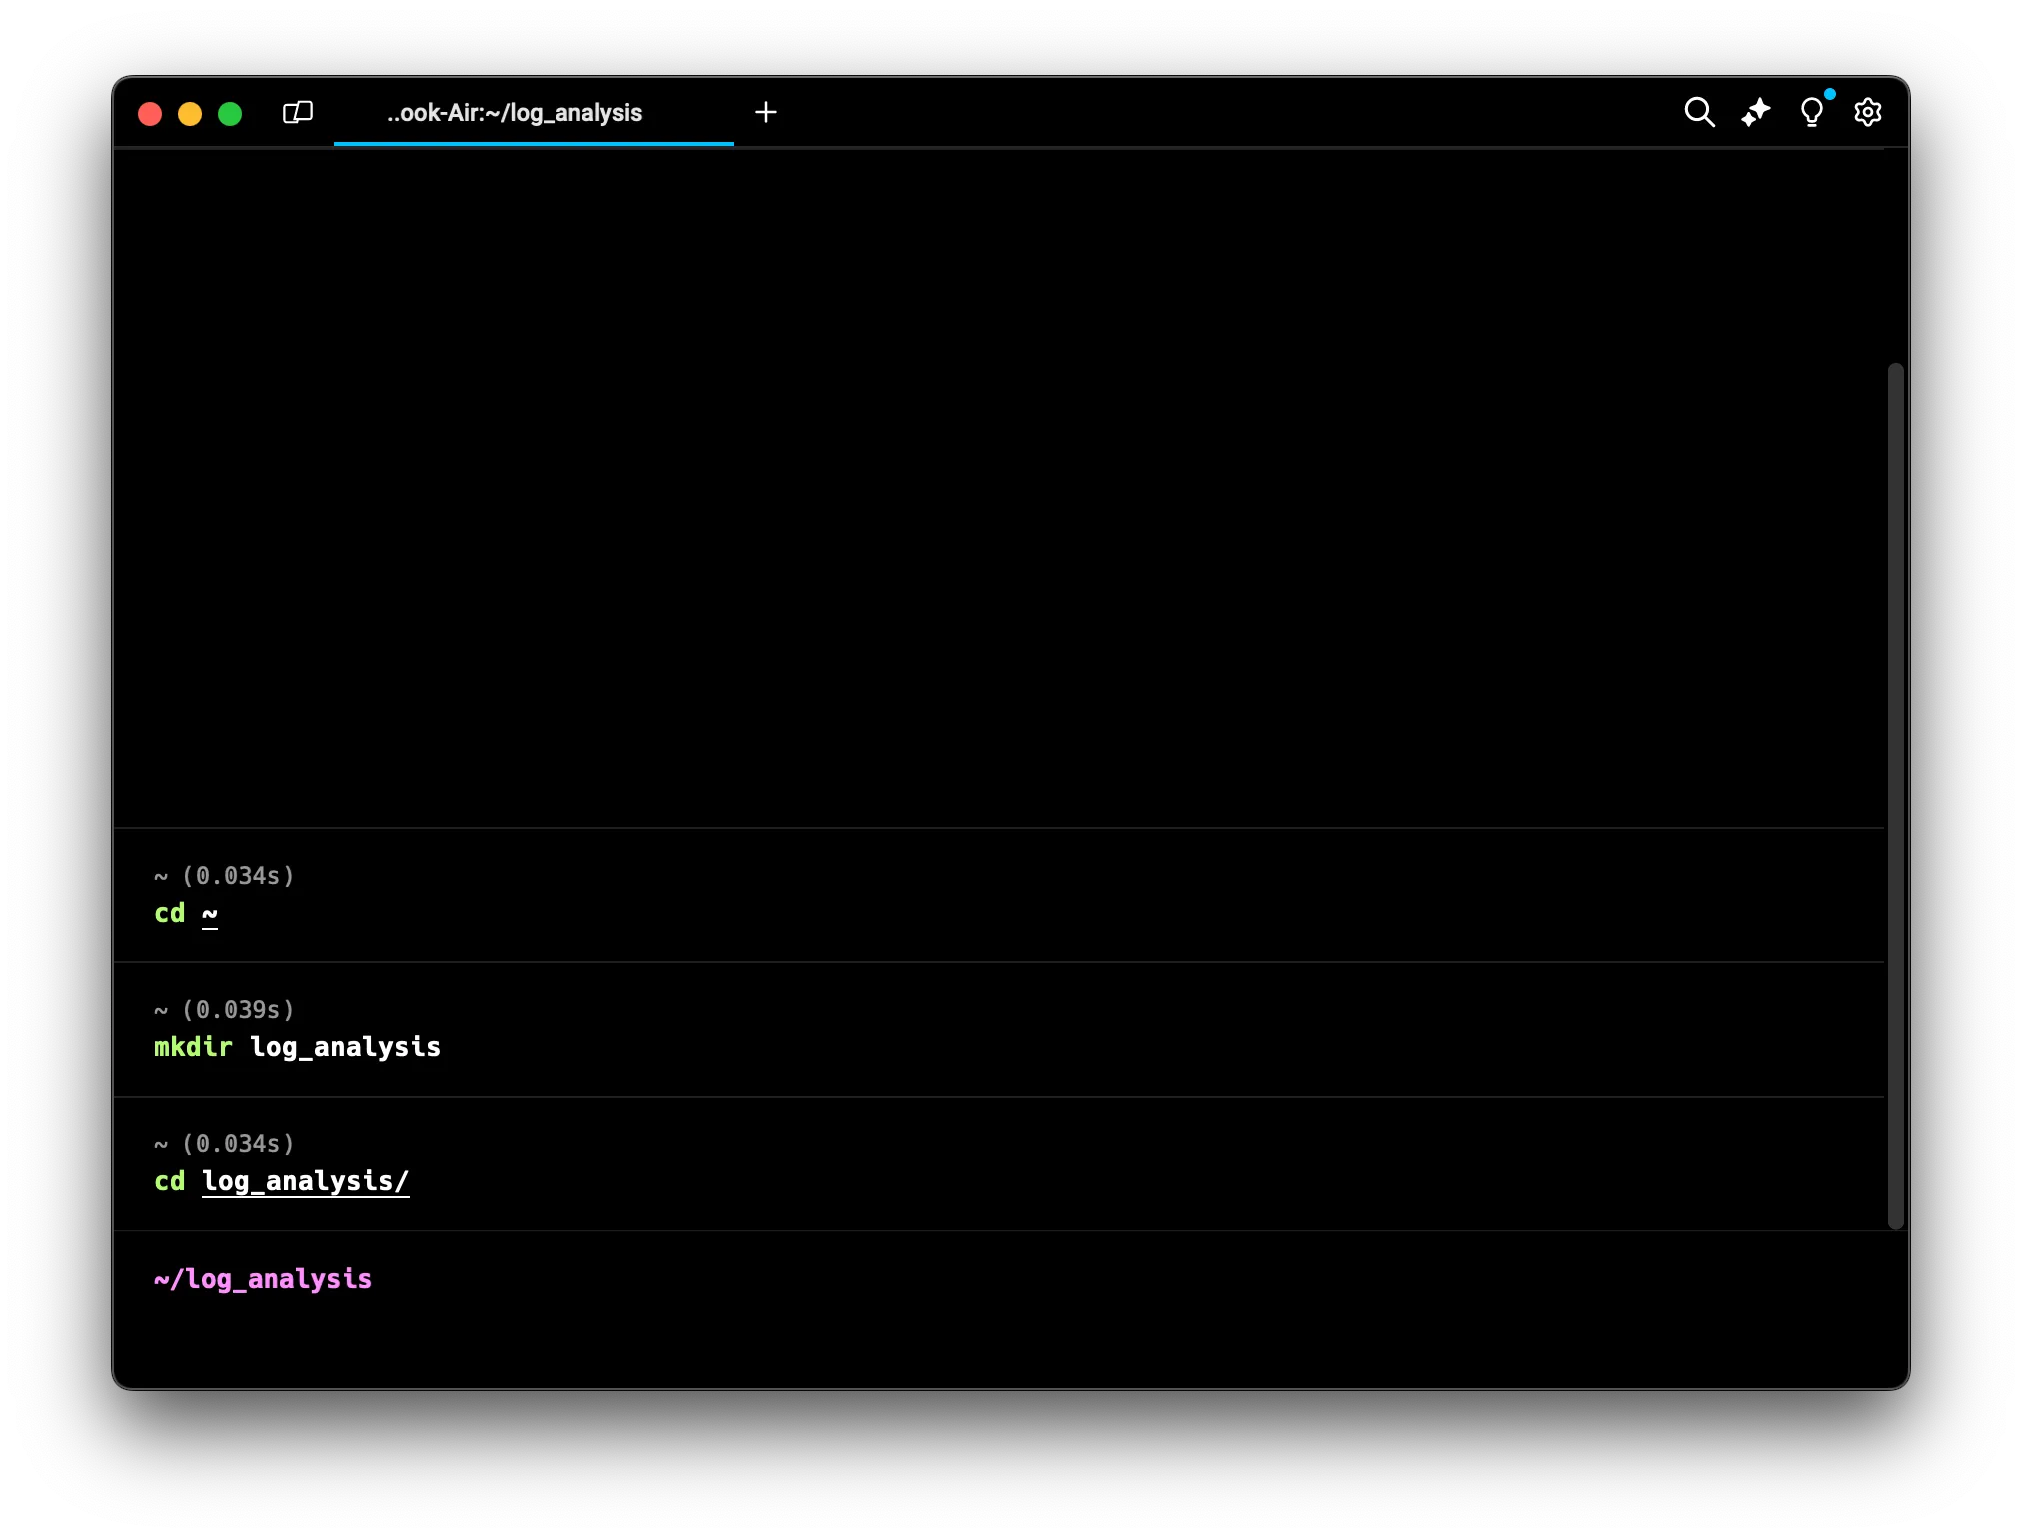
 Let’s move into this new folder:
cd log_analysis
cat (Concatenate and Print)
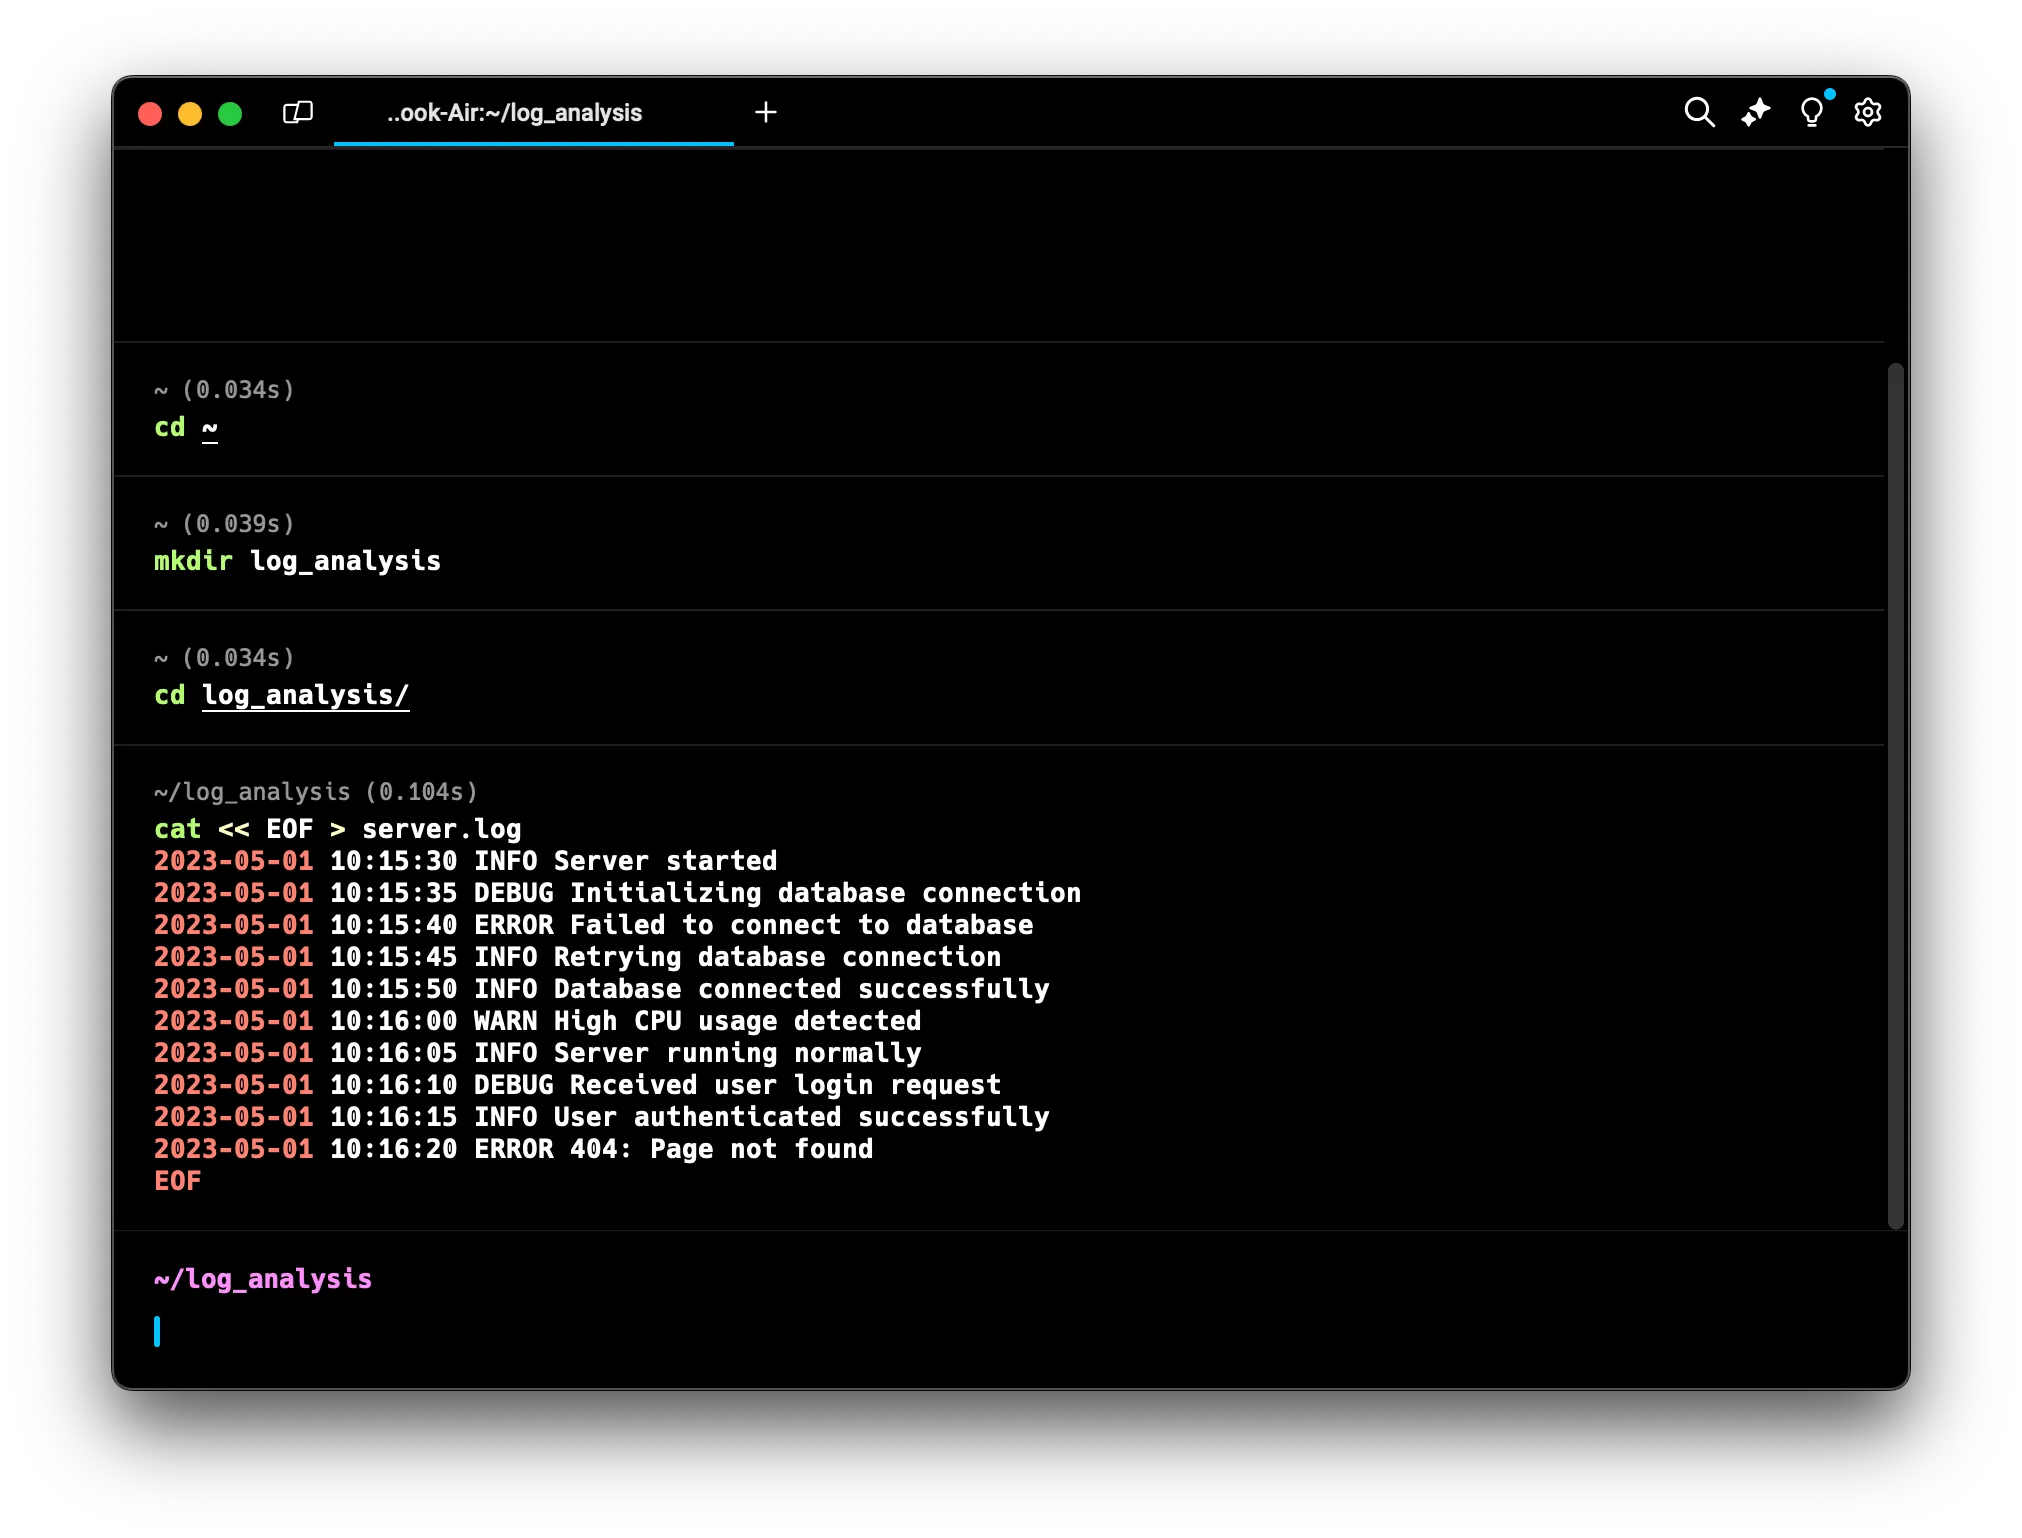
Next, we’ll create our sample log file. We’ll use the cat command, which is typically used to display file contents, but can also create files. Here’s how we’ll use it:
cat << EOF > server.log
2023-05-01 10:15:30 INFO Server started
2023-05-01 10:15:35 DEBUG Initializing database connection
2023-05-01 10:15:40 ERROR Failed to connect to database
2023-05-01 10:15:45 INFO Retrying database connection
2023-05-01 10:15:50 INFO Database connected successfully
2023-05-01 10:16:00 WARN High CPU usage detected
2023-05-01 10:16:05 INFO Server running normally
2023-05-01 10:16:10 DEBUG Received user login request
2023-05-01 10:16:15 INFO User authenticated successfully
2023-05-01 10:16:20 ERROR 404: Page not found
EOF
ls (List Directory Contents)
To make sure our file was created, we can use the ls command. It lists files and directories in the current location:
ls
You should see “server.log” in the list.
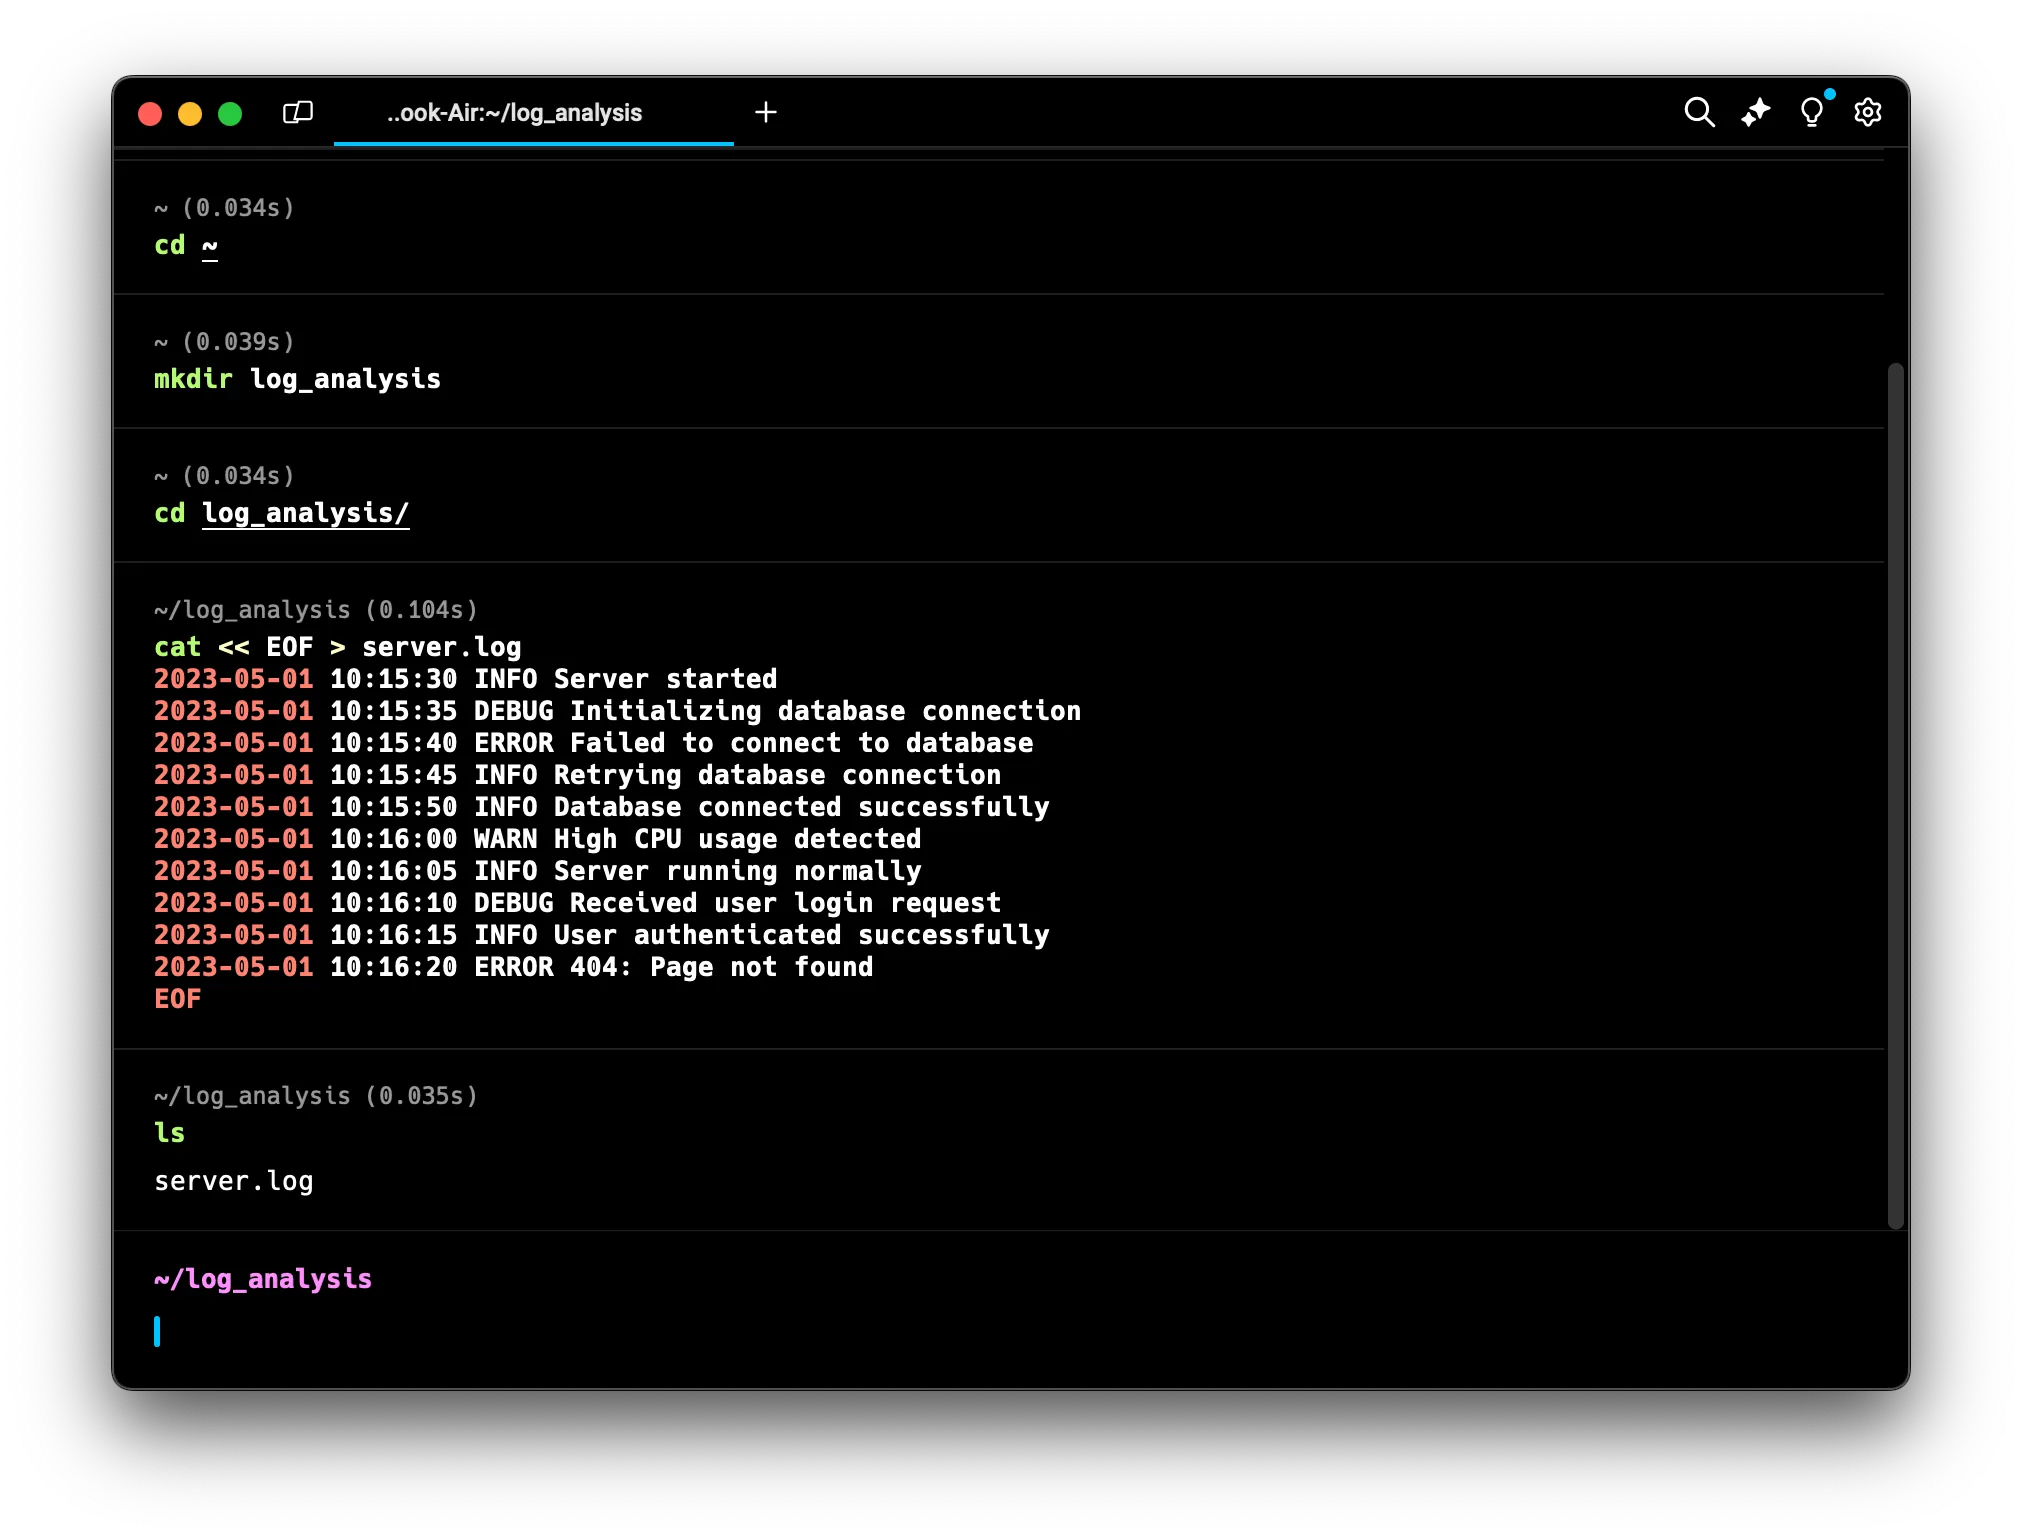 Great! We now have a sample log file to analyze. Let’s start investigating!
Viewing File Contents
To begin our analysis, we need to see what’s in the log file. Let’s explore several commands that help us view file contents in different ways.
cat (Concatenate and Print)
The cat command is a versatile tool. While we used it earlier to create a file, its primary purpose is to display file contents. Here’s how it works:
cat [option] [file_name]
To see everything in our log file, simply type:
cat server.log
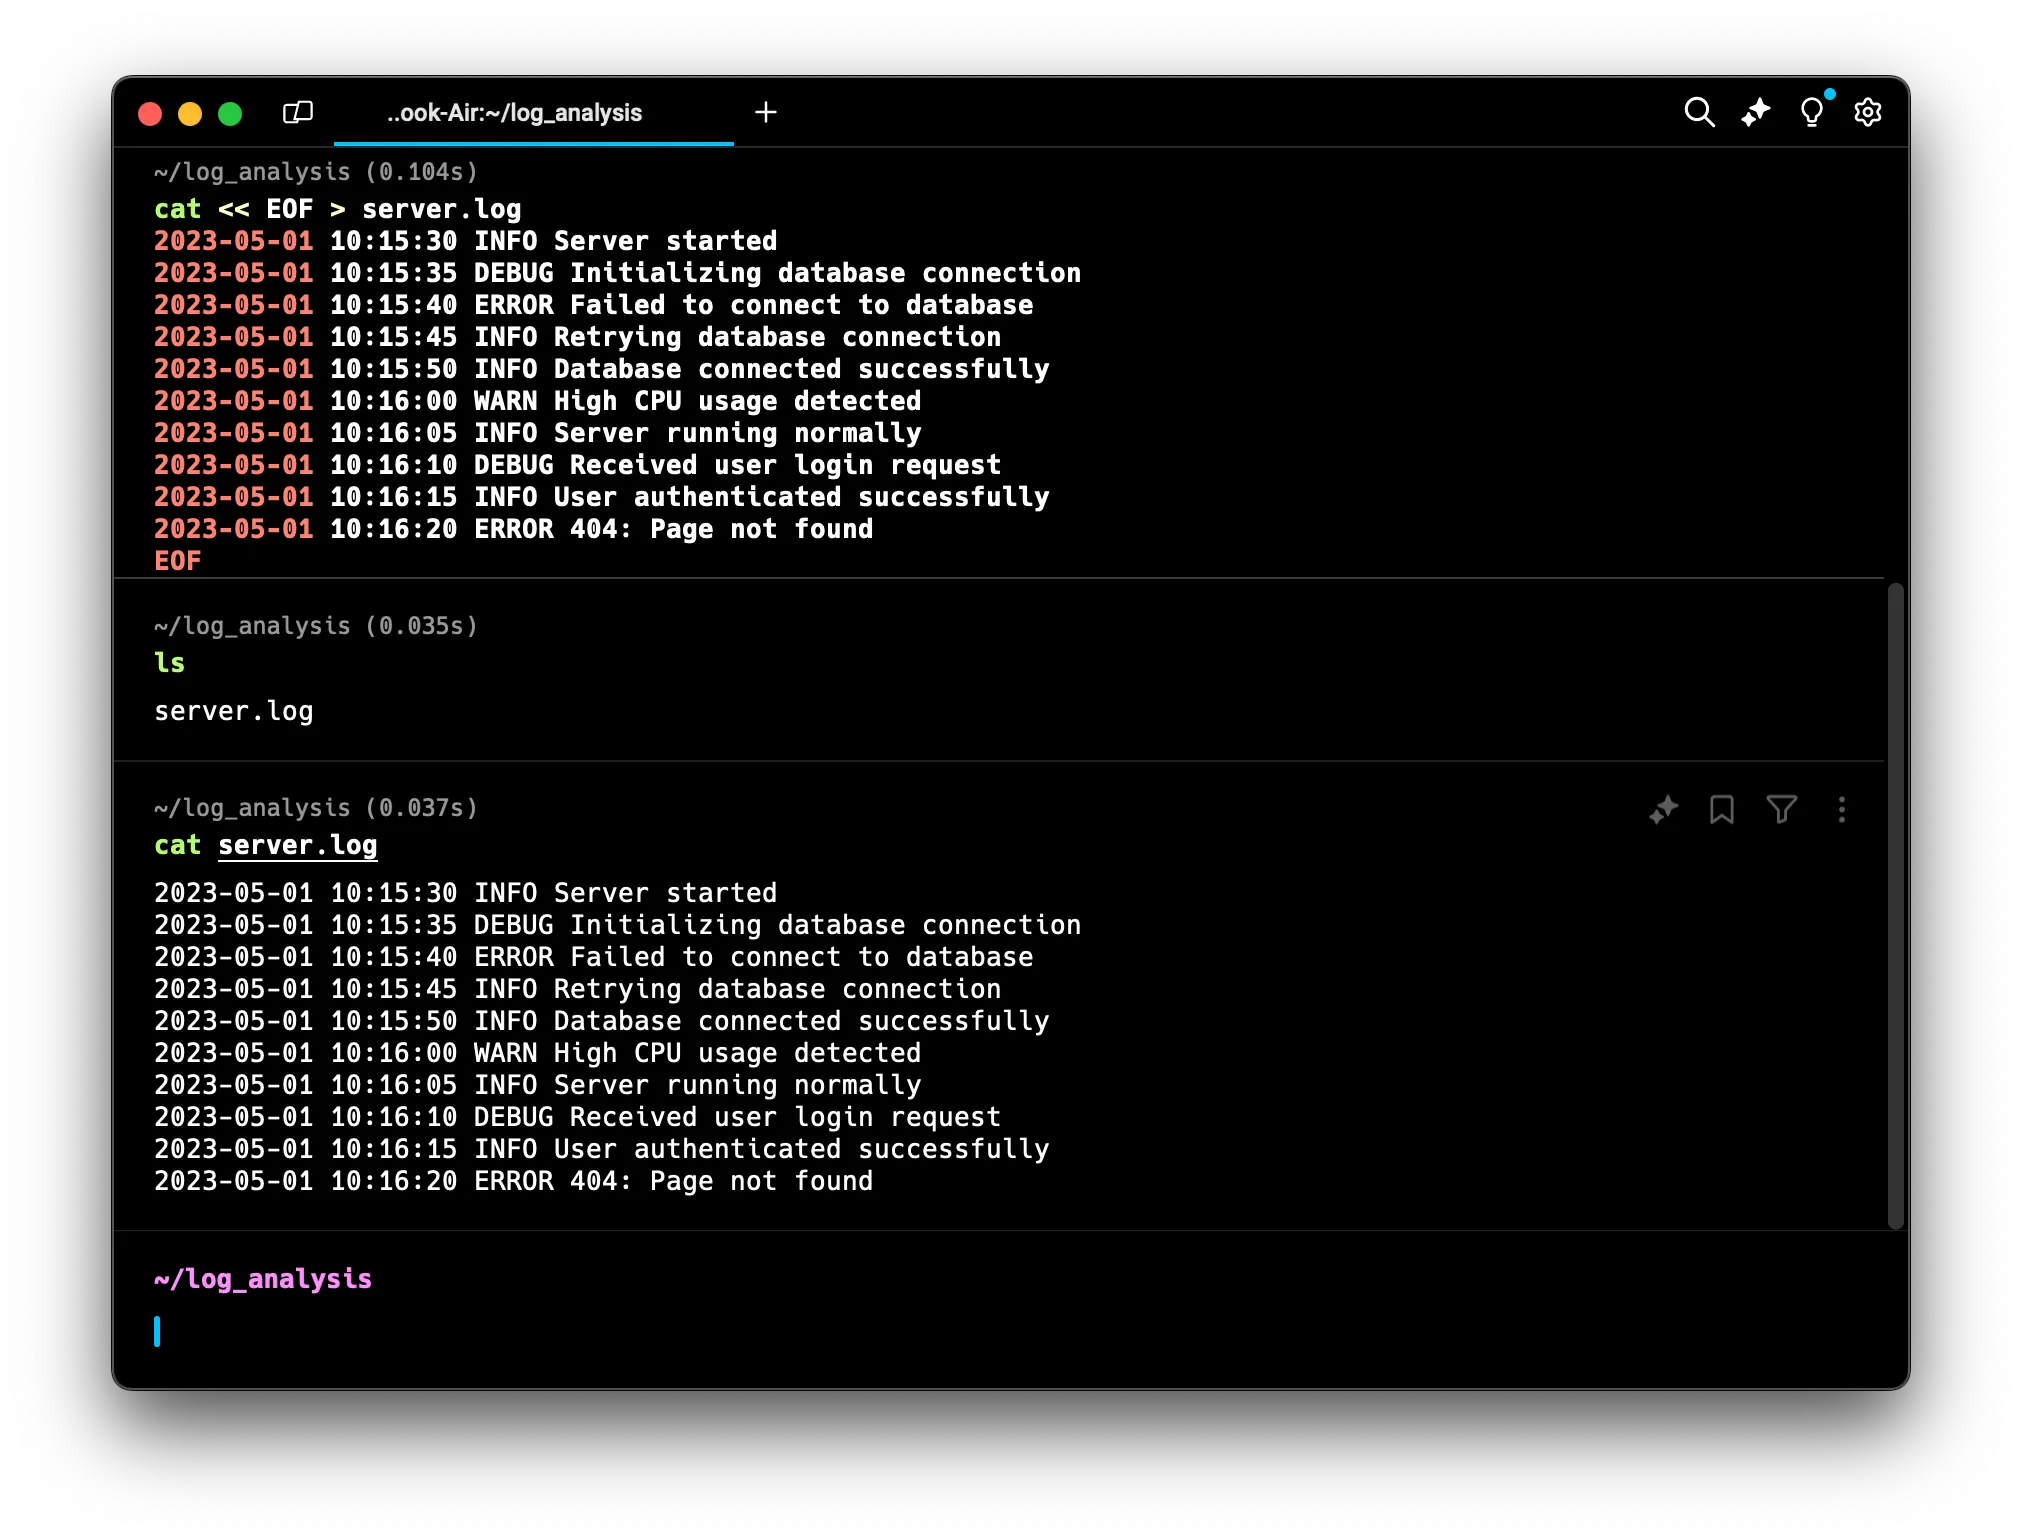 This displays all the file contents at once. It’s great for small files, but for larger ones, it can be overwhelming. That’s where our next command comes in handy.
less (View File Contents Page by Page)
For larger files, the less command offers a more manageable way to view contents. It allows you to scroll through the file one screen at a time. The basic format is:
less [option] [file_name]
Let’s use it on our log file:
less server.log
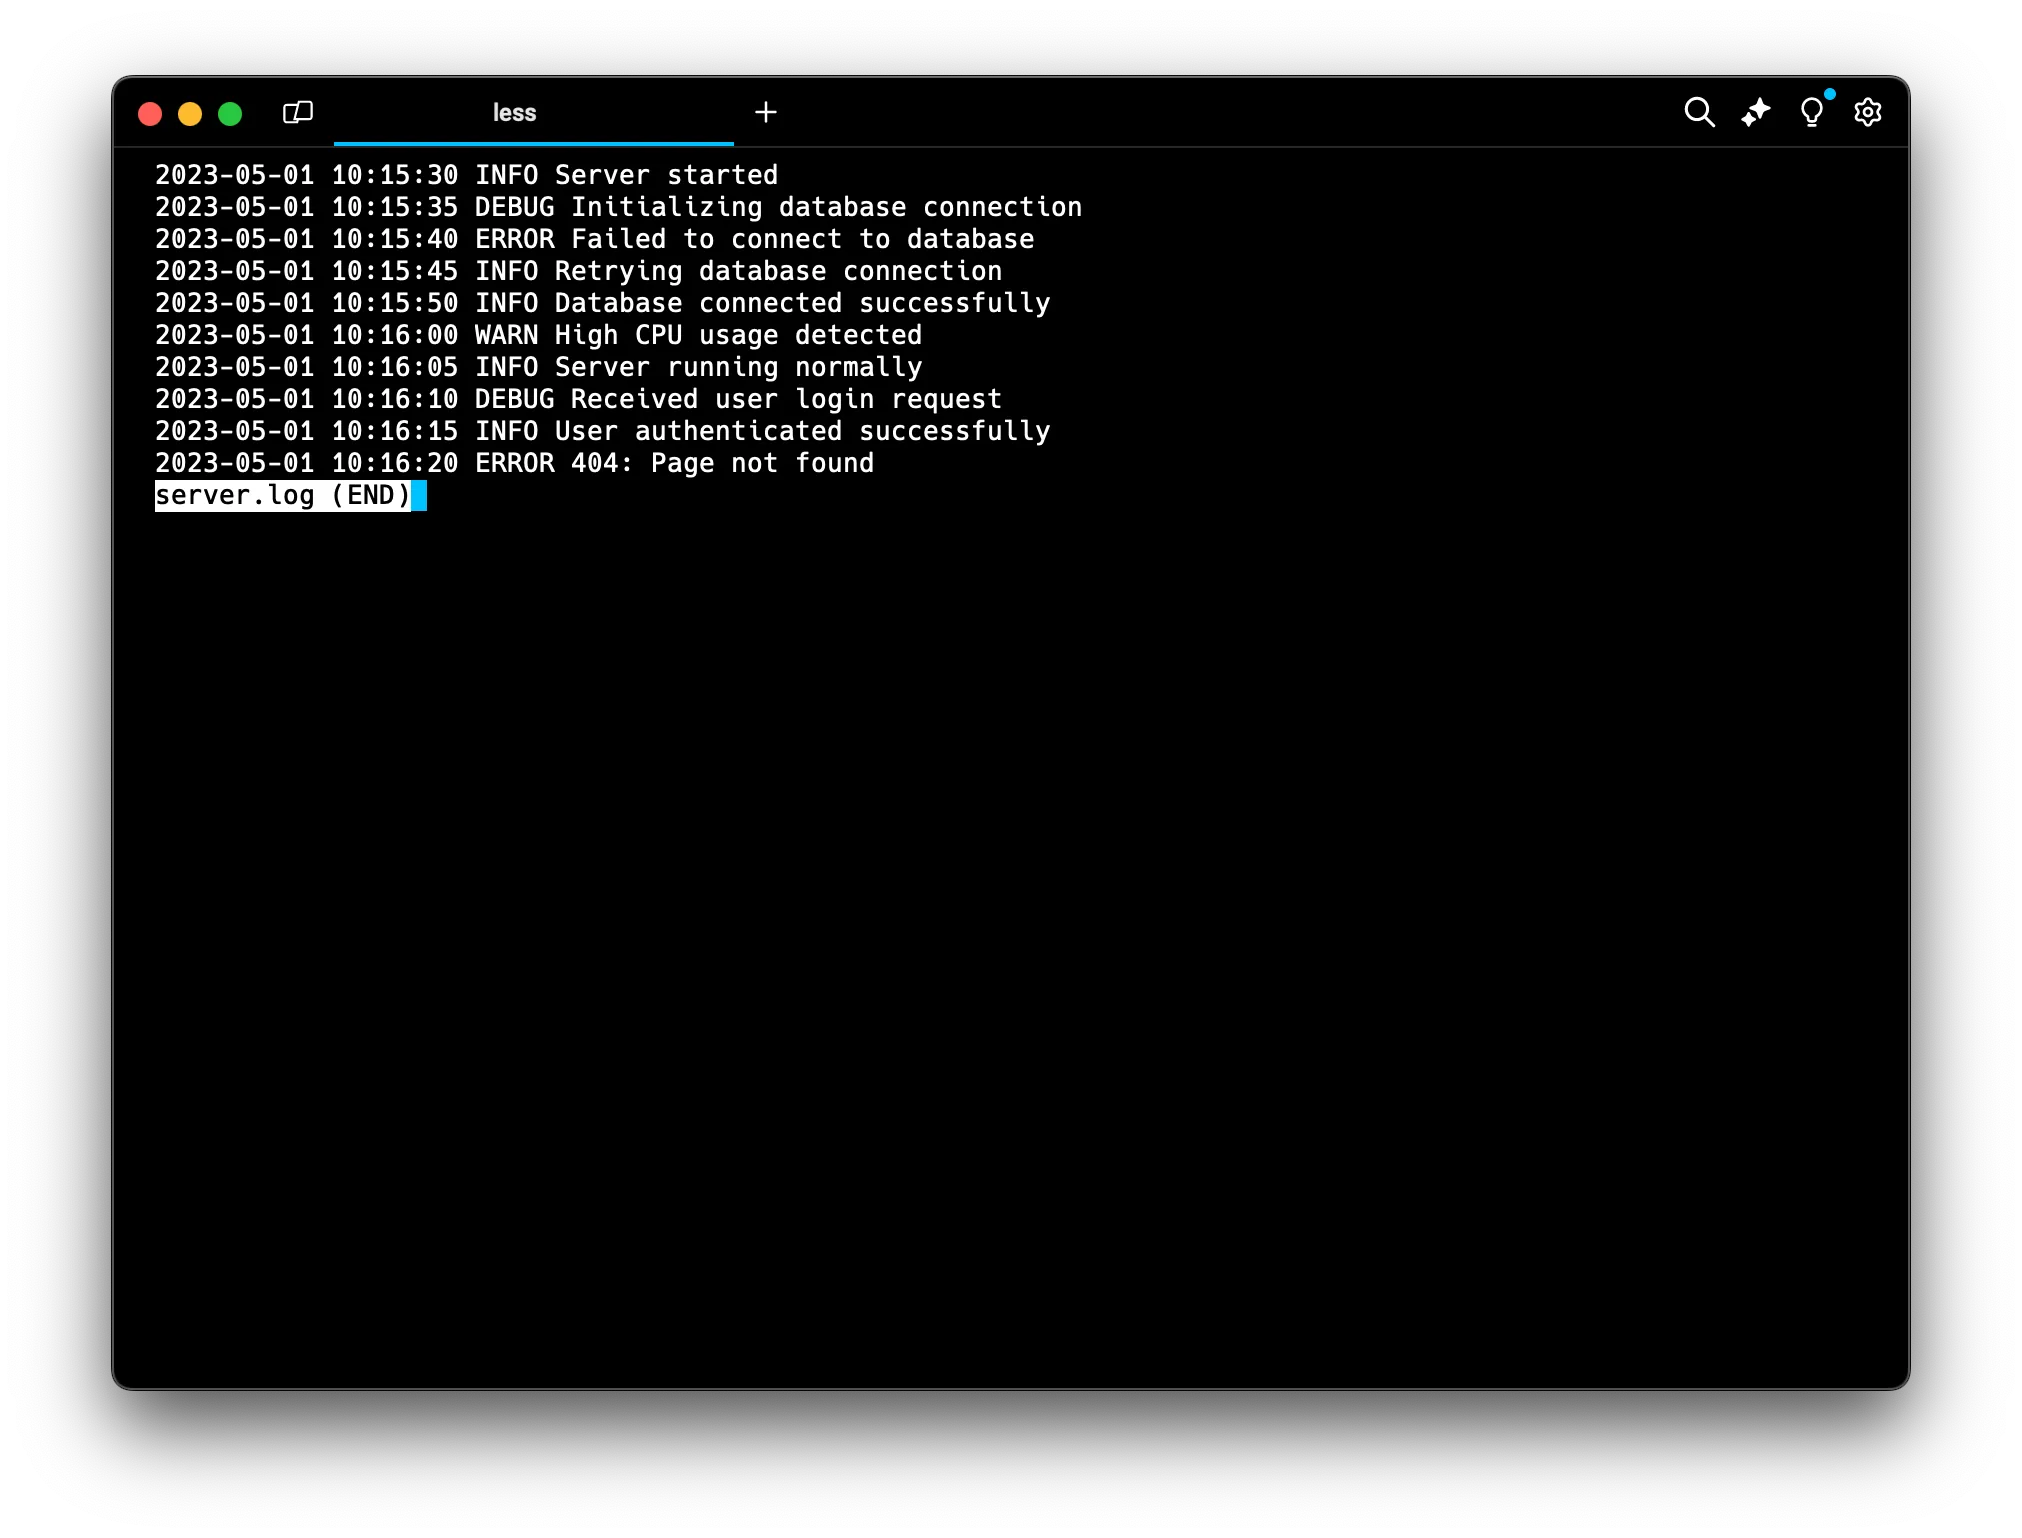 Now you can use the arrow keys to move up and down, Page Up and Page Down to scroll whole pages, and press ‘q’ to quit when you’re done. This is particularly useful when you’re looking for specific events in a long log file.
Here, there’s no point using any up and down movement as the lines can be seen completely, but this will be helpful when you are looking at a long log file or a long list of lines.
Remember to press
qto quit.
head (View Beginning of File)
Often, you might want to check just the beginning of a log file, perhaps to see when logging started or what the first events were. The head command is perfect for this. Its basic format is:
head [option] [file_name]
By default, head shows the first 10 lines of a file. But we can specify a different number:
head -n 5 server.log
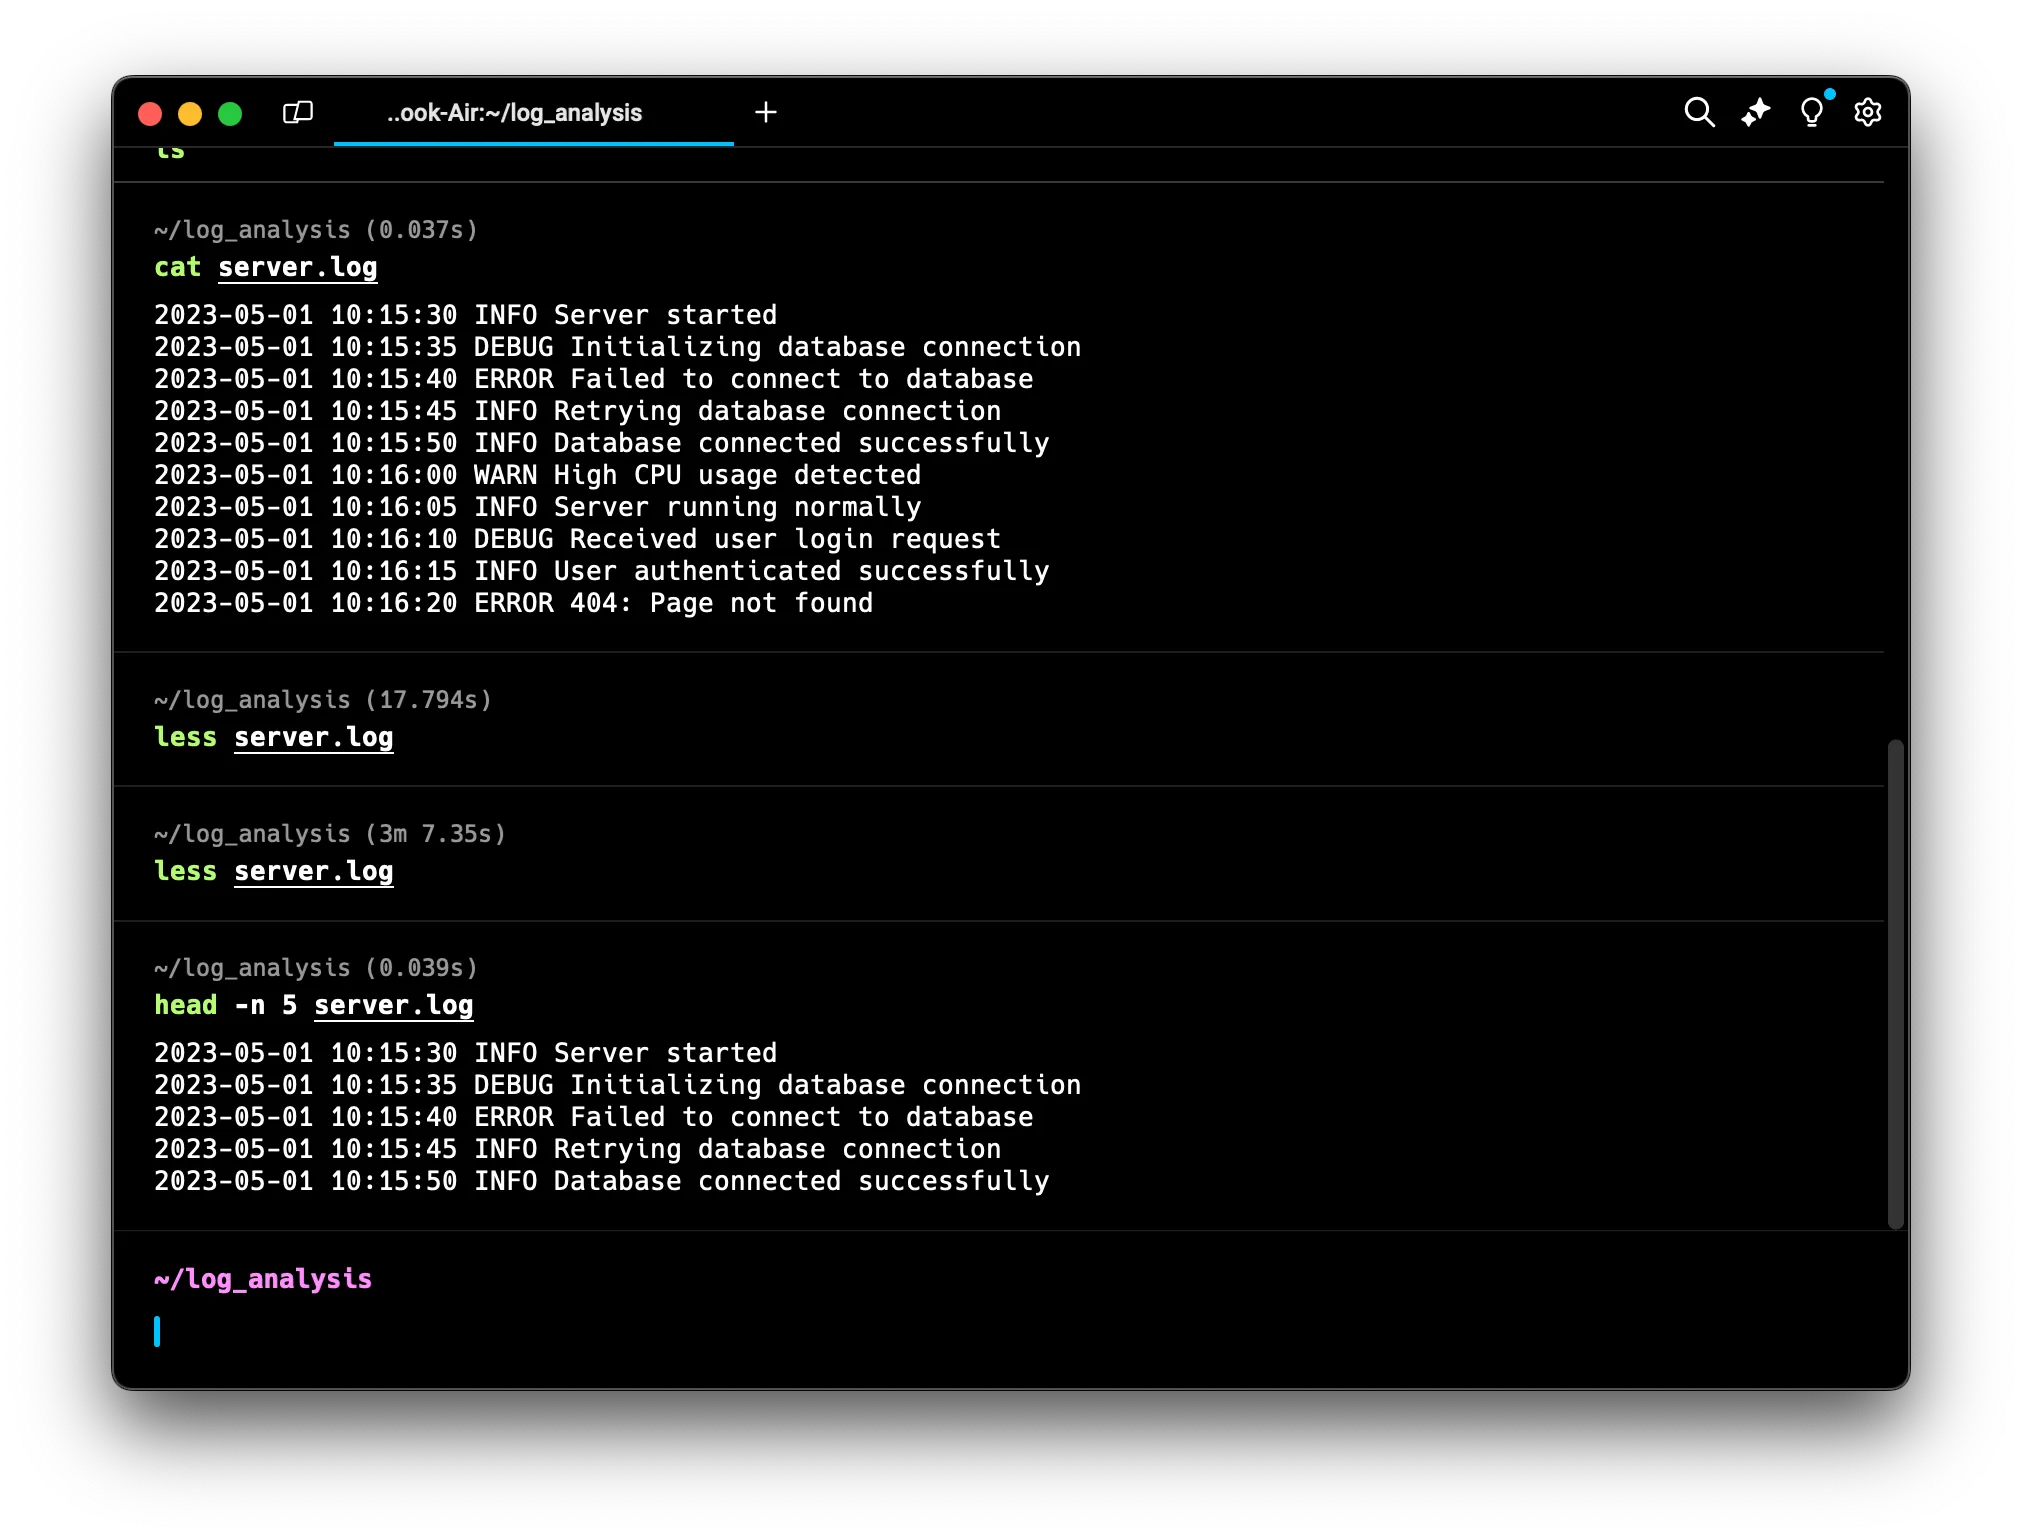 This displays the first 5 lines of our log. The
 -n option lets you specify how many lines you want to see.
tail (View End of File)
Just as head shows the beginning, tail shows the end of a file. This is incredibly useful for checking the most recent log entries. The format is similar to head:
tail [option] [file_name]
To see the last 3 lines of our log:
tail -n 3 server.log
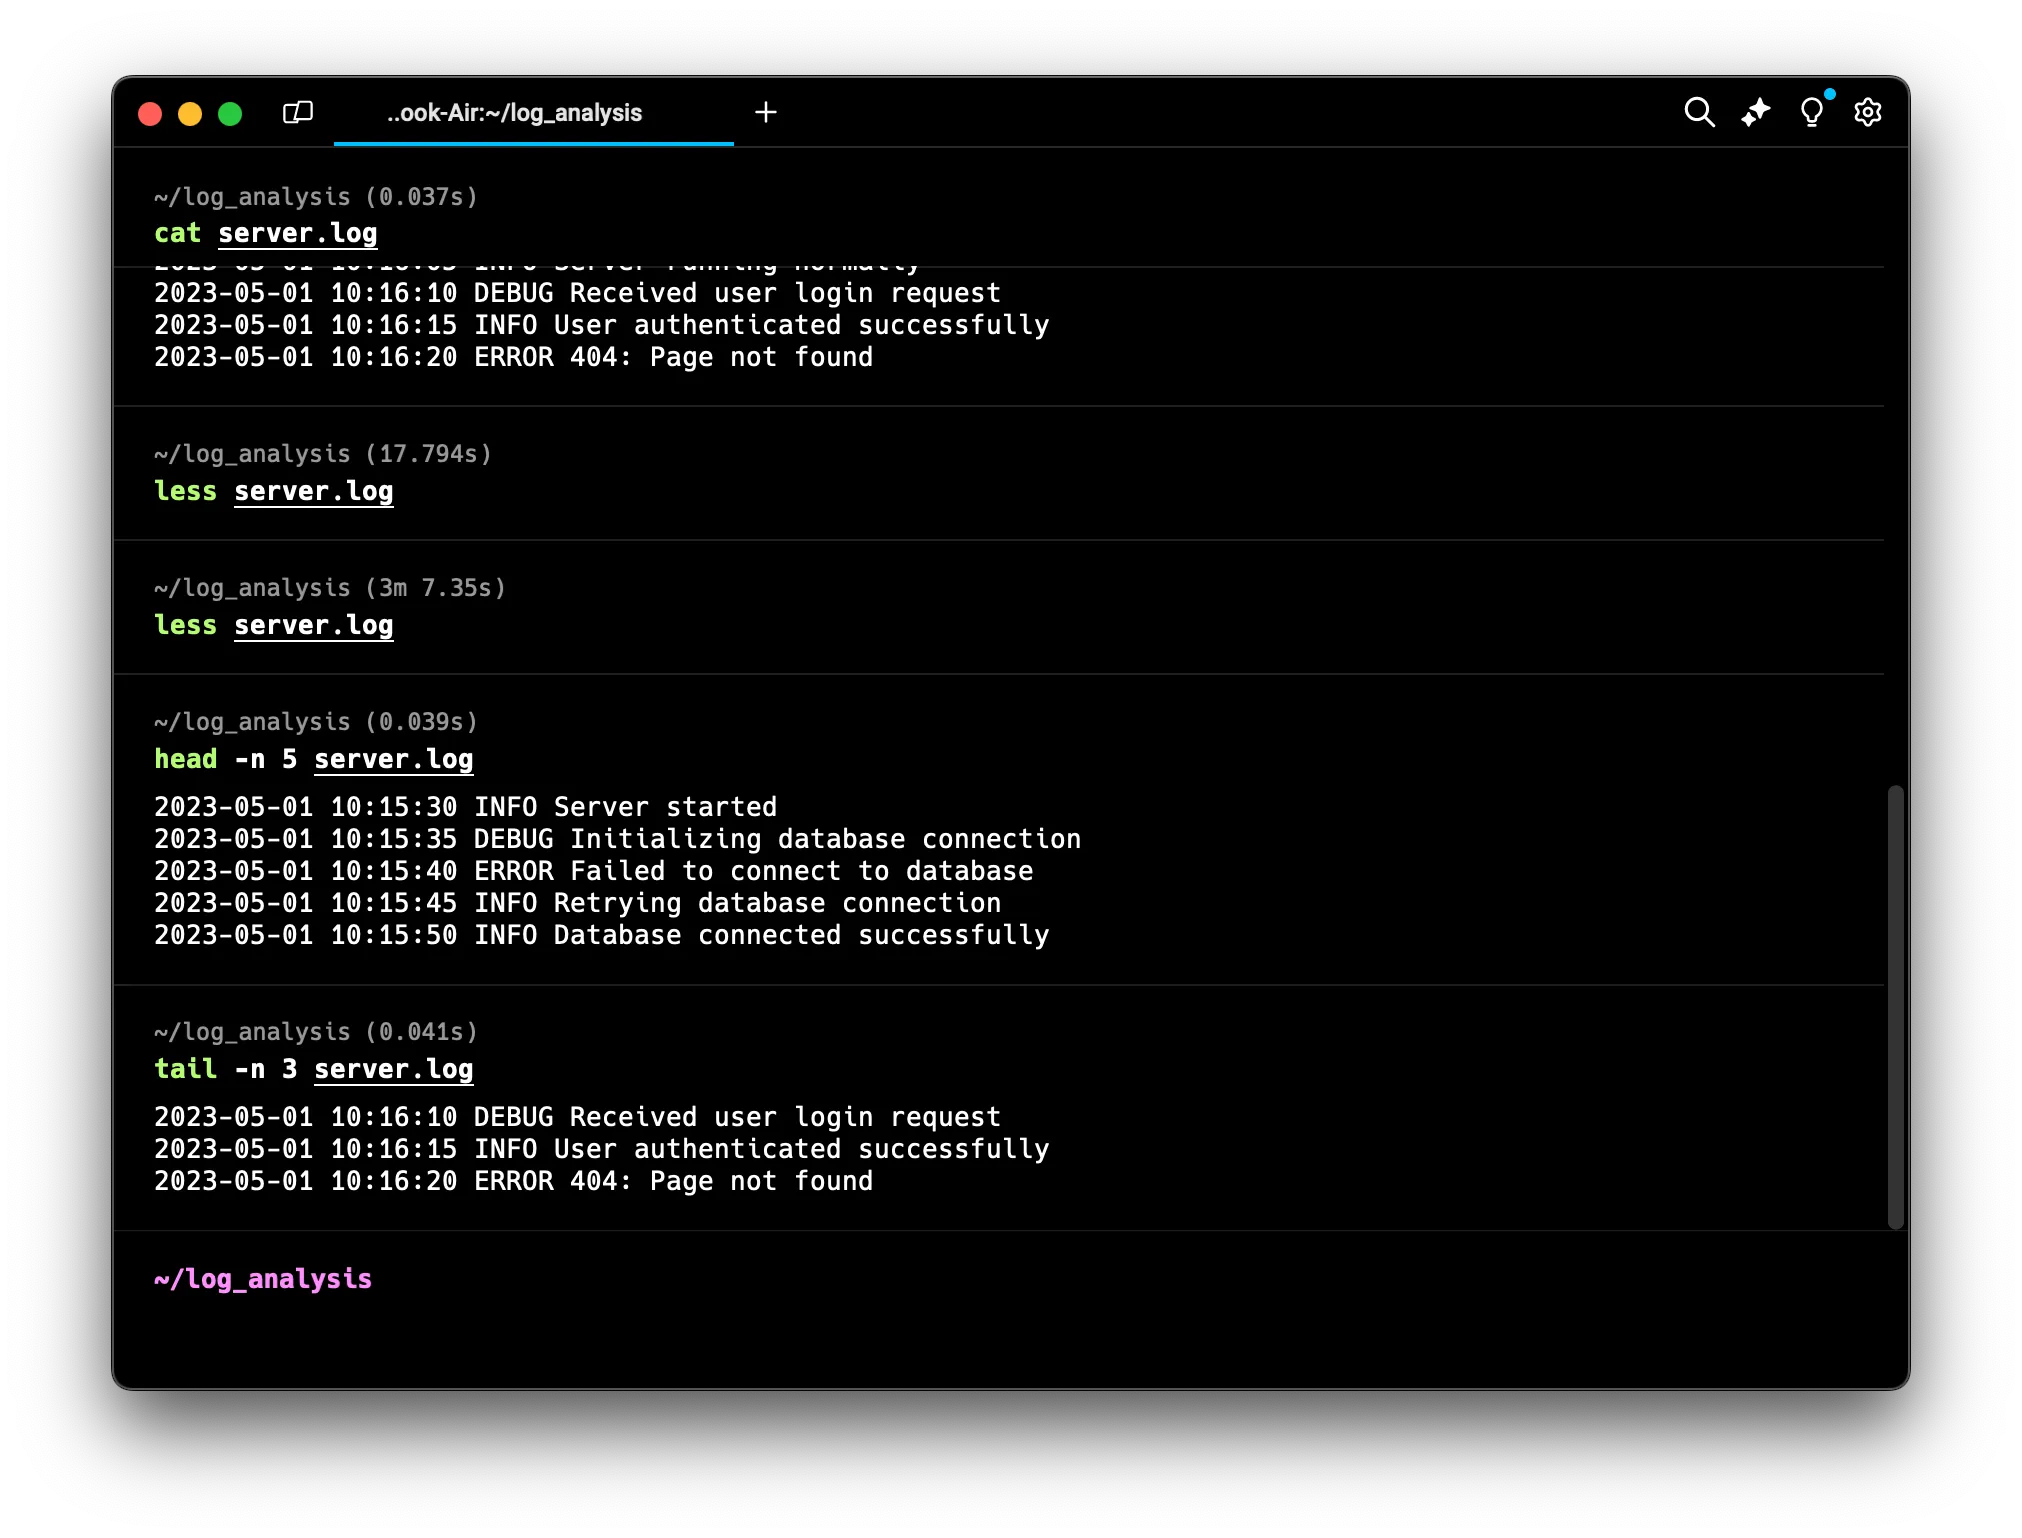 This is great for quickly checking the latest events without scrolling through the entire file.
Searching and Filtering Text
Now that we can view our log contents, let’s look at how to find specific information within them.
grep (Global Regular Expression Print)
The grep command is a powerful tool for searching text. It looks through files for lines containing a match to a specified pattern. The basic format is:
grep [option] pattern [file_name]
To find all ERROR entries in our log, we can use:
grep "ERROR" server.log
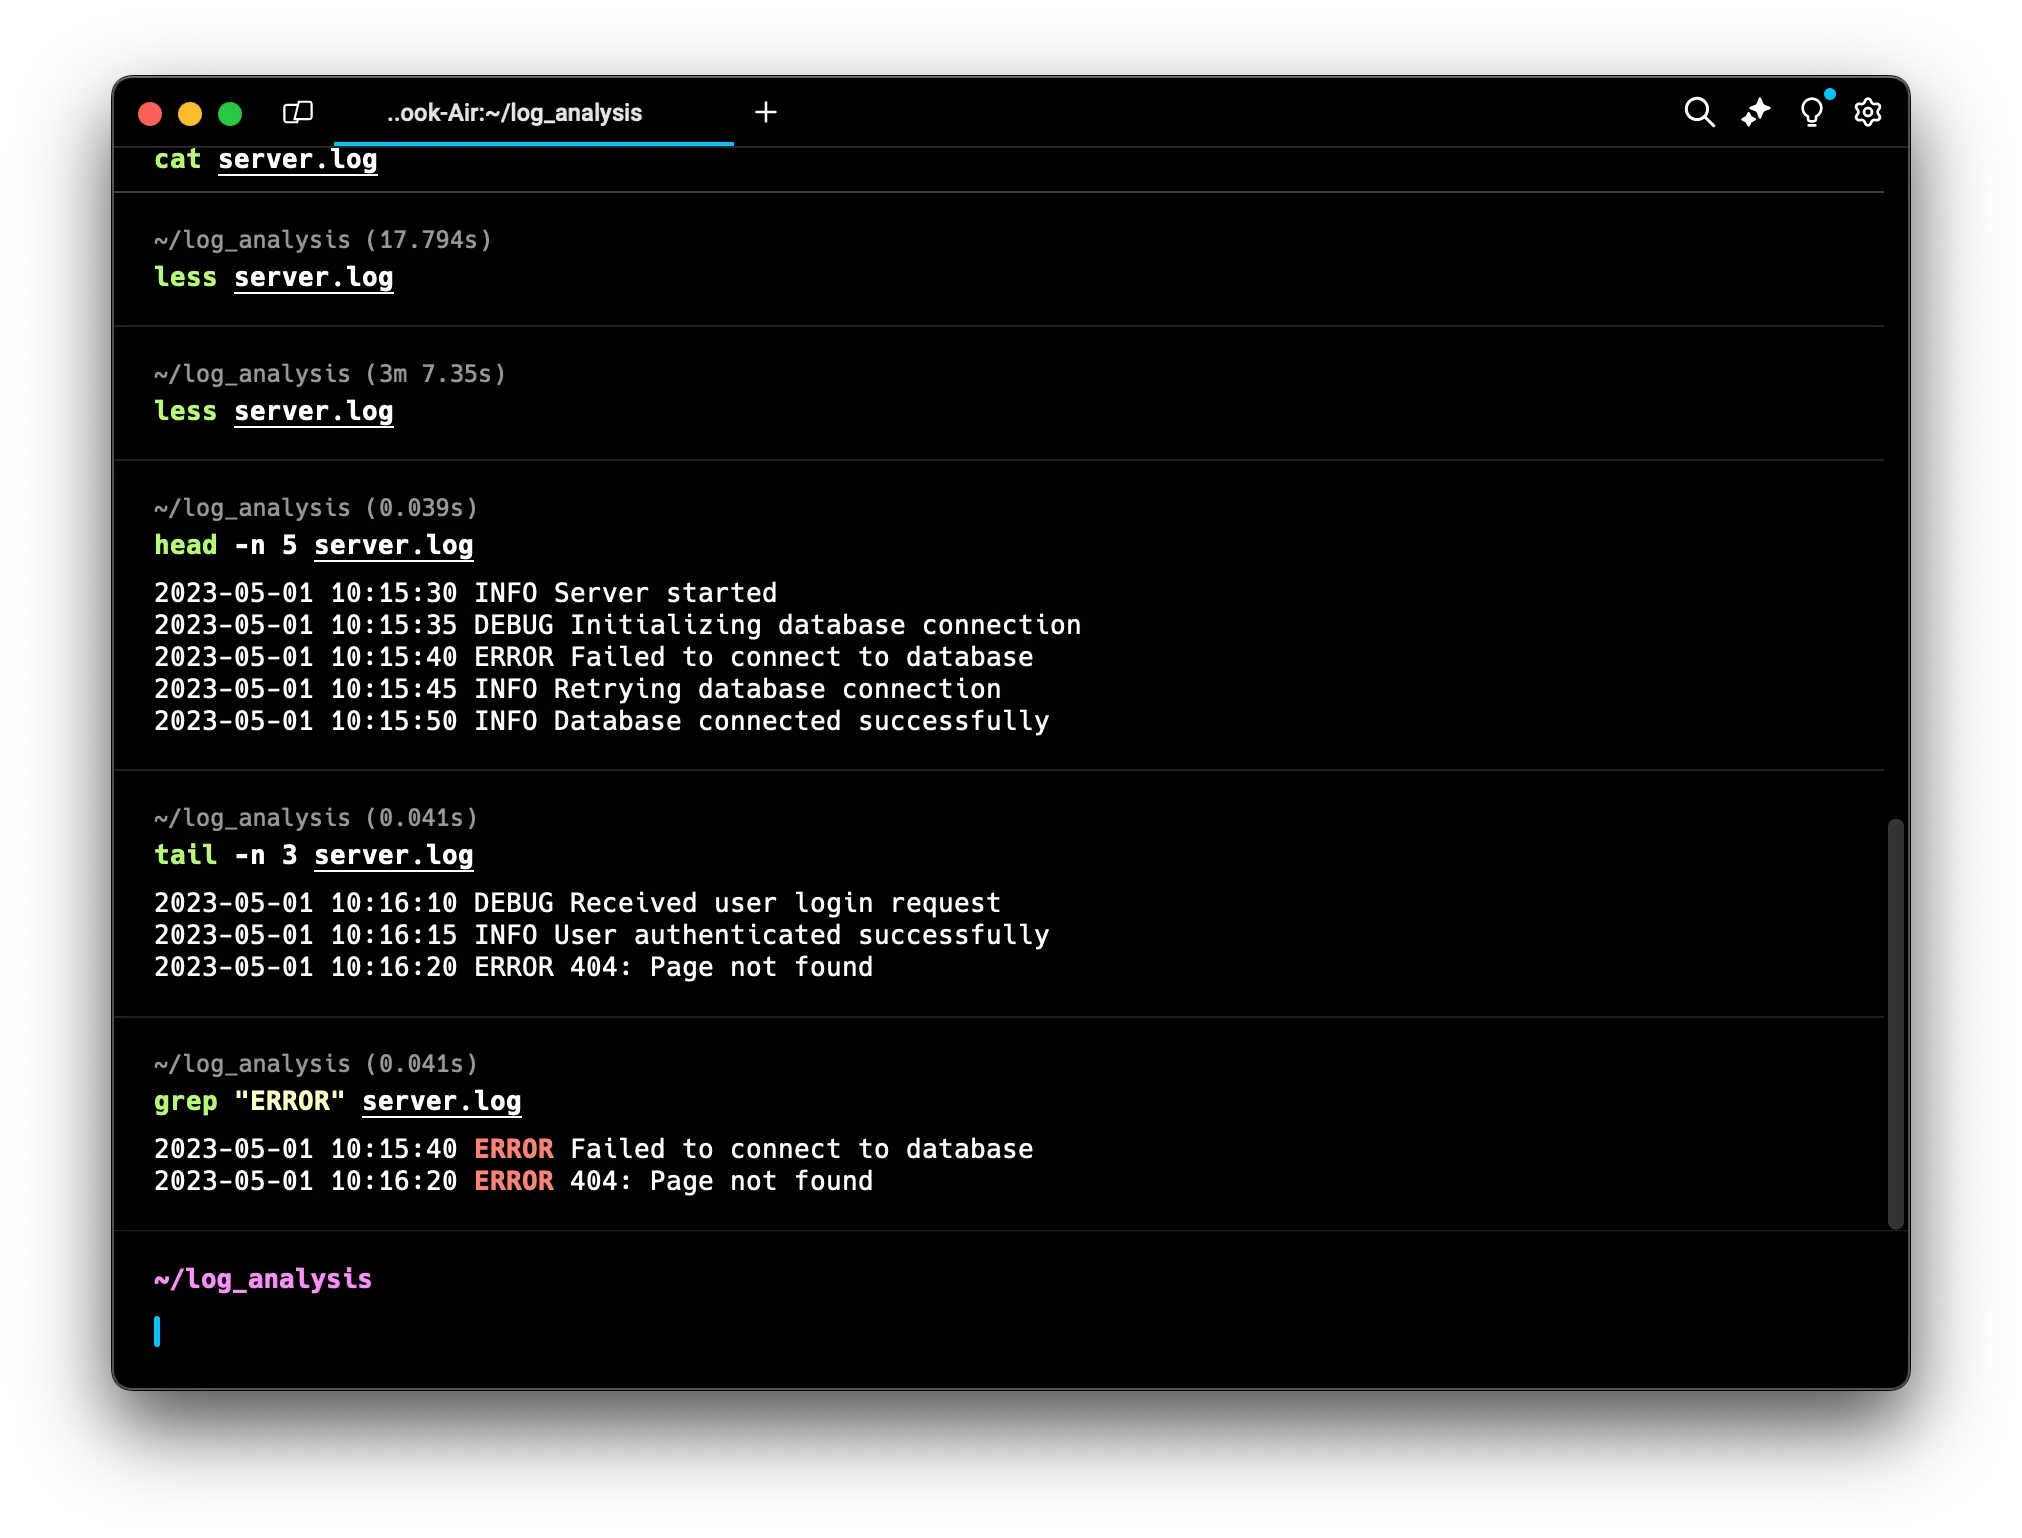 This will display all lines containing the word “ERROR”.
If you’re not sure about the capitalization, you can make the search case-insensitive:
grep -i "error" server.log
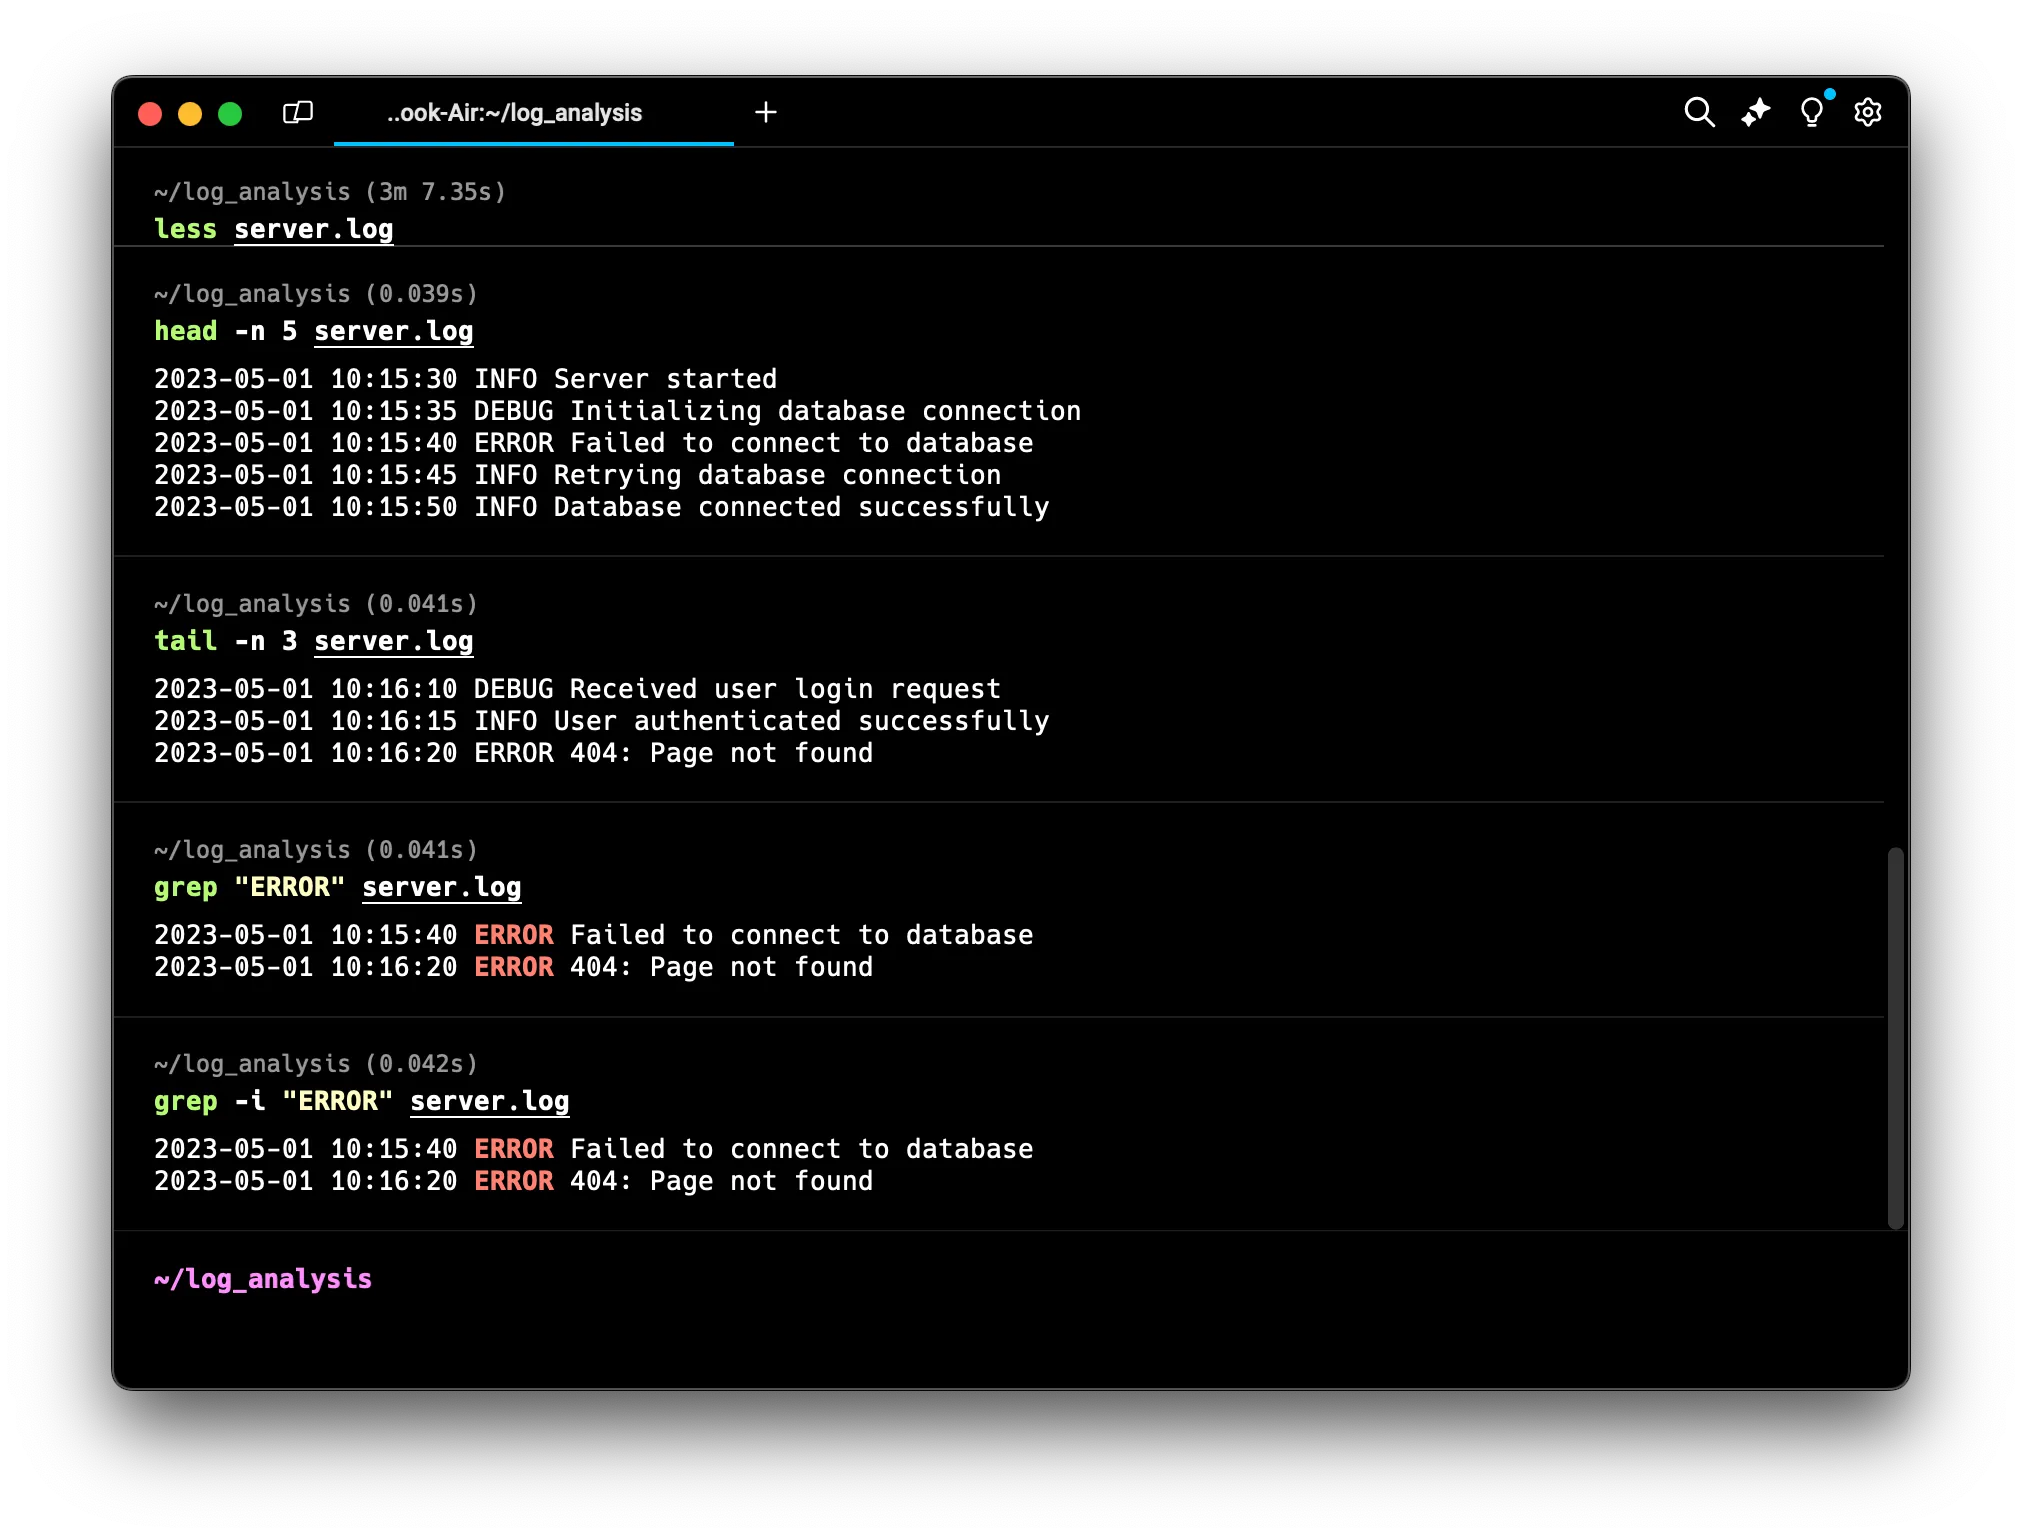 The
The -i option tells grep to ignore case differences, so it will find “ERROR”, “error”, “Error”, etc.
Sometimes, you might want to find lines that don’t match a pattern. The -v option does this:
grep -v "INFO" server.log
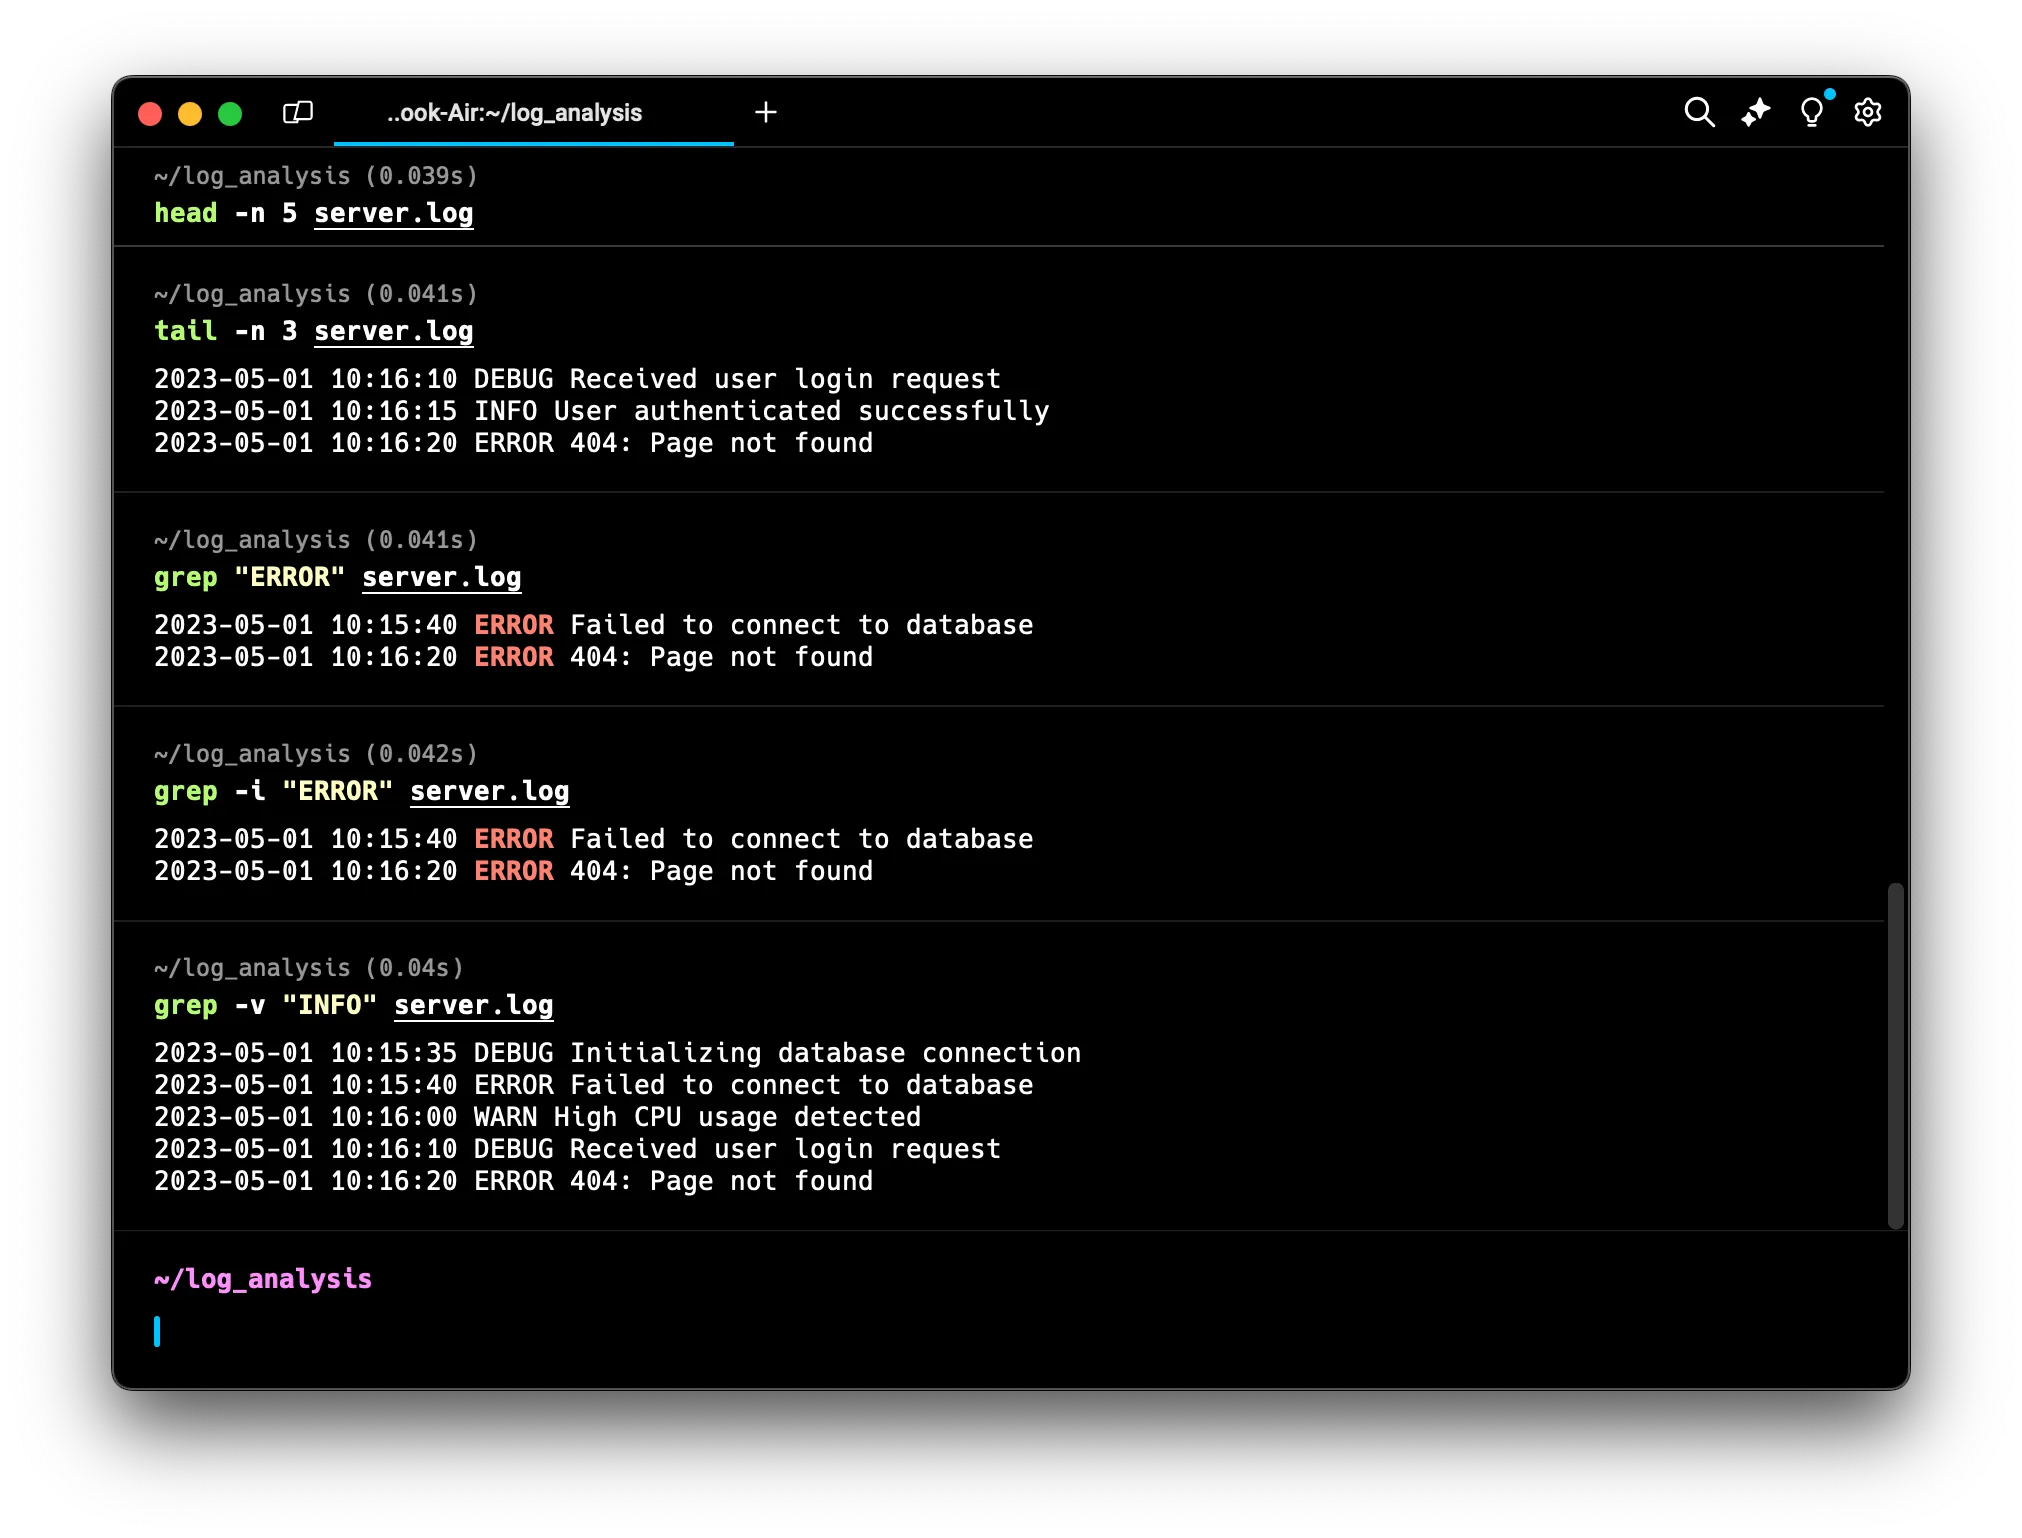 This shows all lines that don’t contain “INFO”, helping us focus on non-informational entries.
Sorting and Finding Unique Lines
To understand what types of events are happening most often, we need to sort and count the different types of log entries.
sort (Sort Lines of Text)
The sort command arranges lines of text. Its basic format is:
sort [option] [file_name]
To sort our log entries, type:
sort server.log
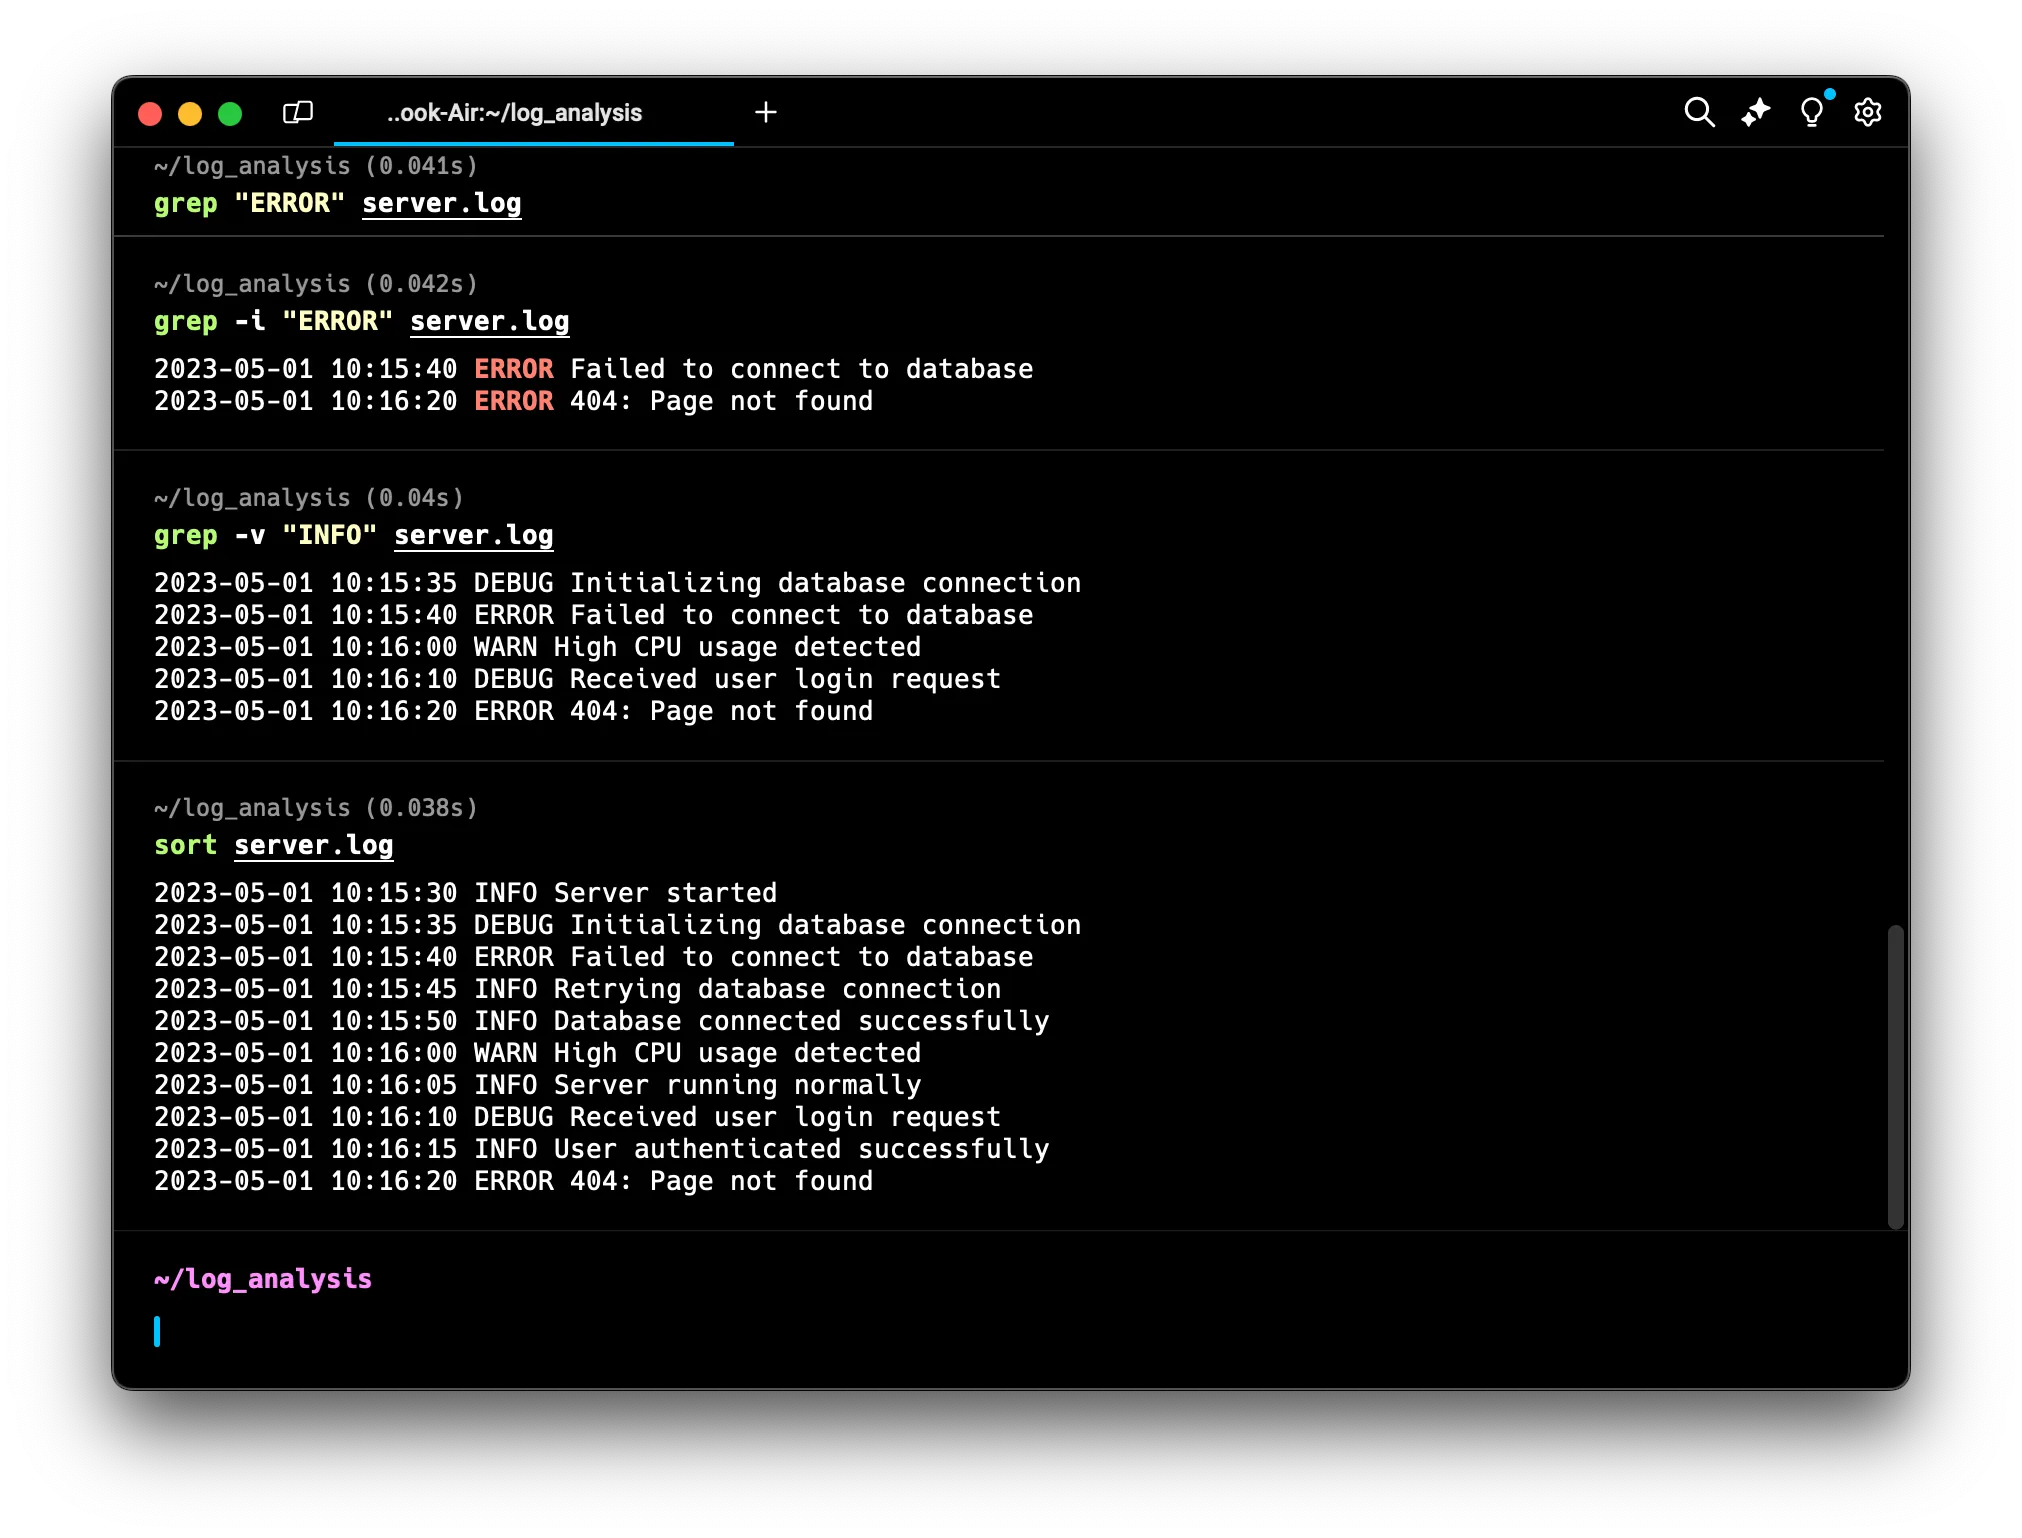 This sorts the entries based on the timestamp.
However, sort is much more versatile. Here are some useful options:
-r: Sort in reverse ordersort -r server.log
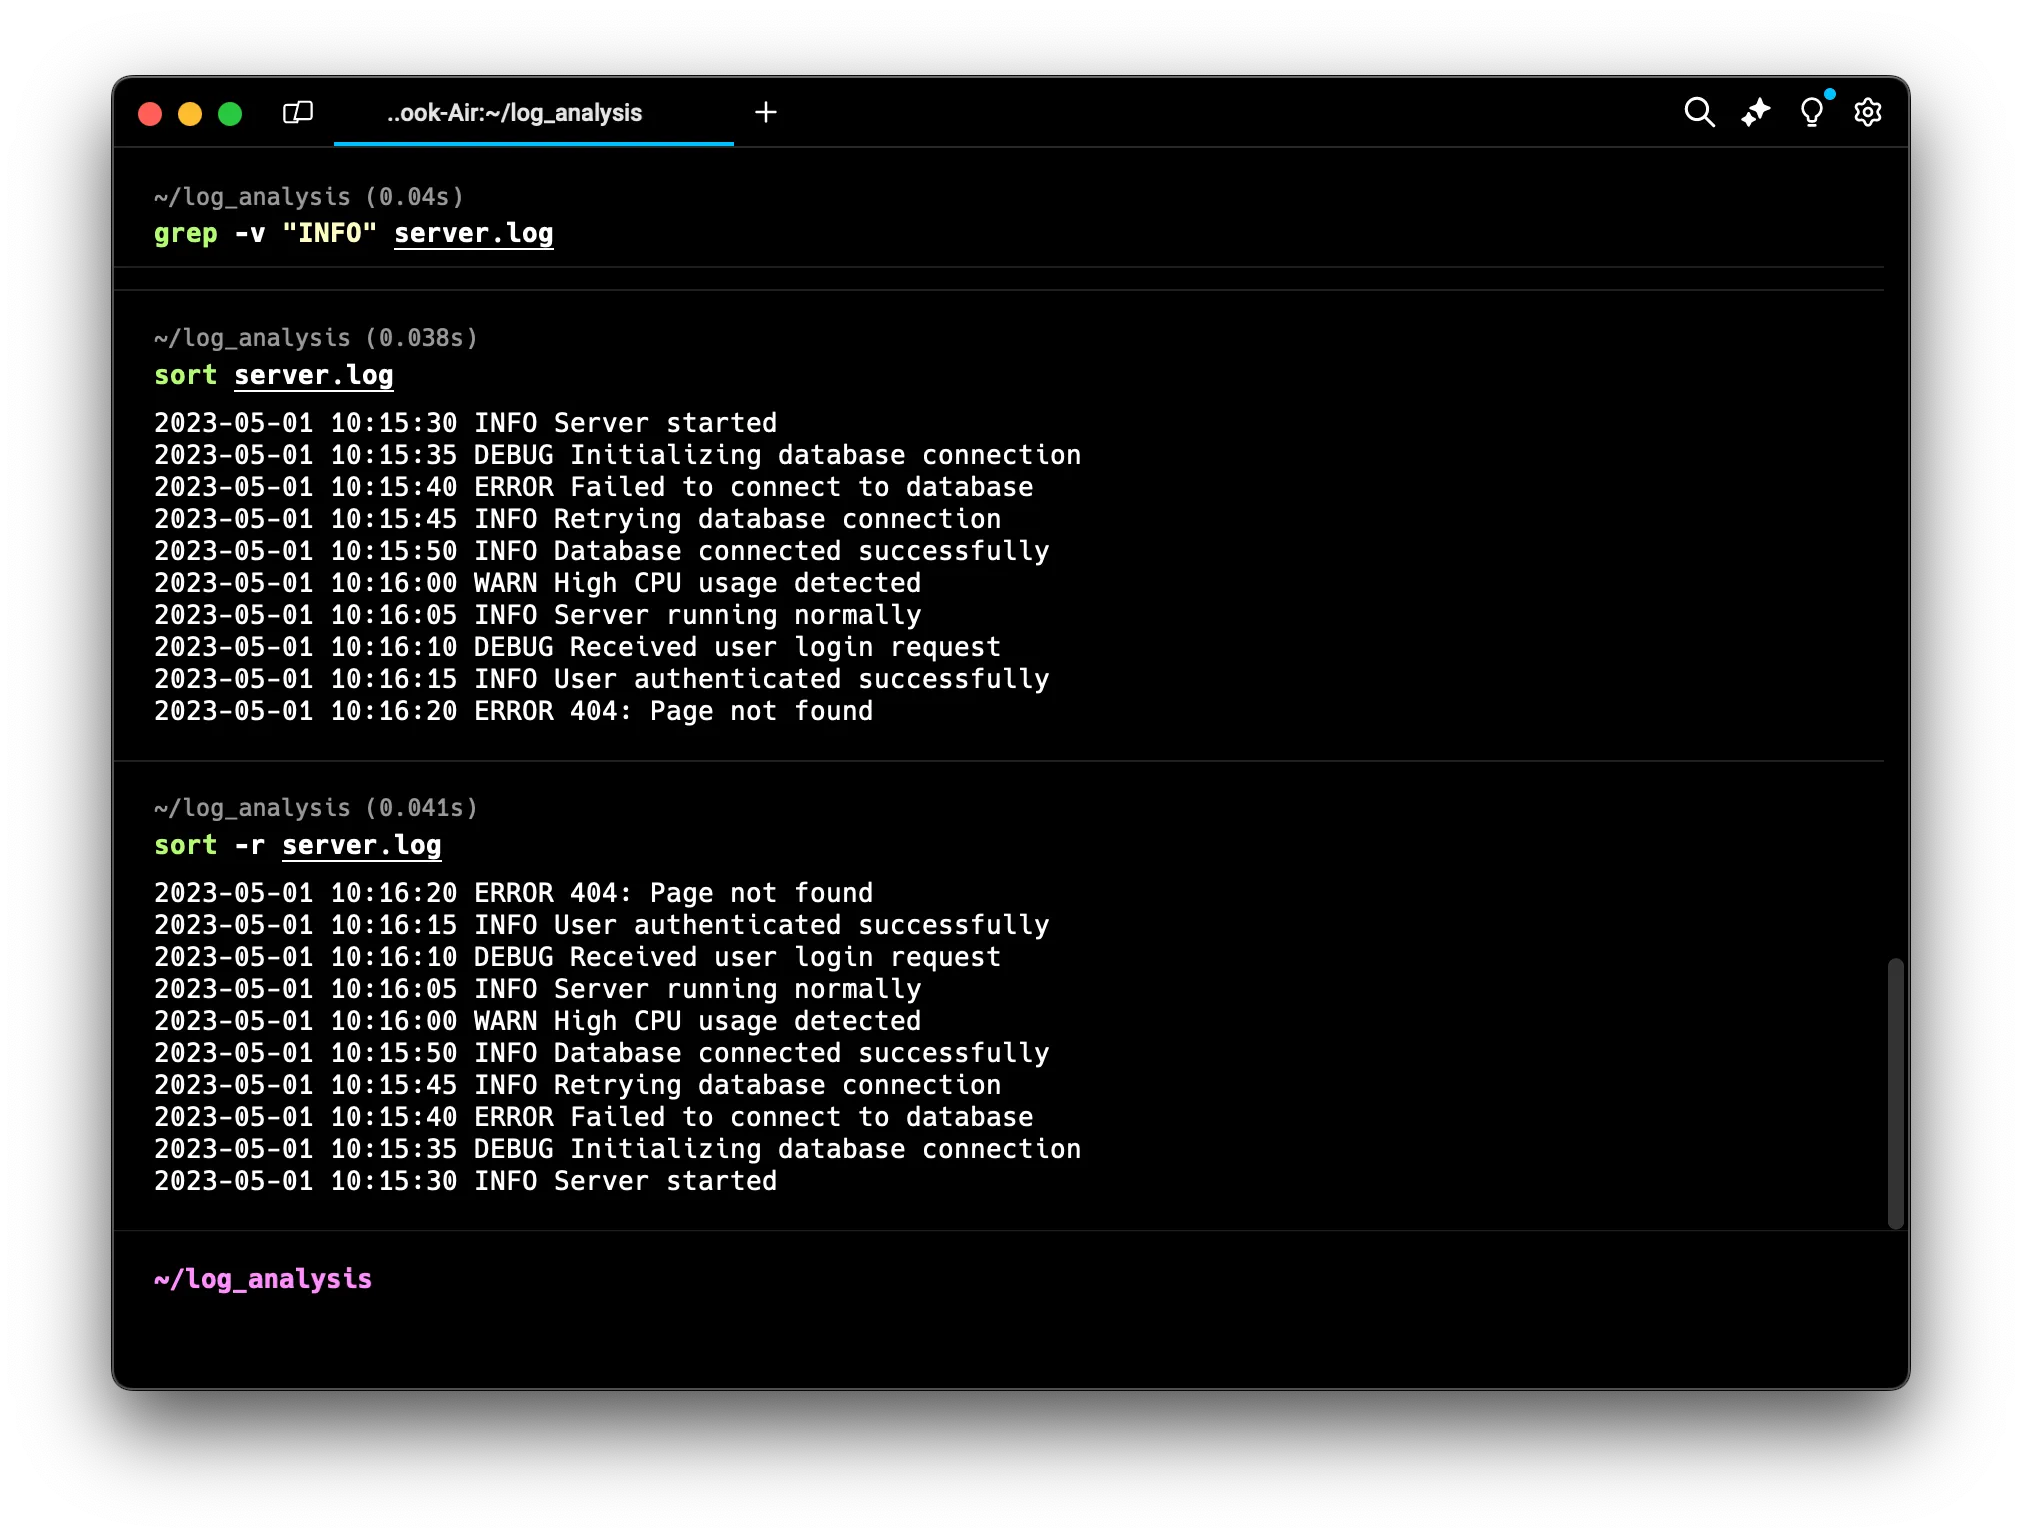 This sorts the entries based on timestamp but reversed.
-
-k: Sort based on a specific fieldsort -k3 server.log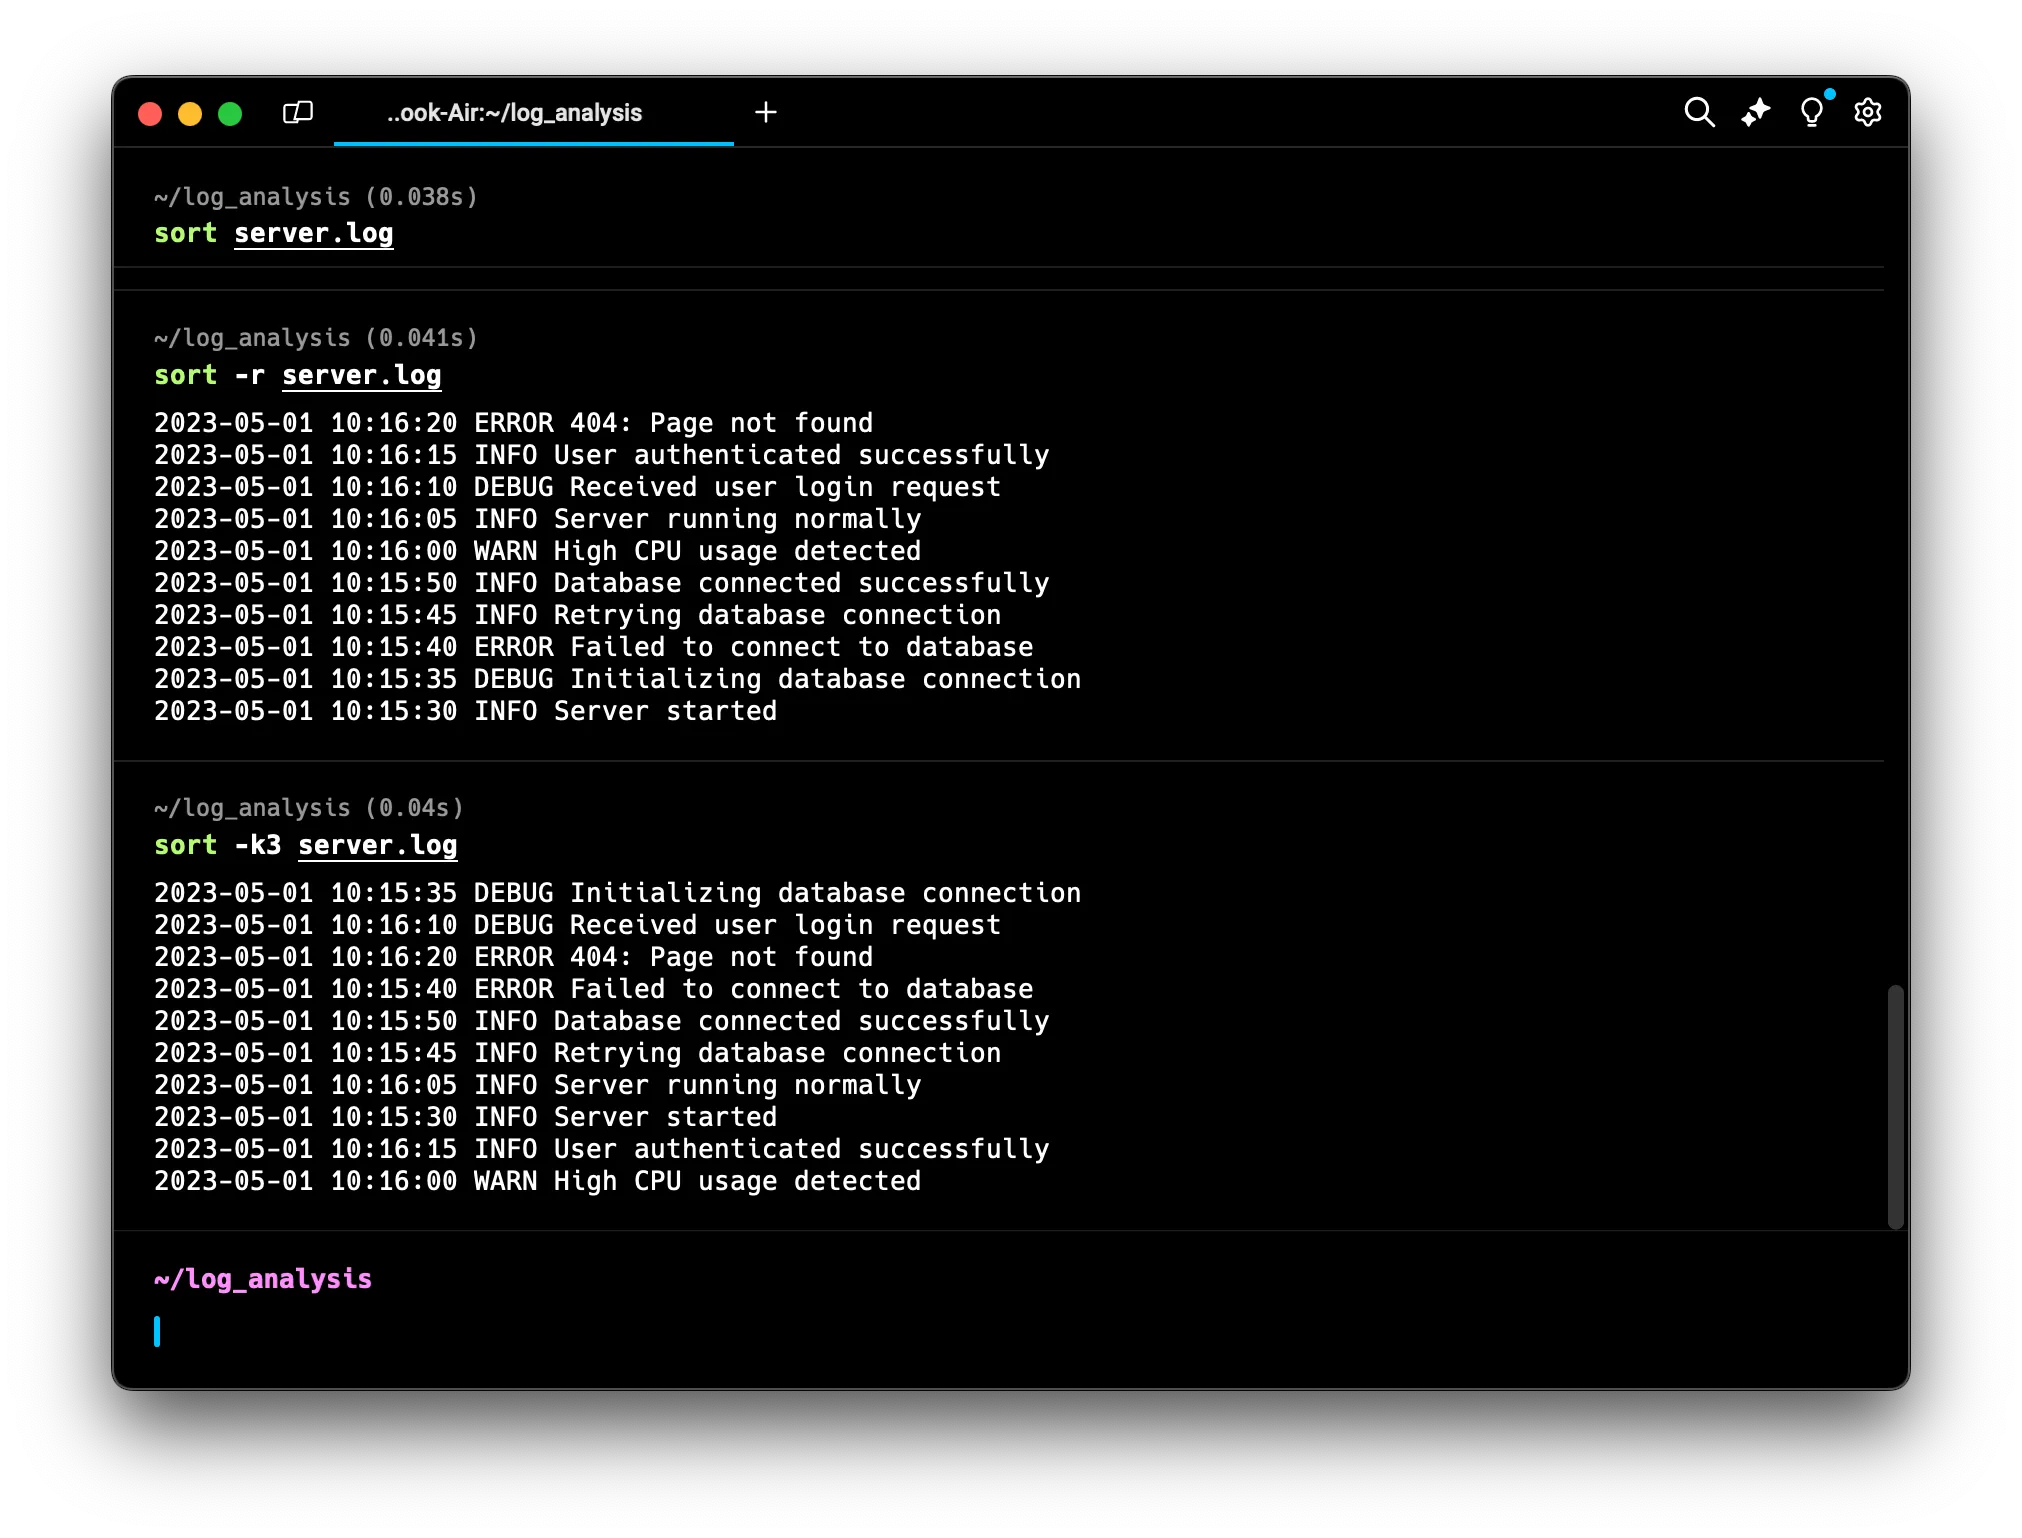 This sorts based on the third field (the log level in our case)
 -
-n: Sort numerically instead of alphabeticallysort -k2 -n server.log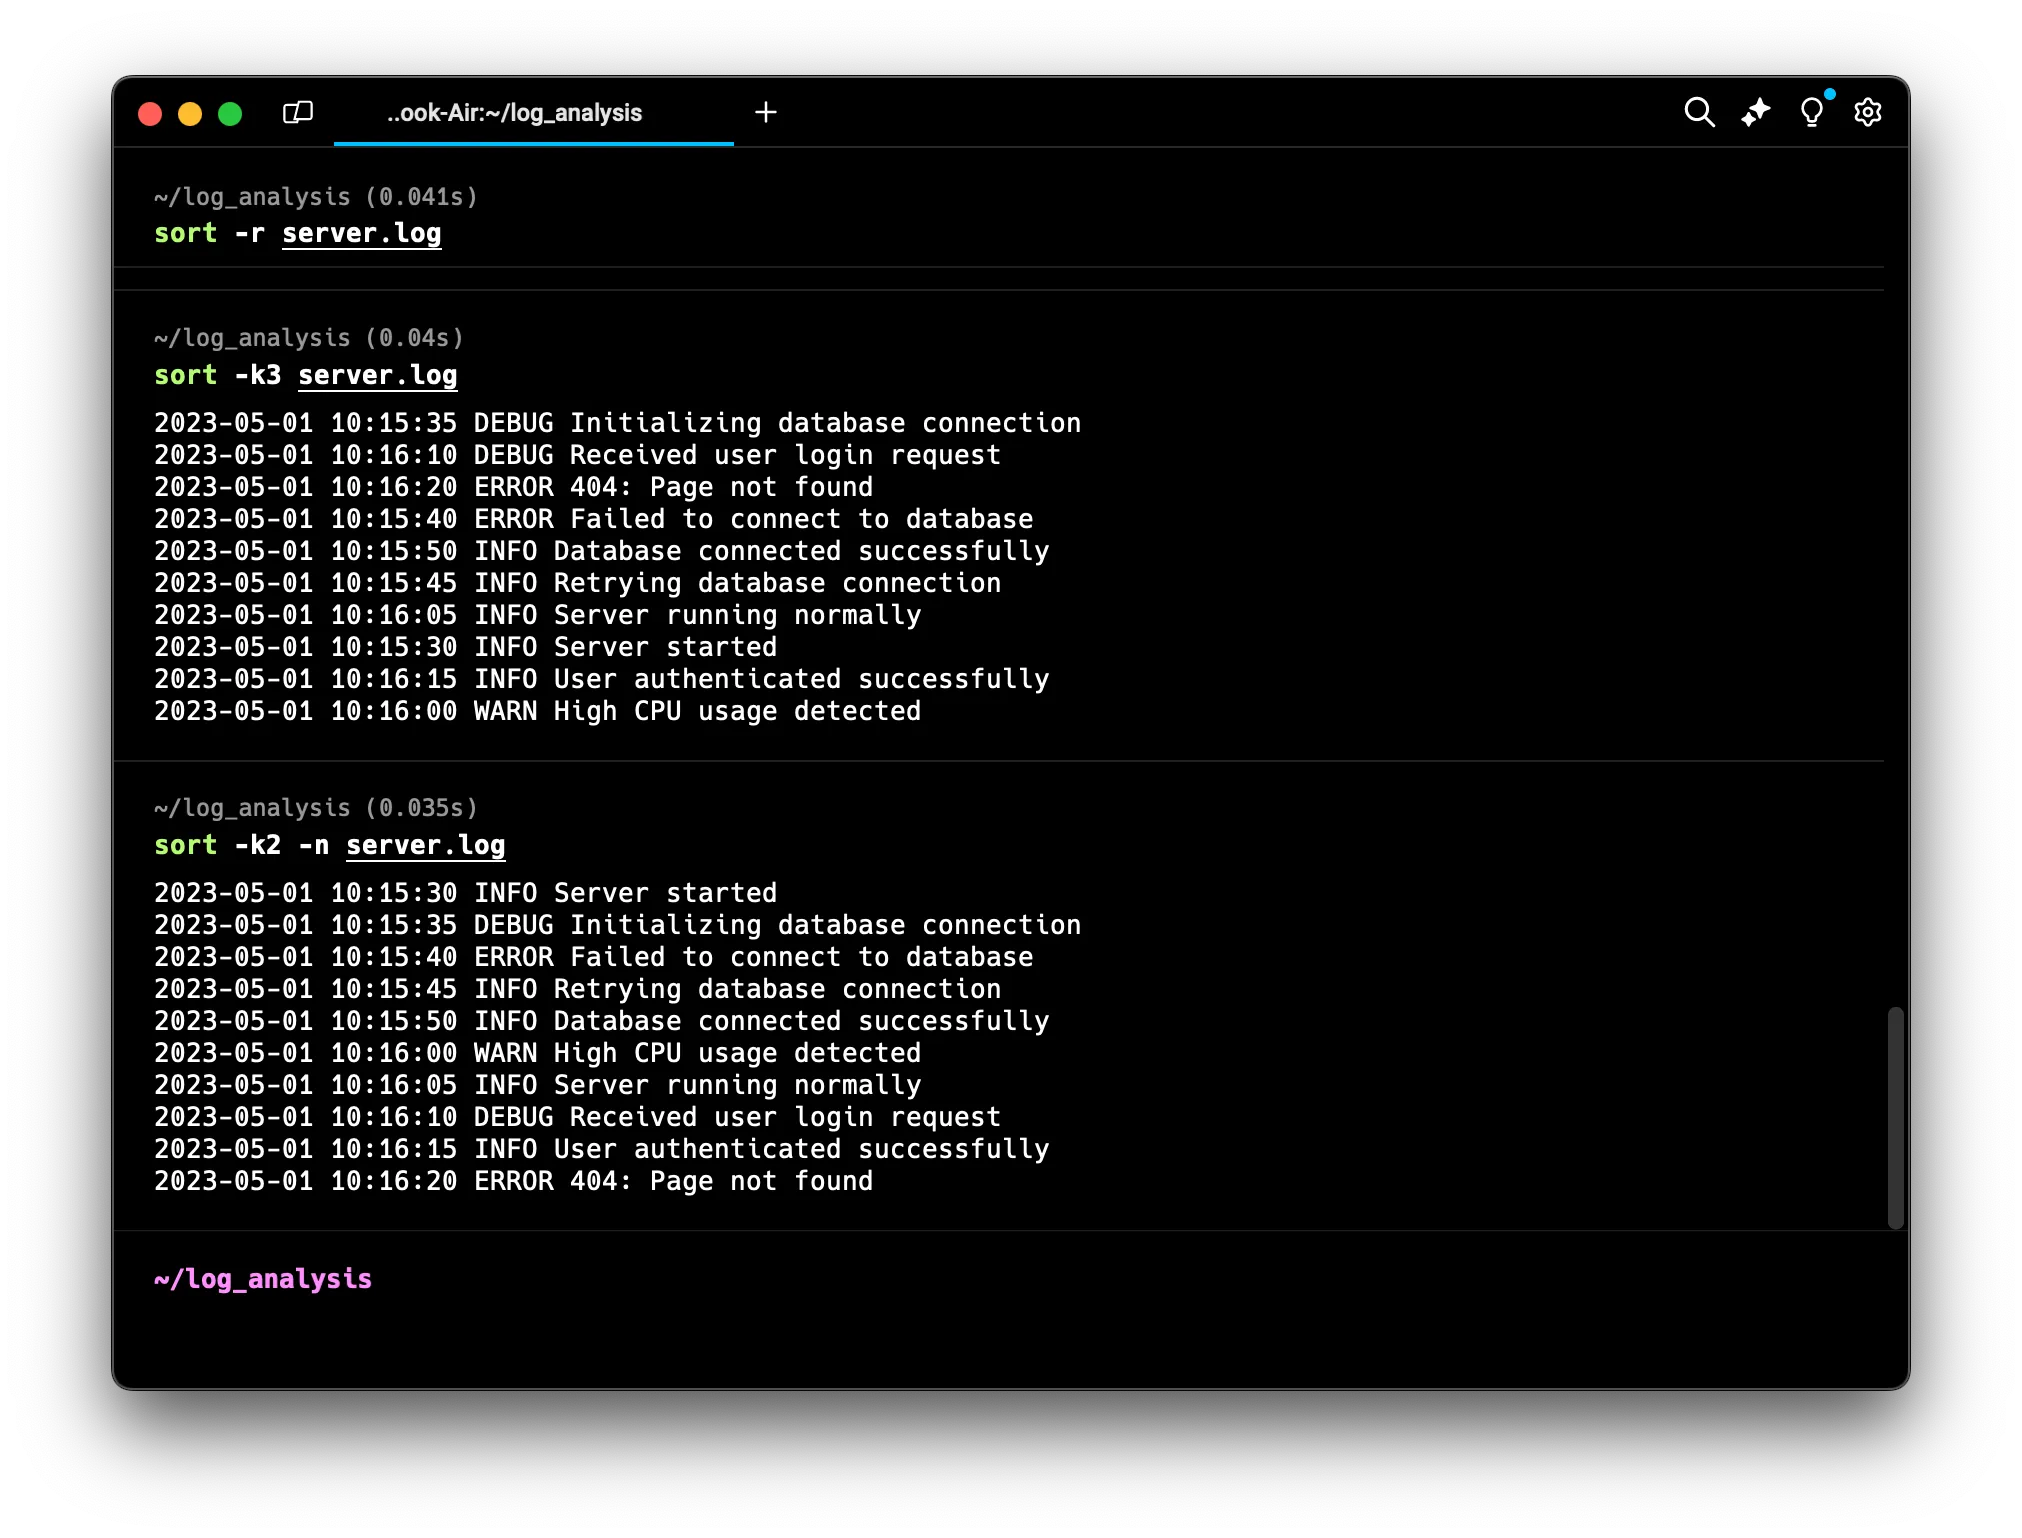 This sorts numerically based on the second field (the time in our log)
cut (Remove Sections from Lines of Files)
The cut command allows us to extract specific sections from each line of a file. Its basic format is:
cut [option] [file_name]
Common options include:
-d: Specify a delimiter-f: Specify which field(s) to extract
Let’s see some examples:
-
Extract the log levels:
cut -d' ' -f3 server.log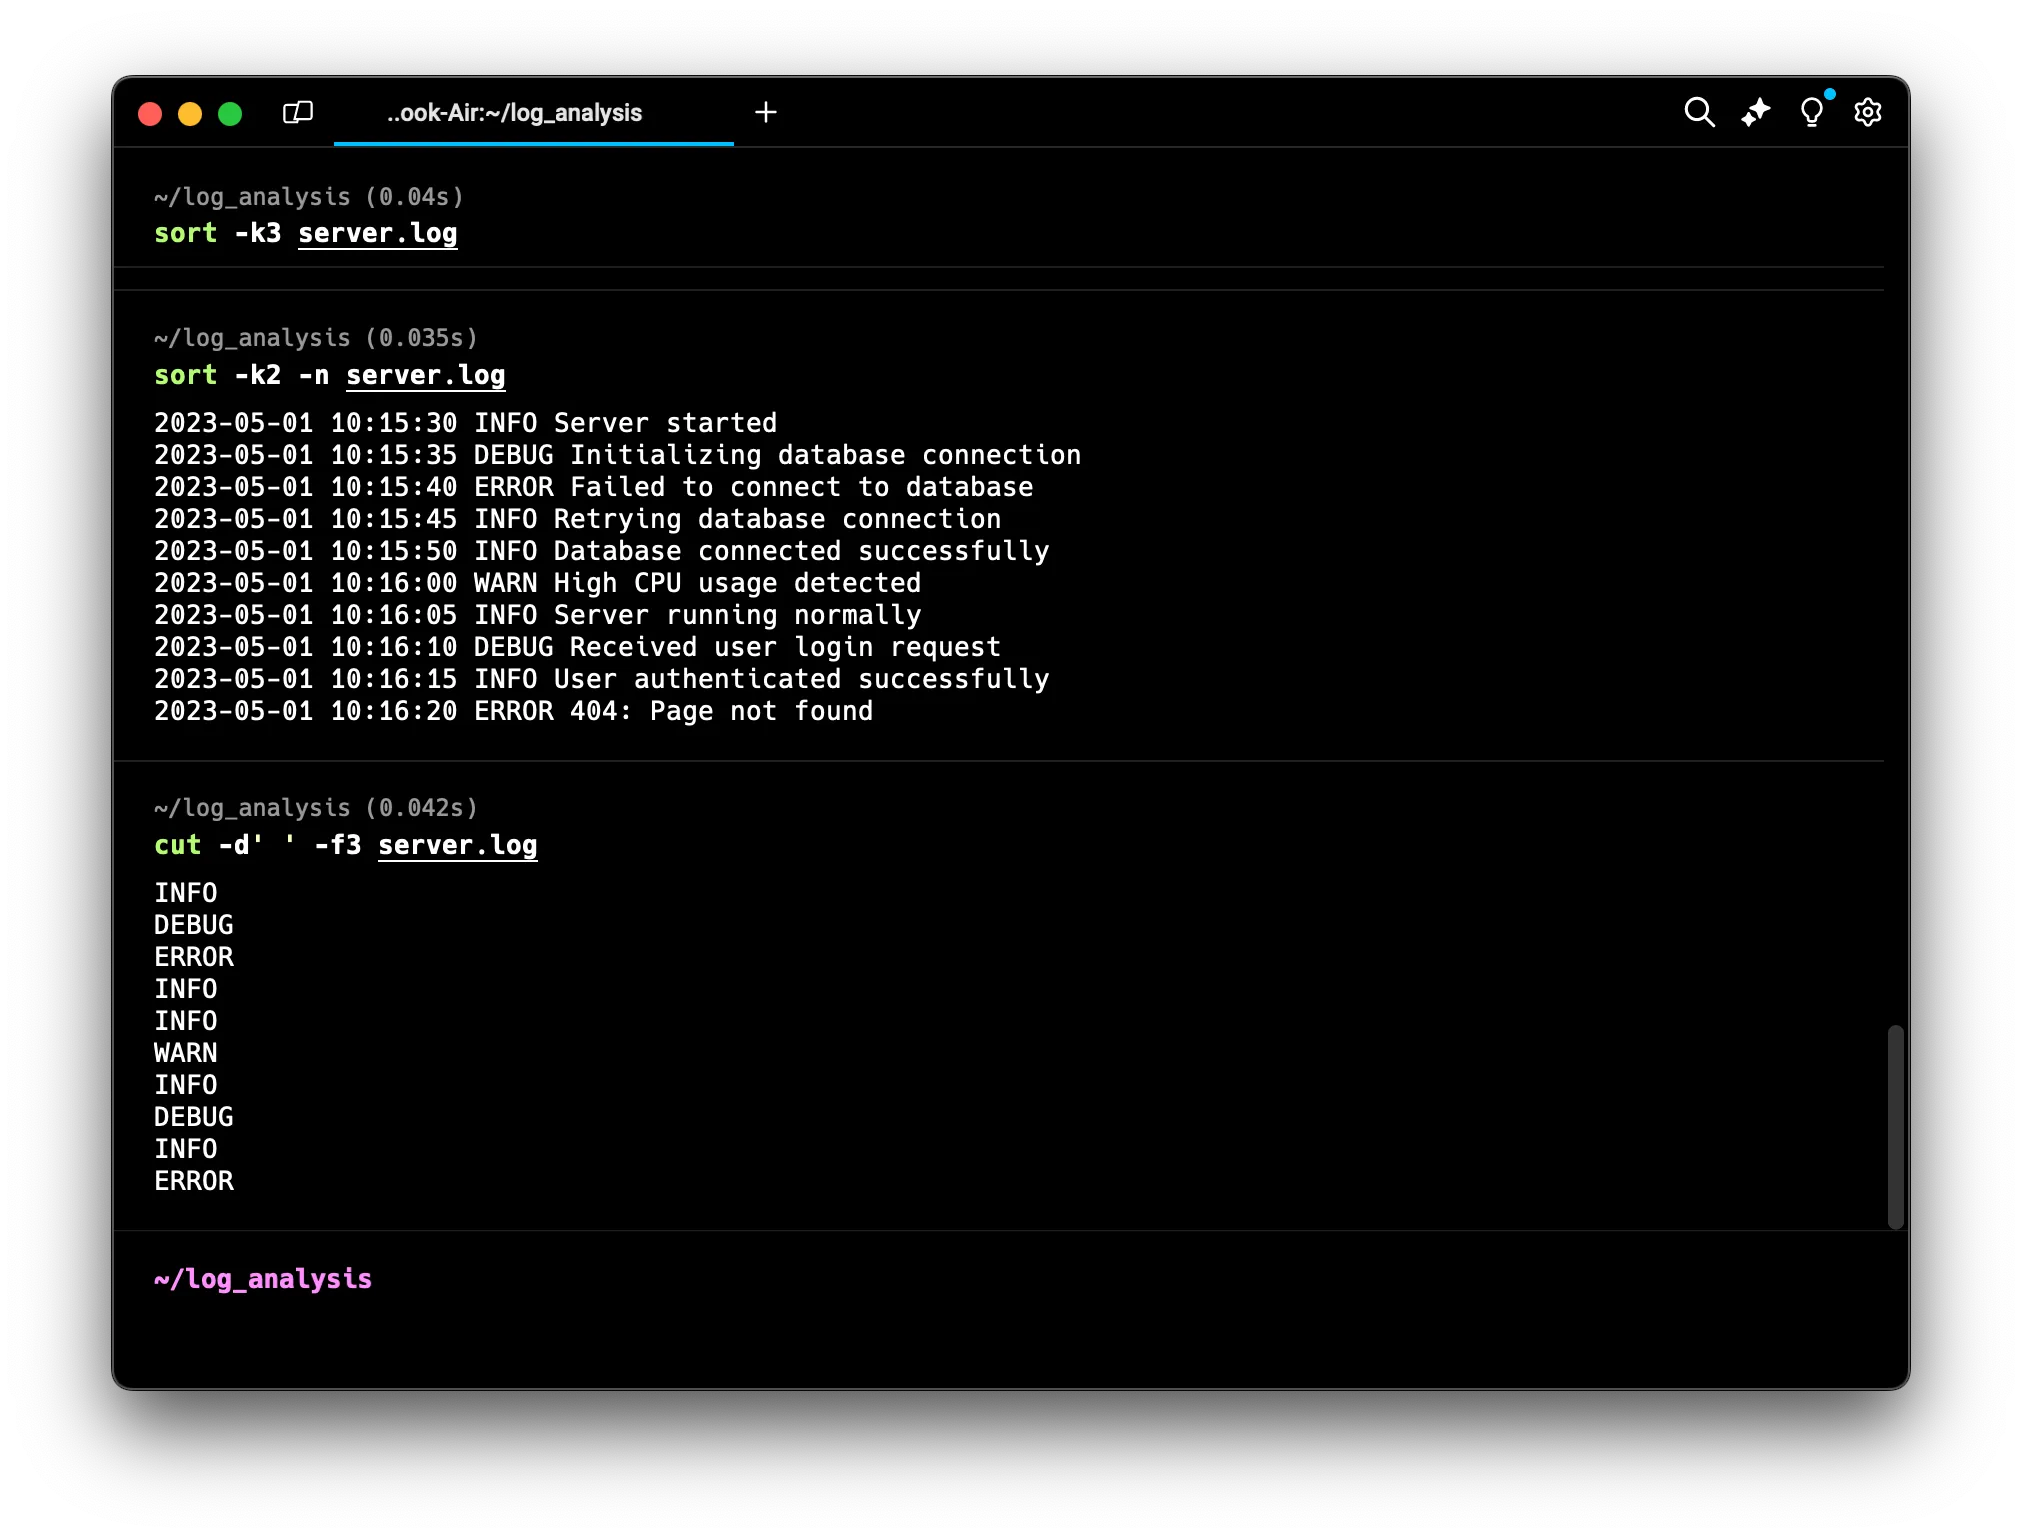 This uses a space as the delimiter and extracts the third field.
 -
Extract the time and log level:
cut -d' ' -f2,3 server.log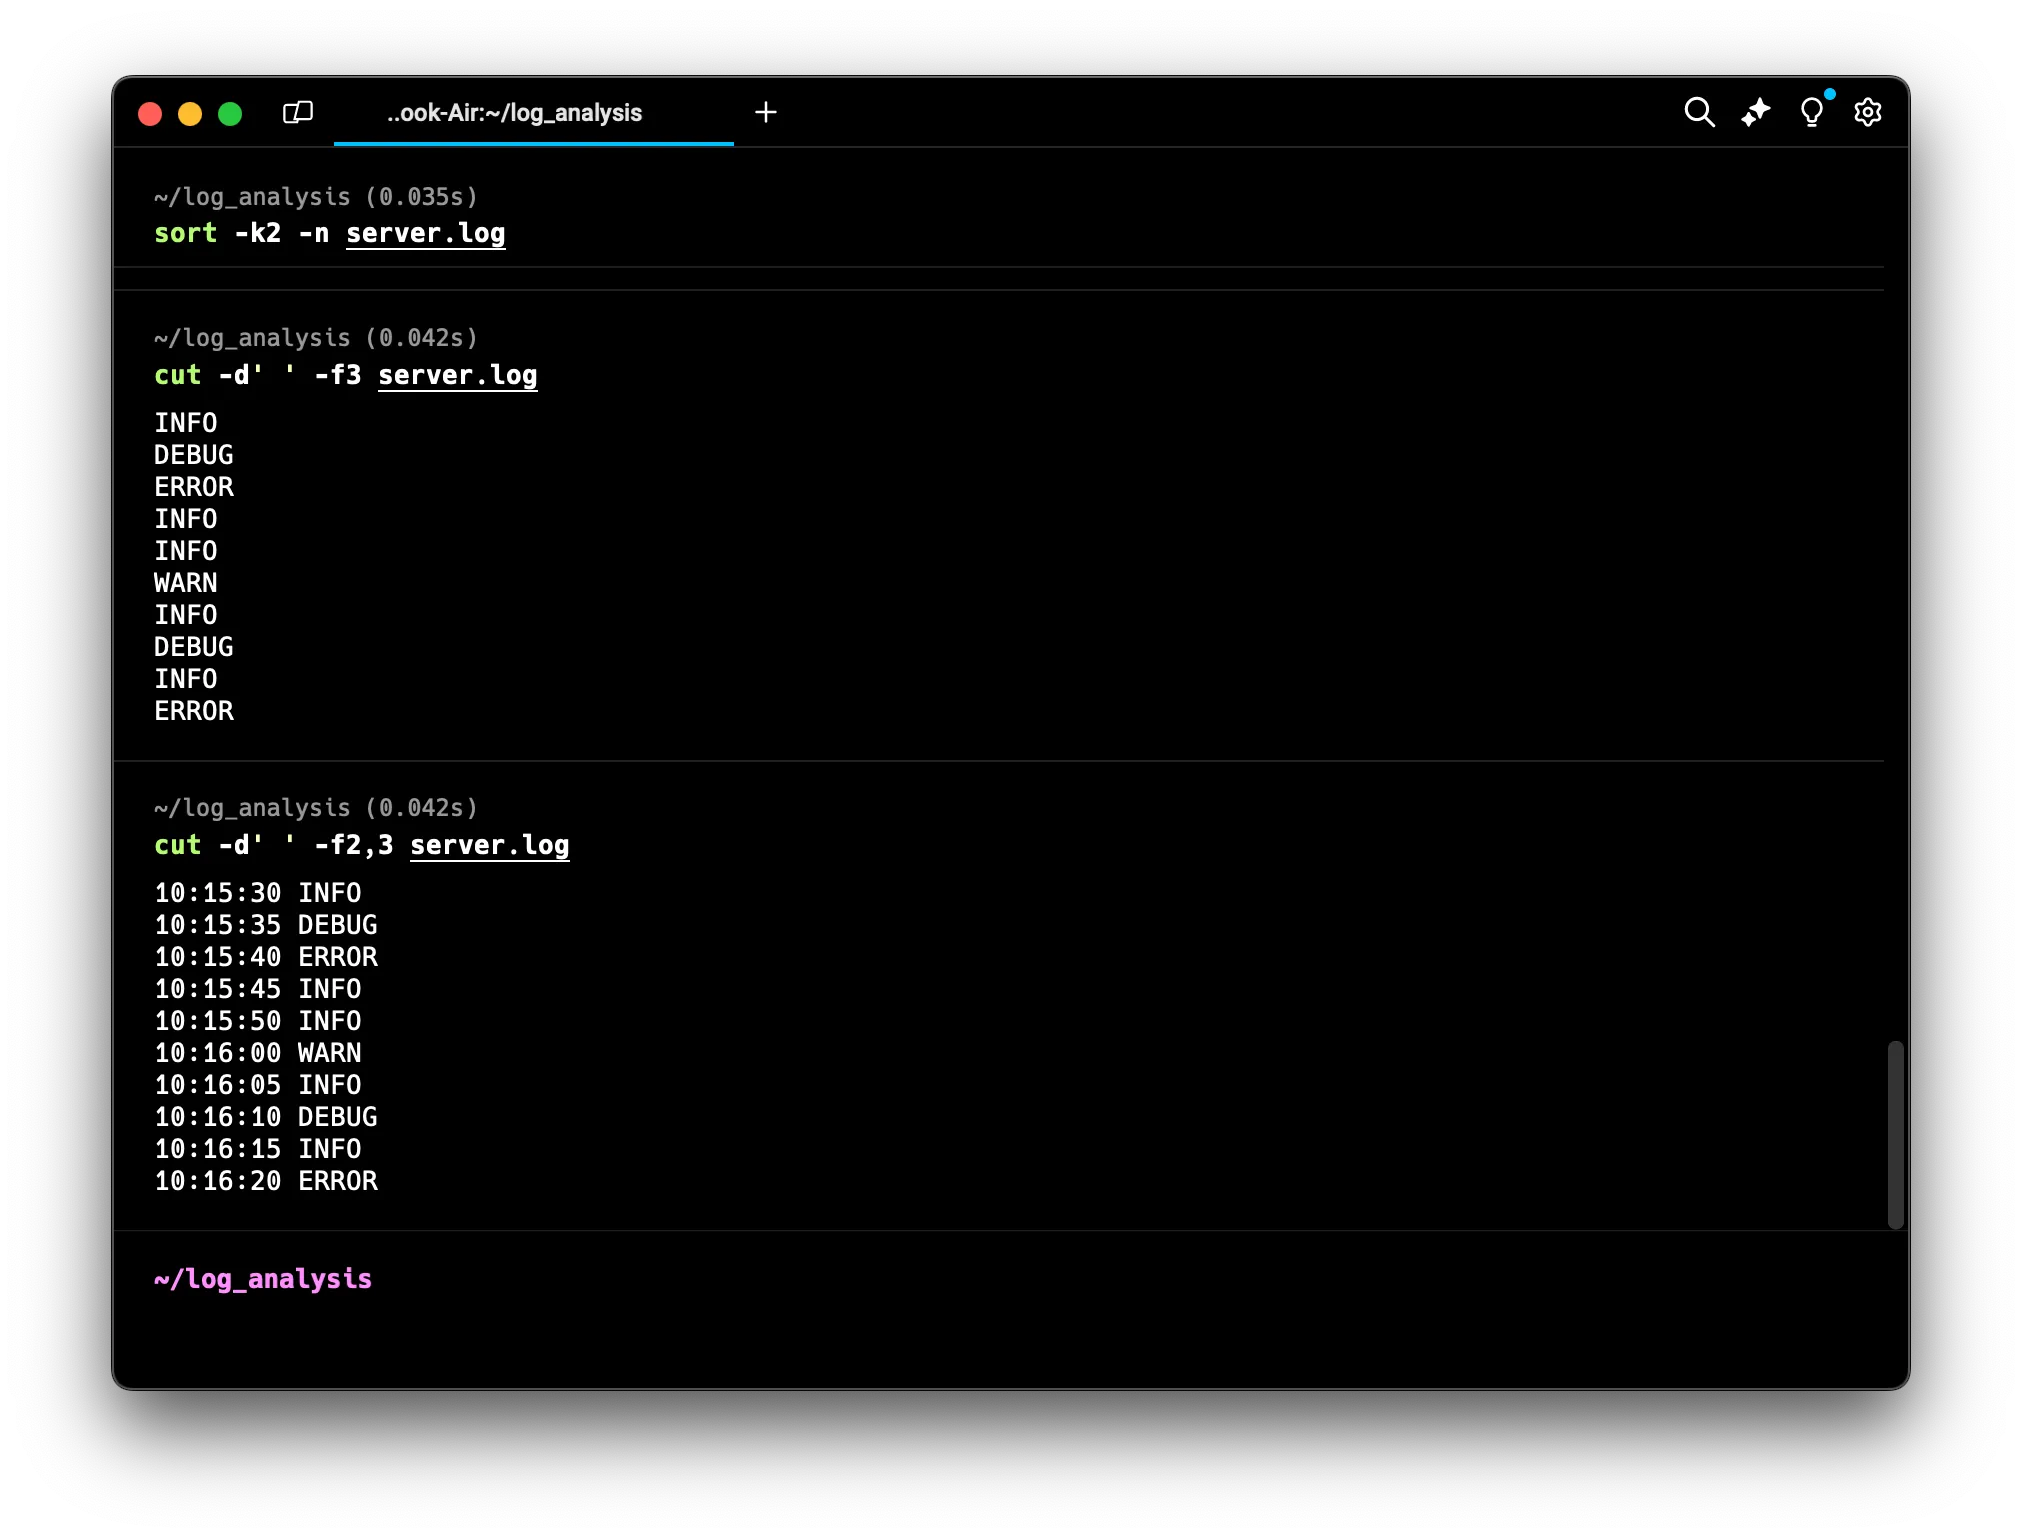 This extracts the second and third fields.
 -
Extract everything except the date:
cut -d' ' -f2- server.log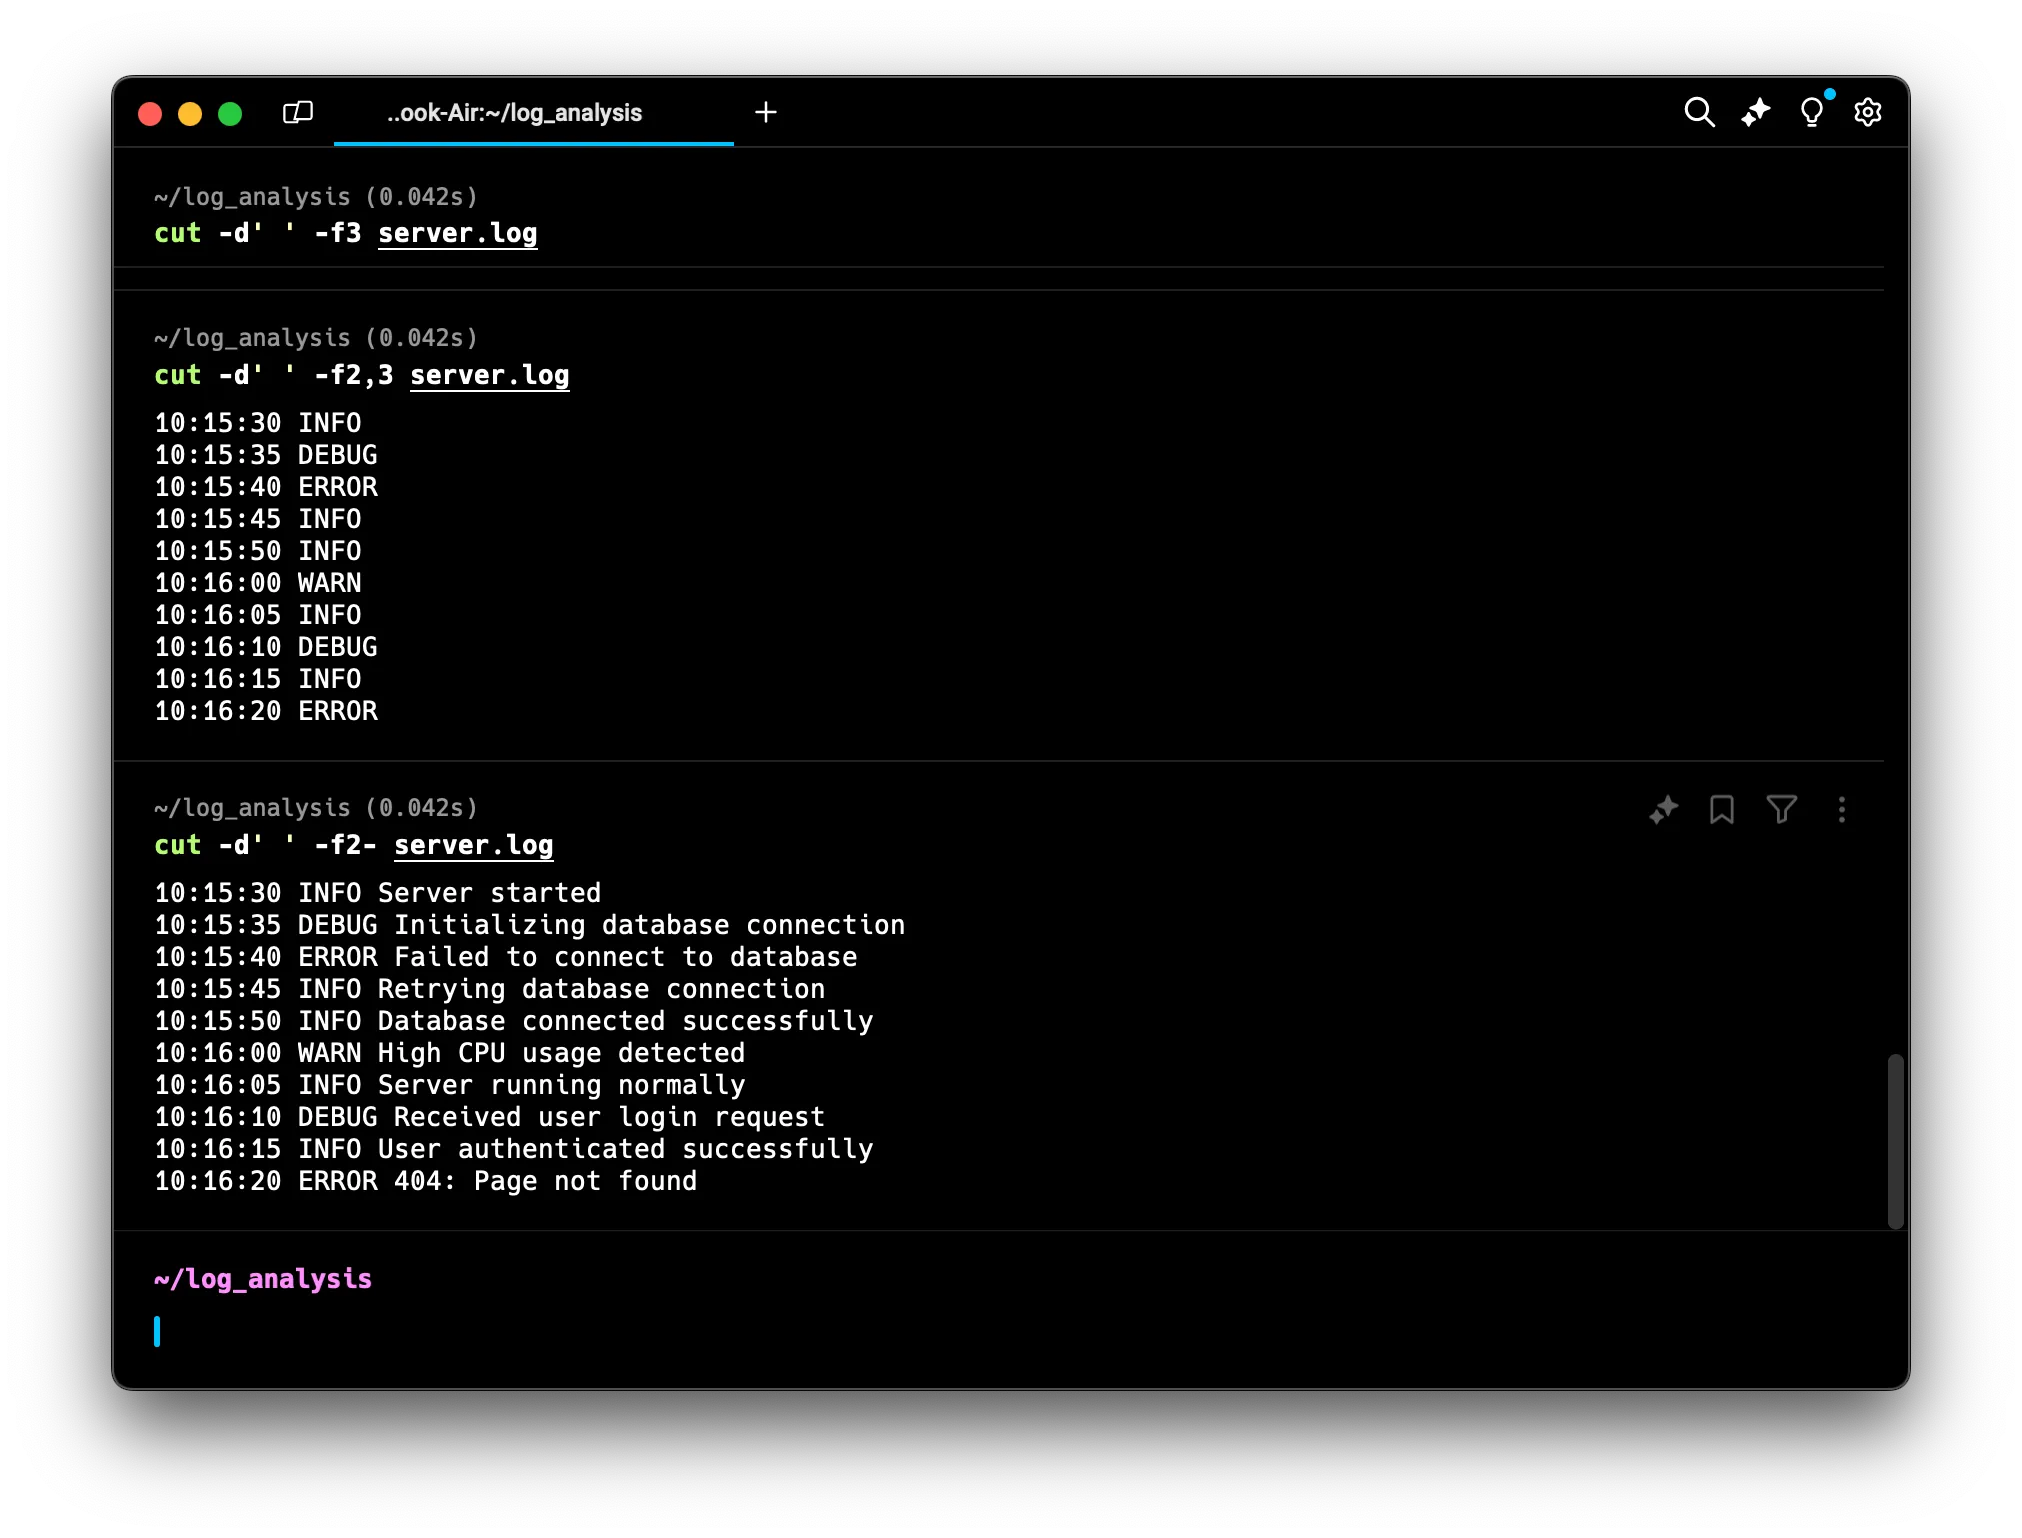 The
The -after2means “from field 2 to the end of the line”. -
Extract a range of fields:
cut -d' ' -f2-4 server.log
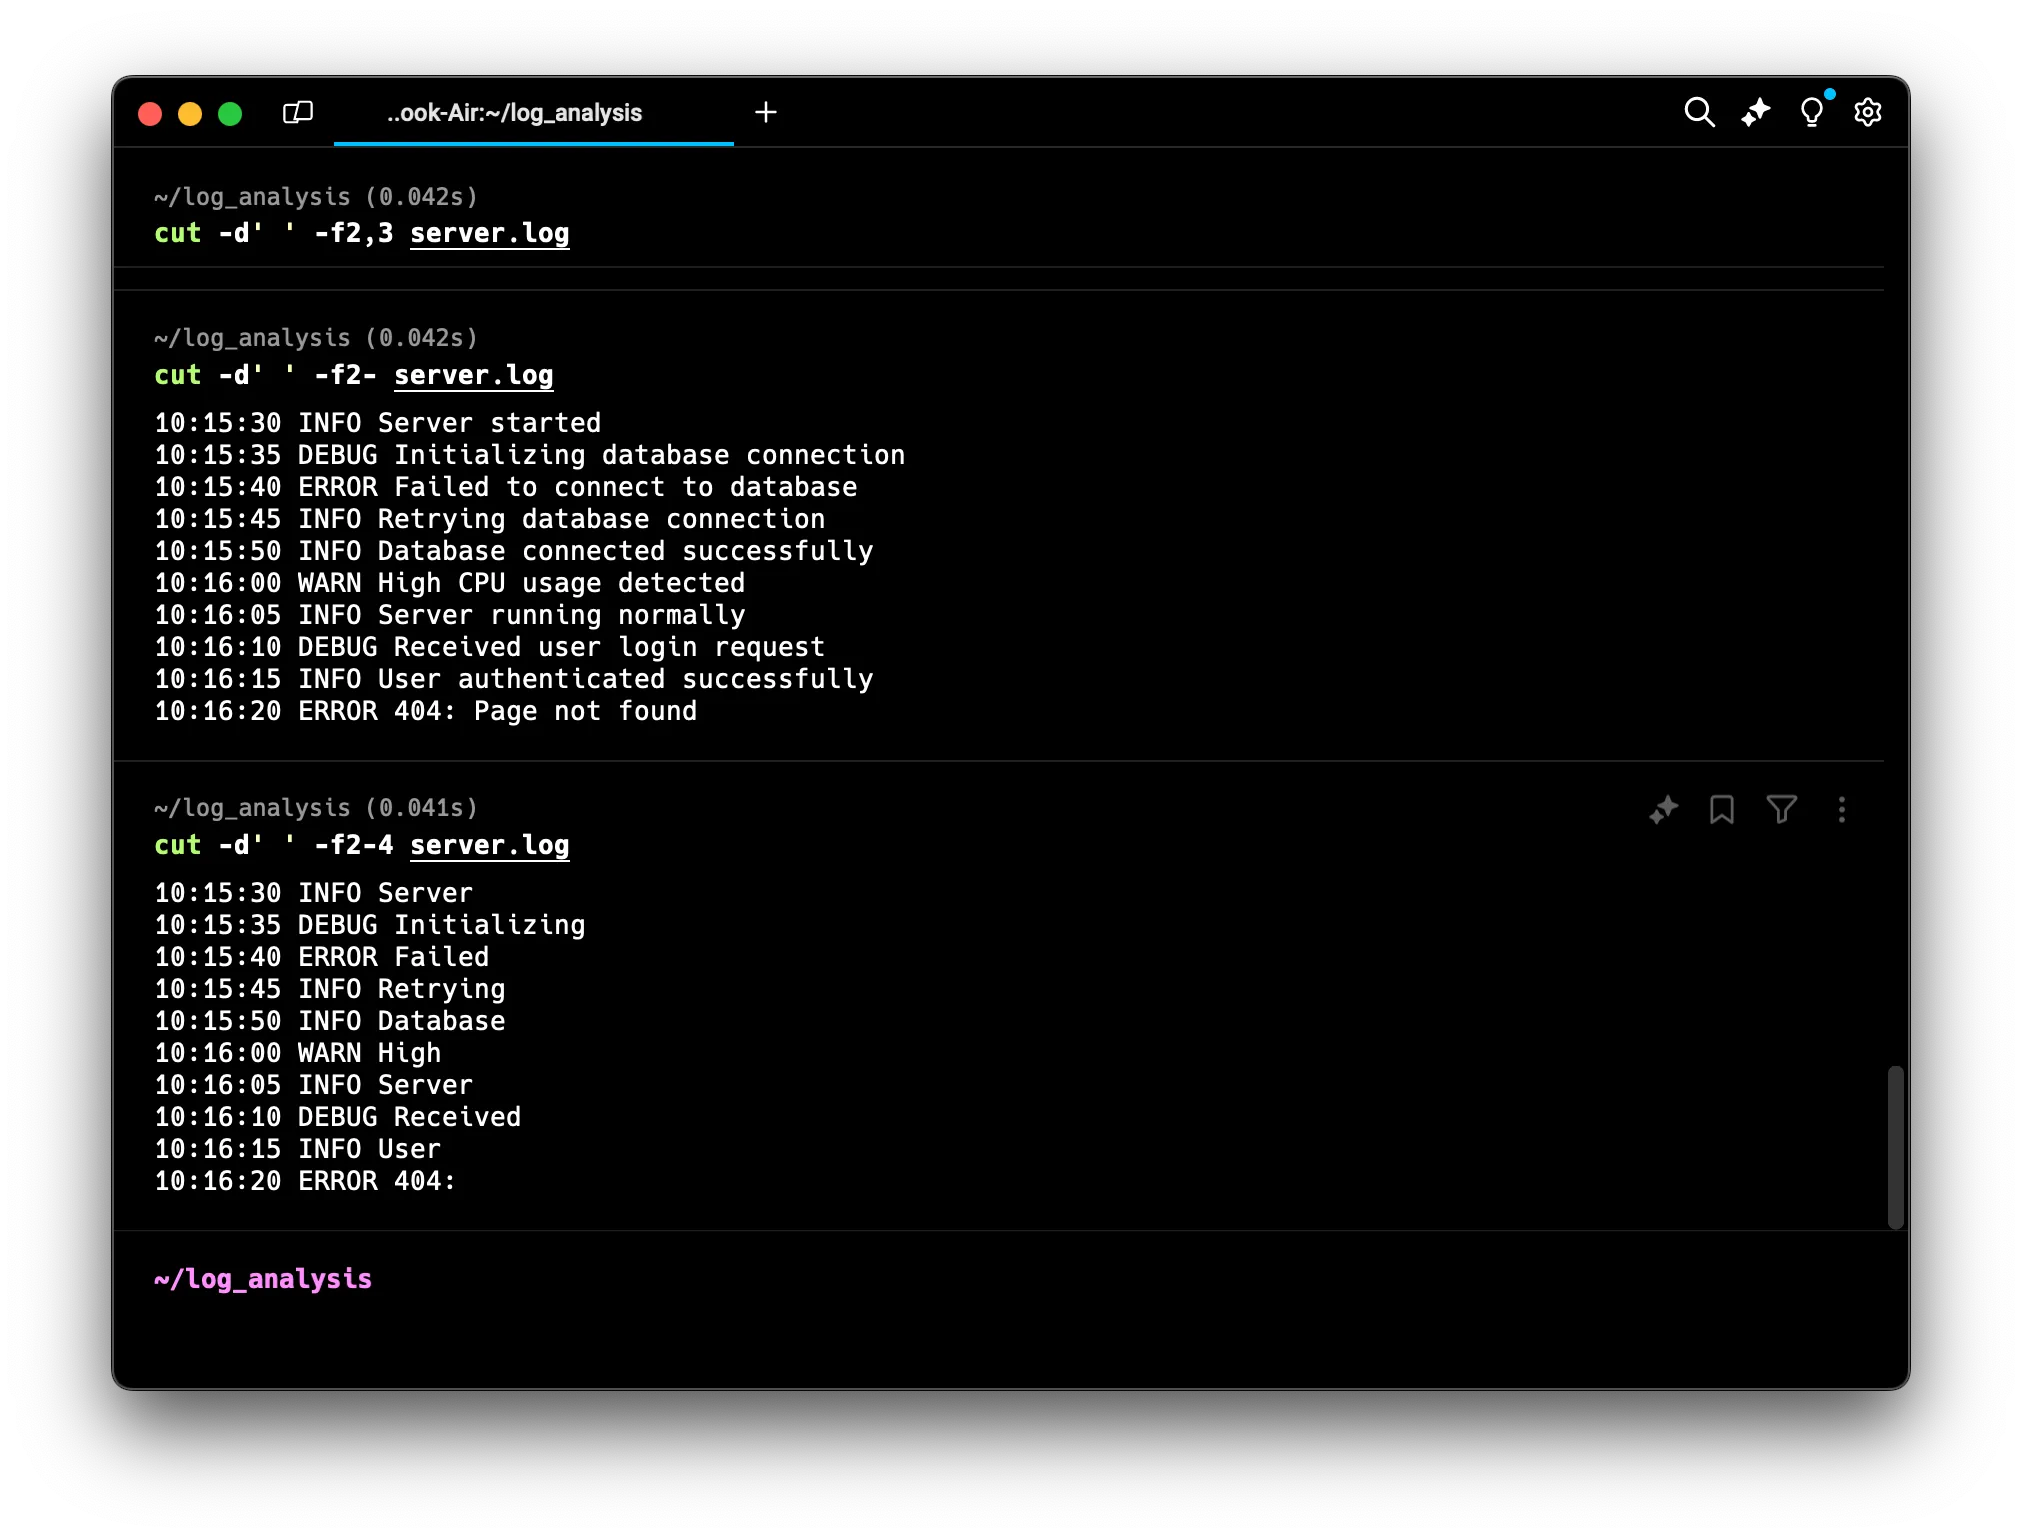 This extracts fields 2 through 4. In our log file, this would typically give us the time, log level, and the first word of the message.
5. Combine individual fields and ranges:
cut -d' ' -f1,3-5 server.log
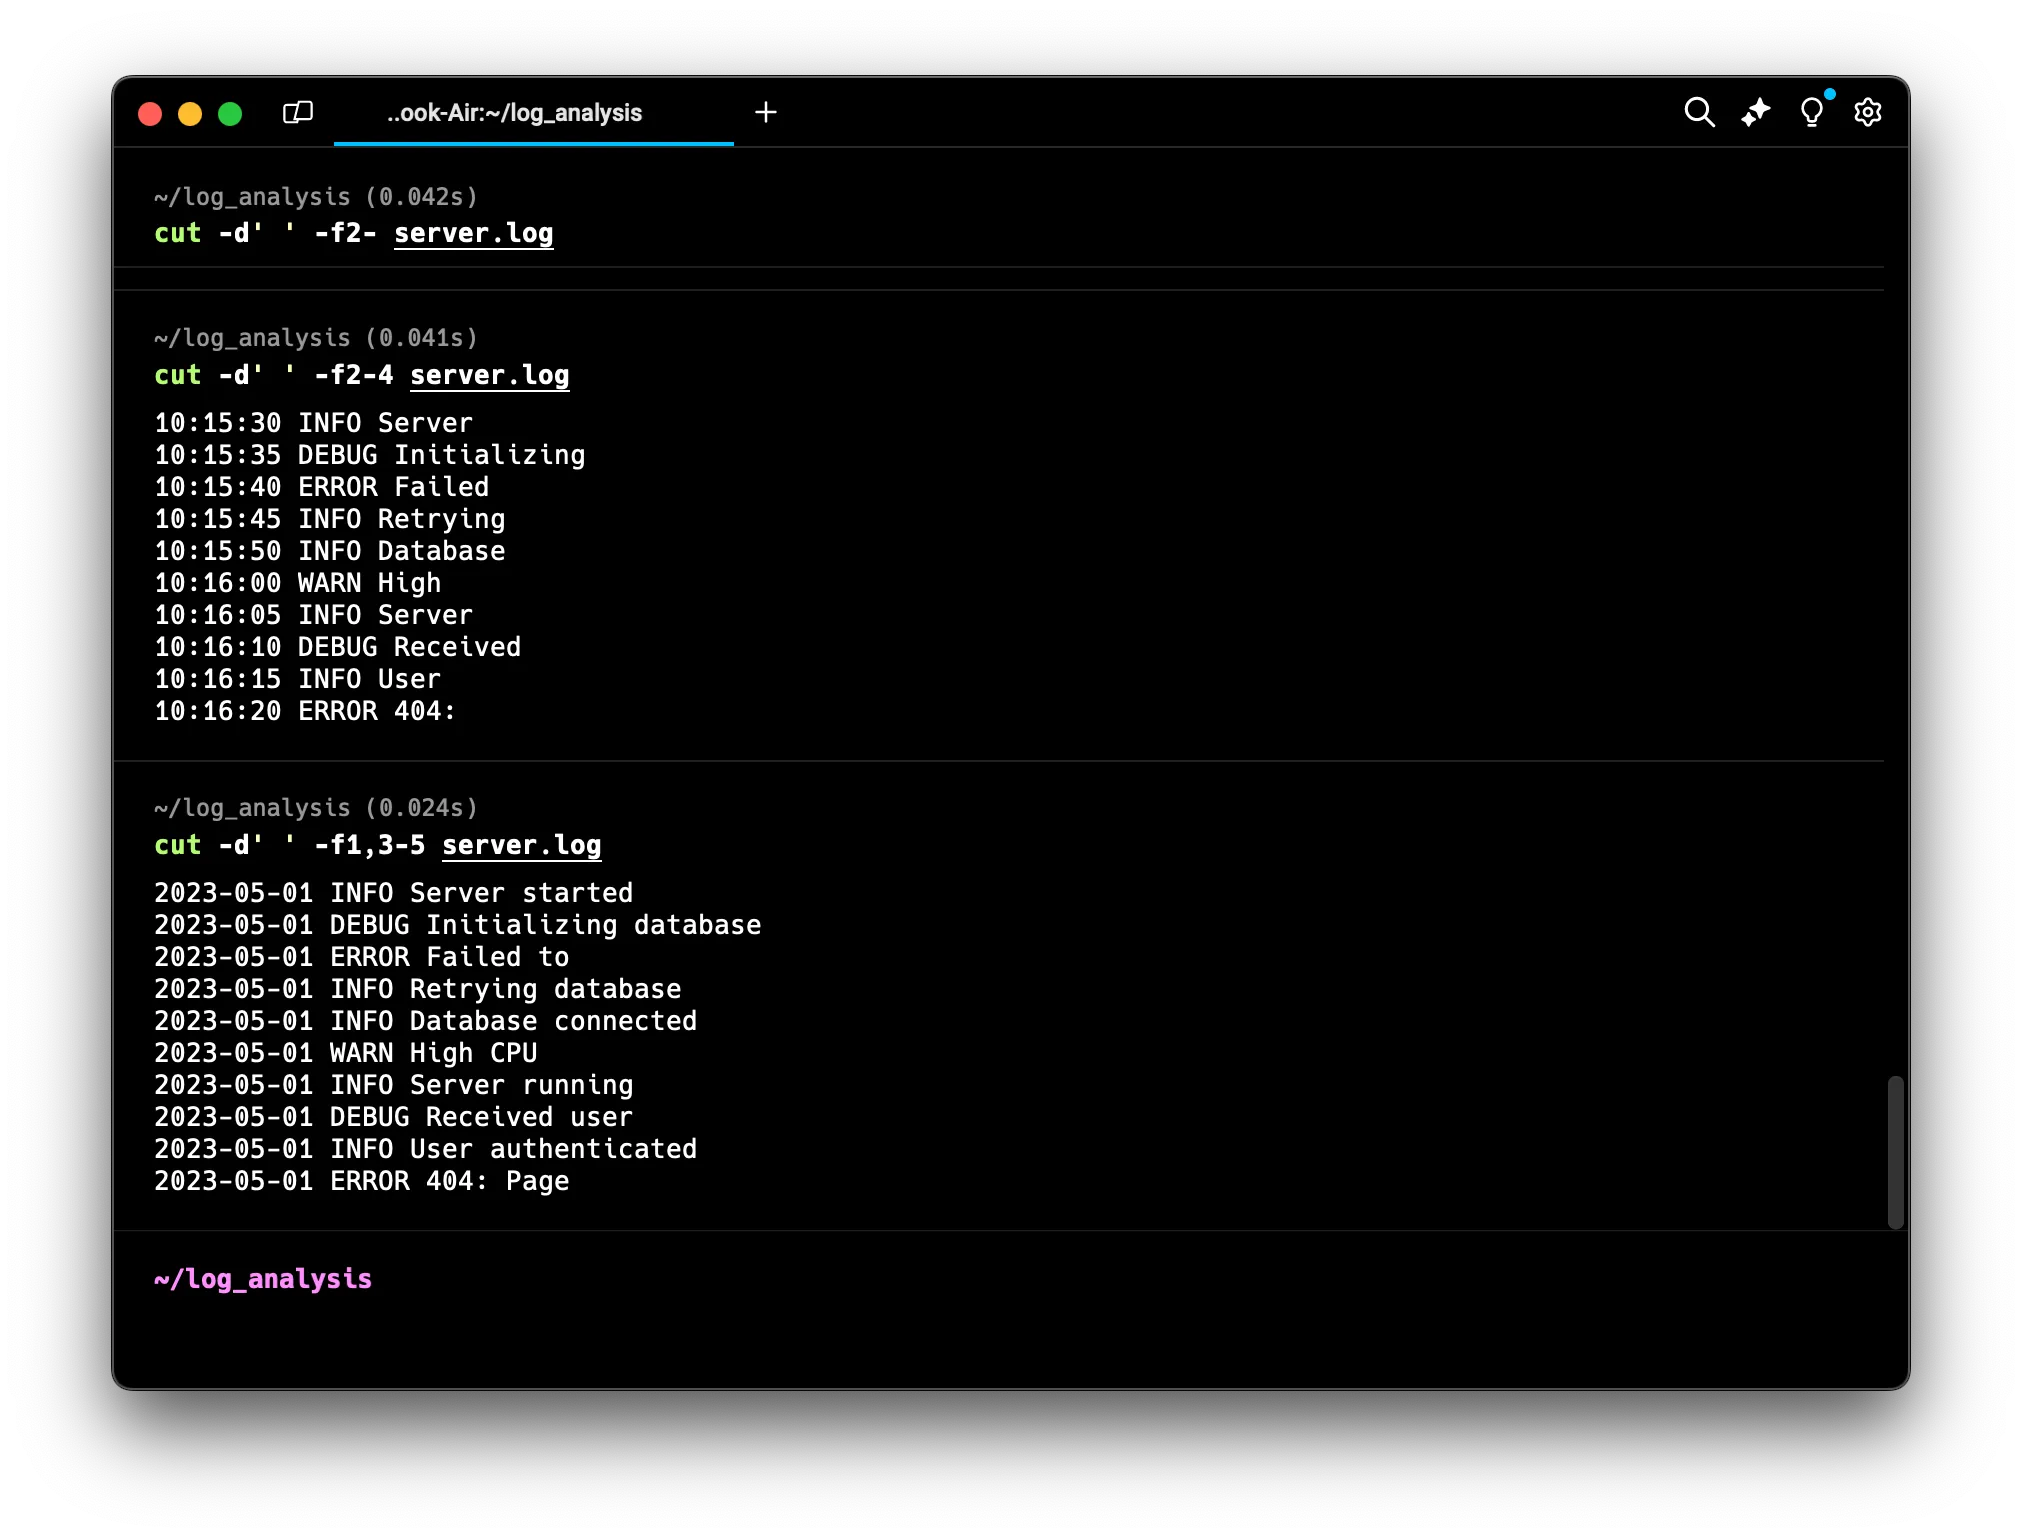 This extracts field 1 (the date) and fields 3 through 5, effectively giving us the date, log level, and the first two words of the message.
sed (Stream Editor)
The sed command is a powerful stream editor that can perform various text transformations. Its basic format is:
sed [option] 'command' [file_name]
Here are some examples:
-
Replace “ERROR” with “CRITICAL”:
sed 's/ERROR/CRITICAL/g' server.log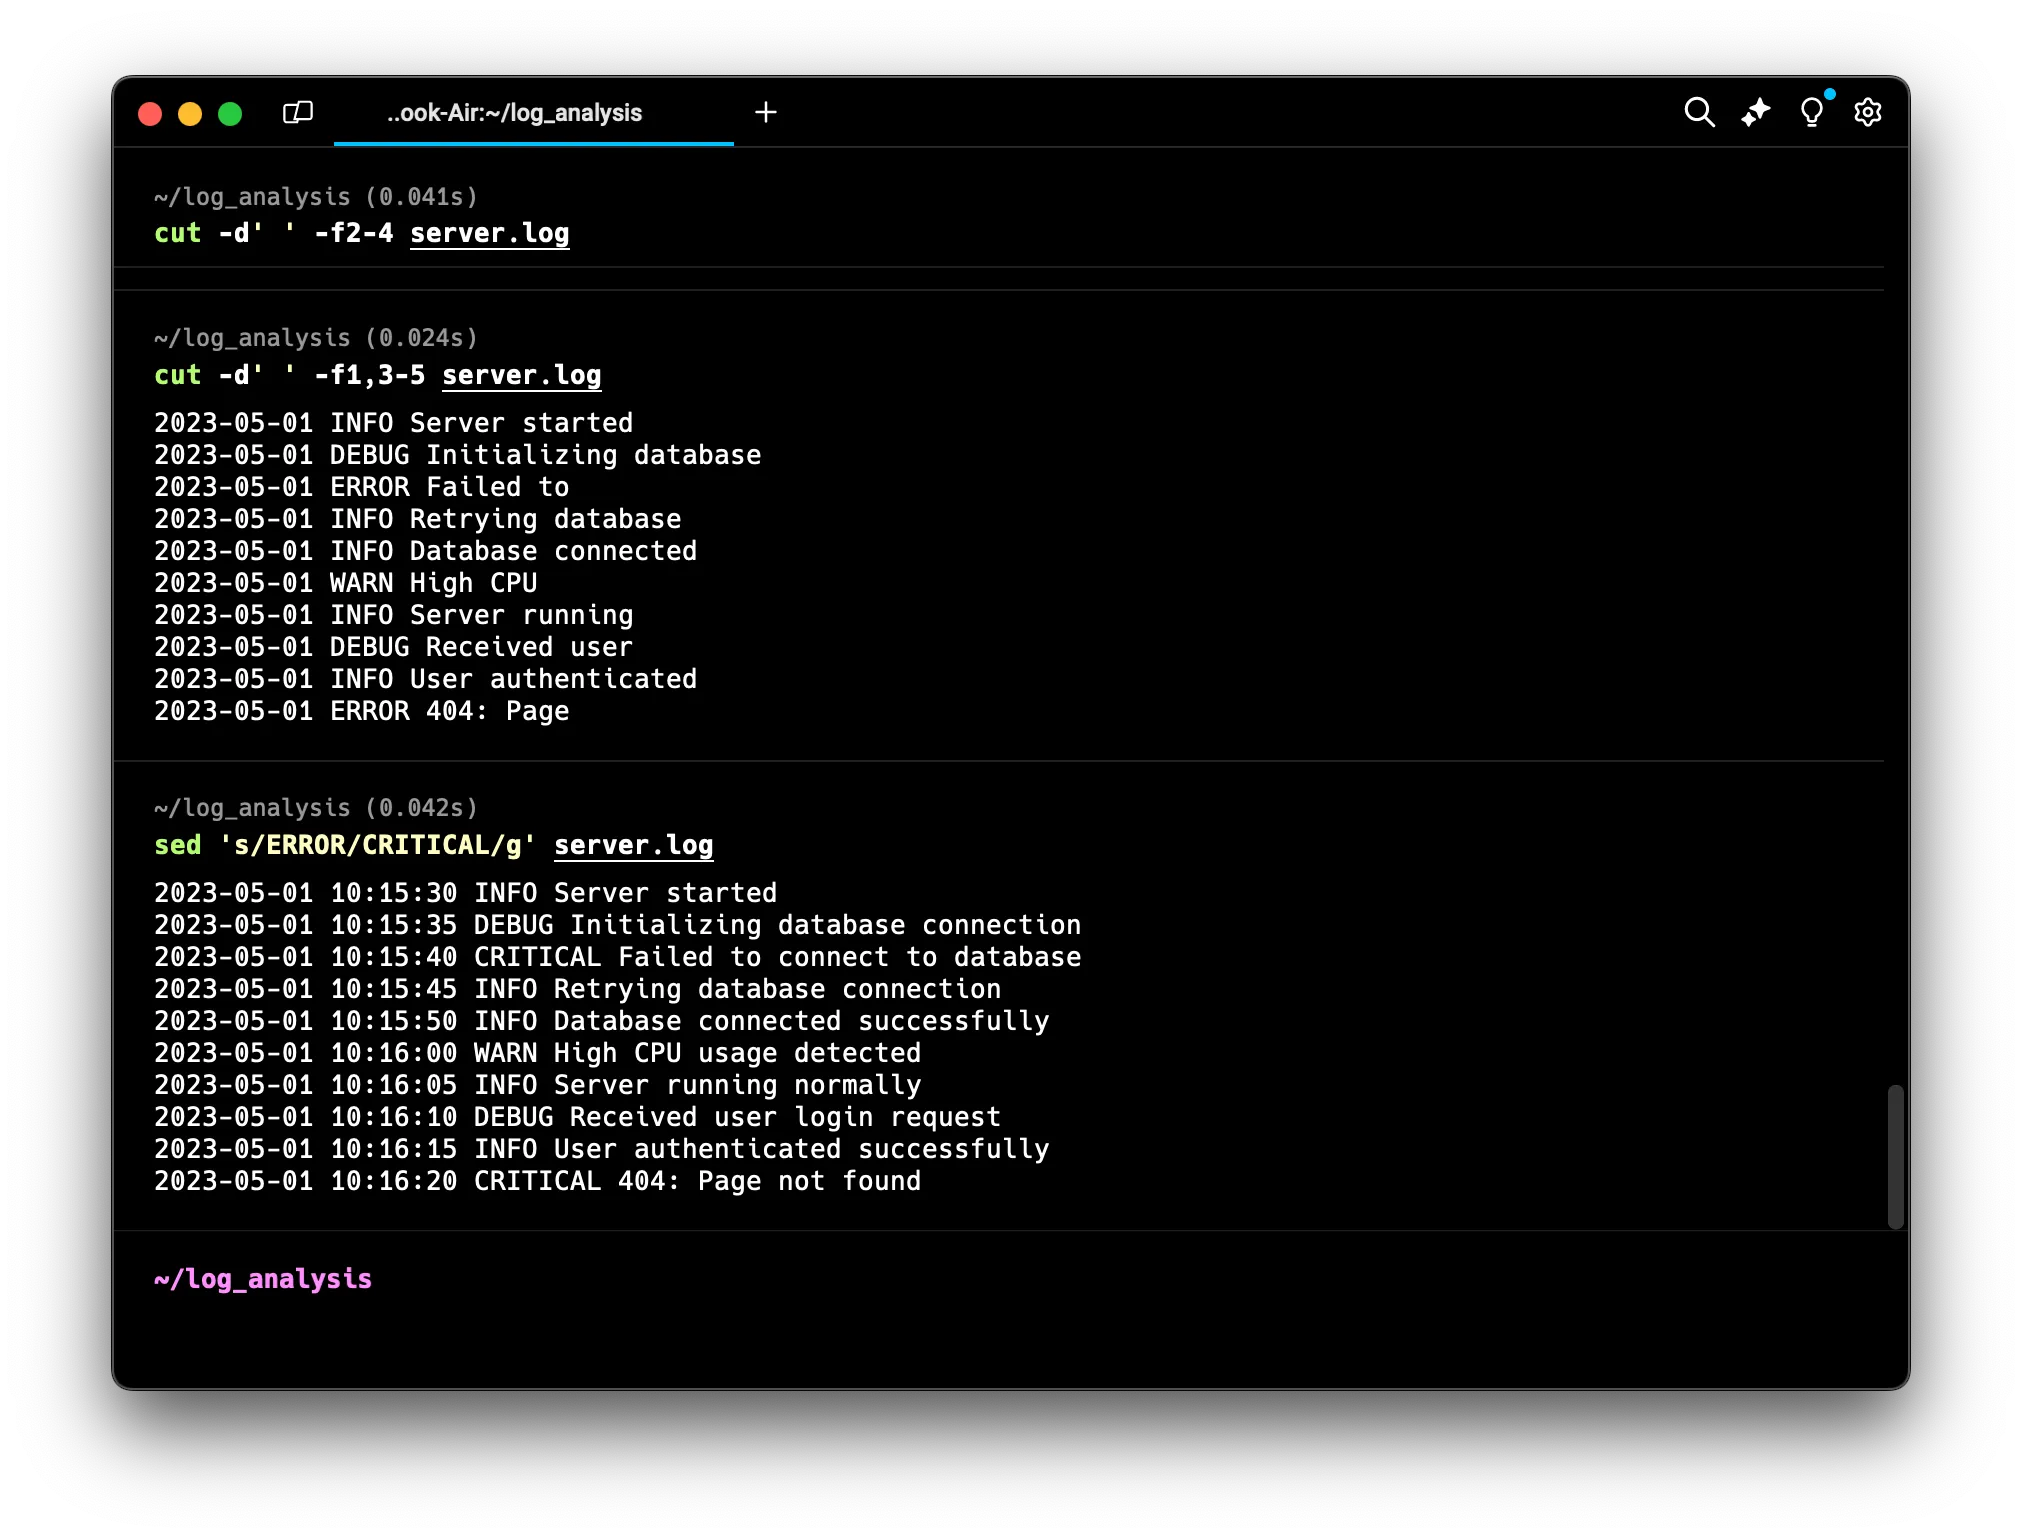 The
The sstands for substitute, andgmeans global (replace all occurrences in each line). -
Delete all lines containing “DEBUG”:
sed '/DEBUG/d' server.log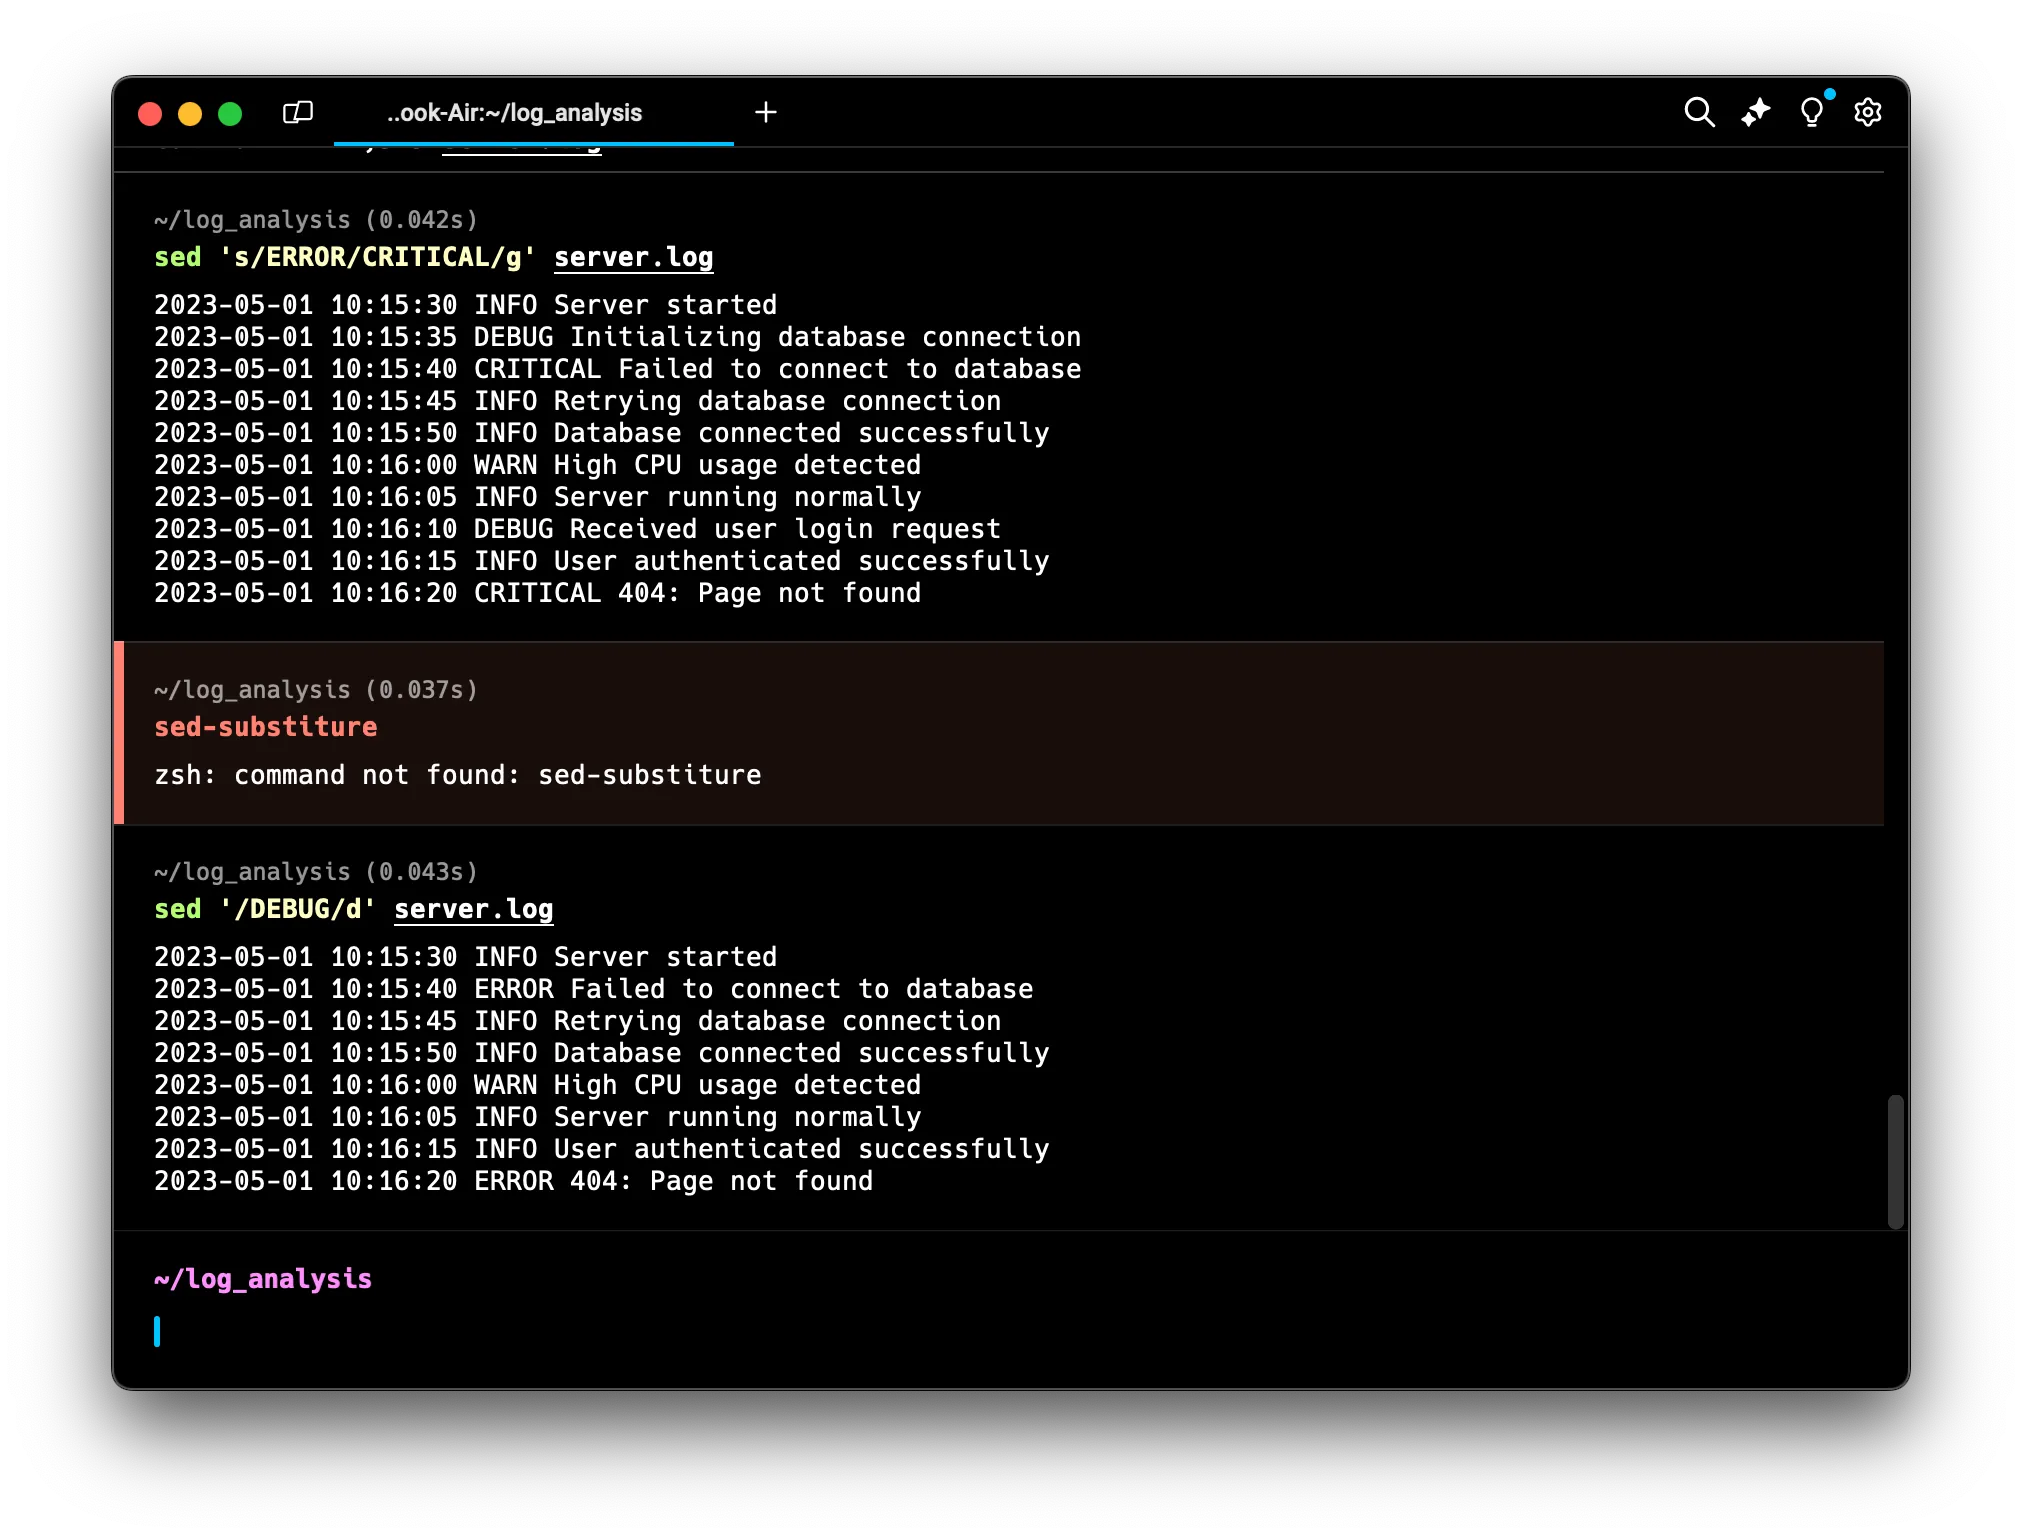 The
The dcommand deletes matching lines. -
Print only lines containing “ERROR”:
sed -n '/ERROR/p' server.log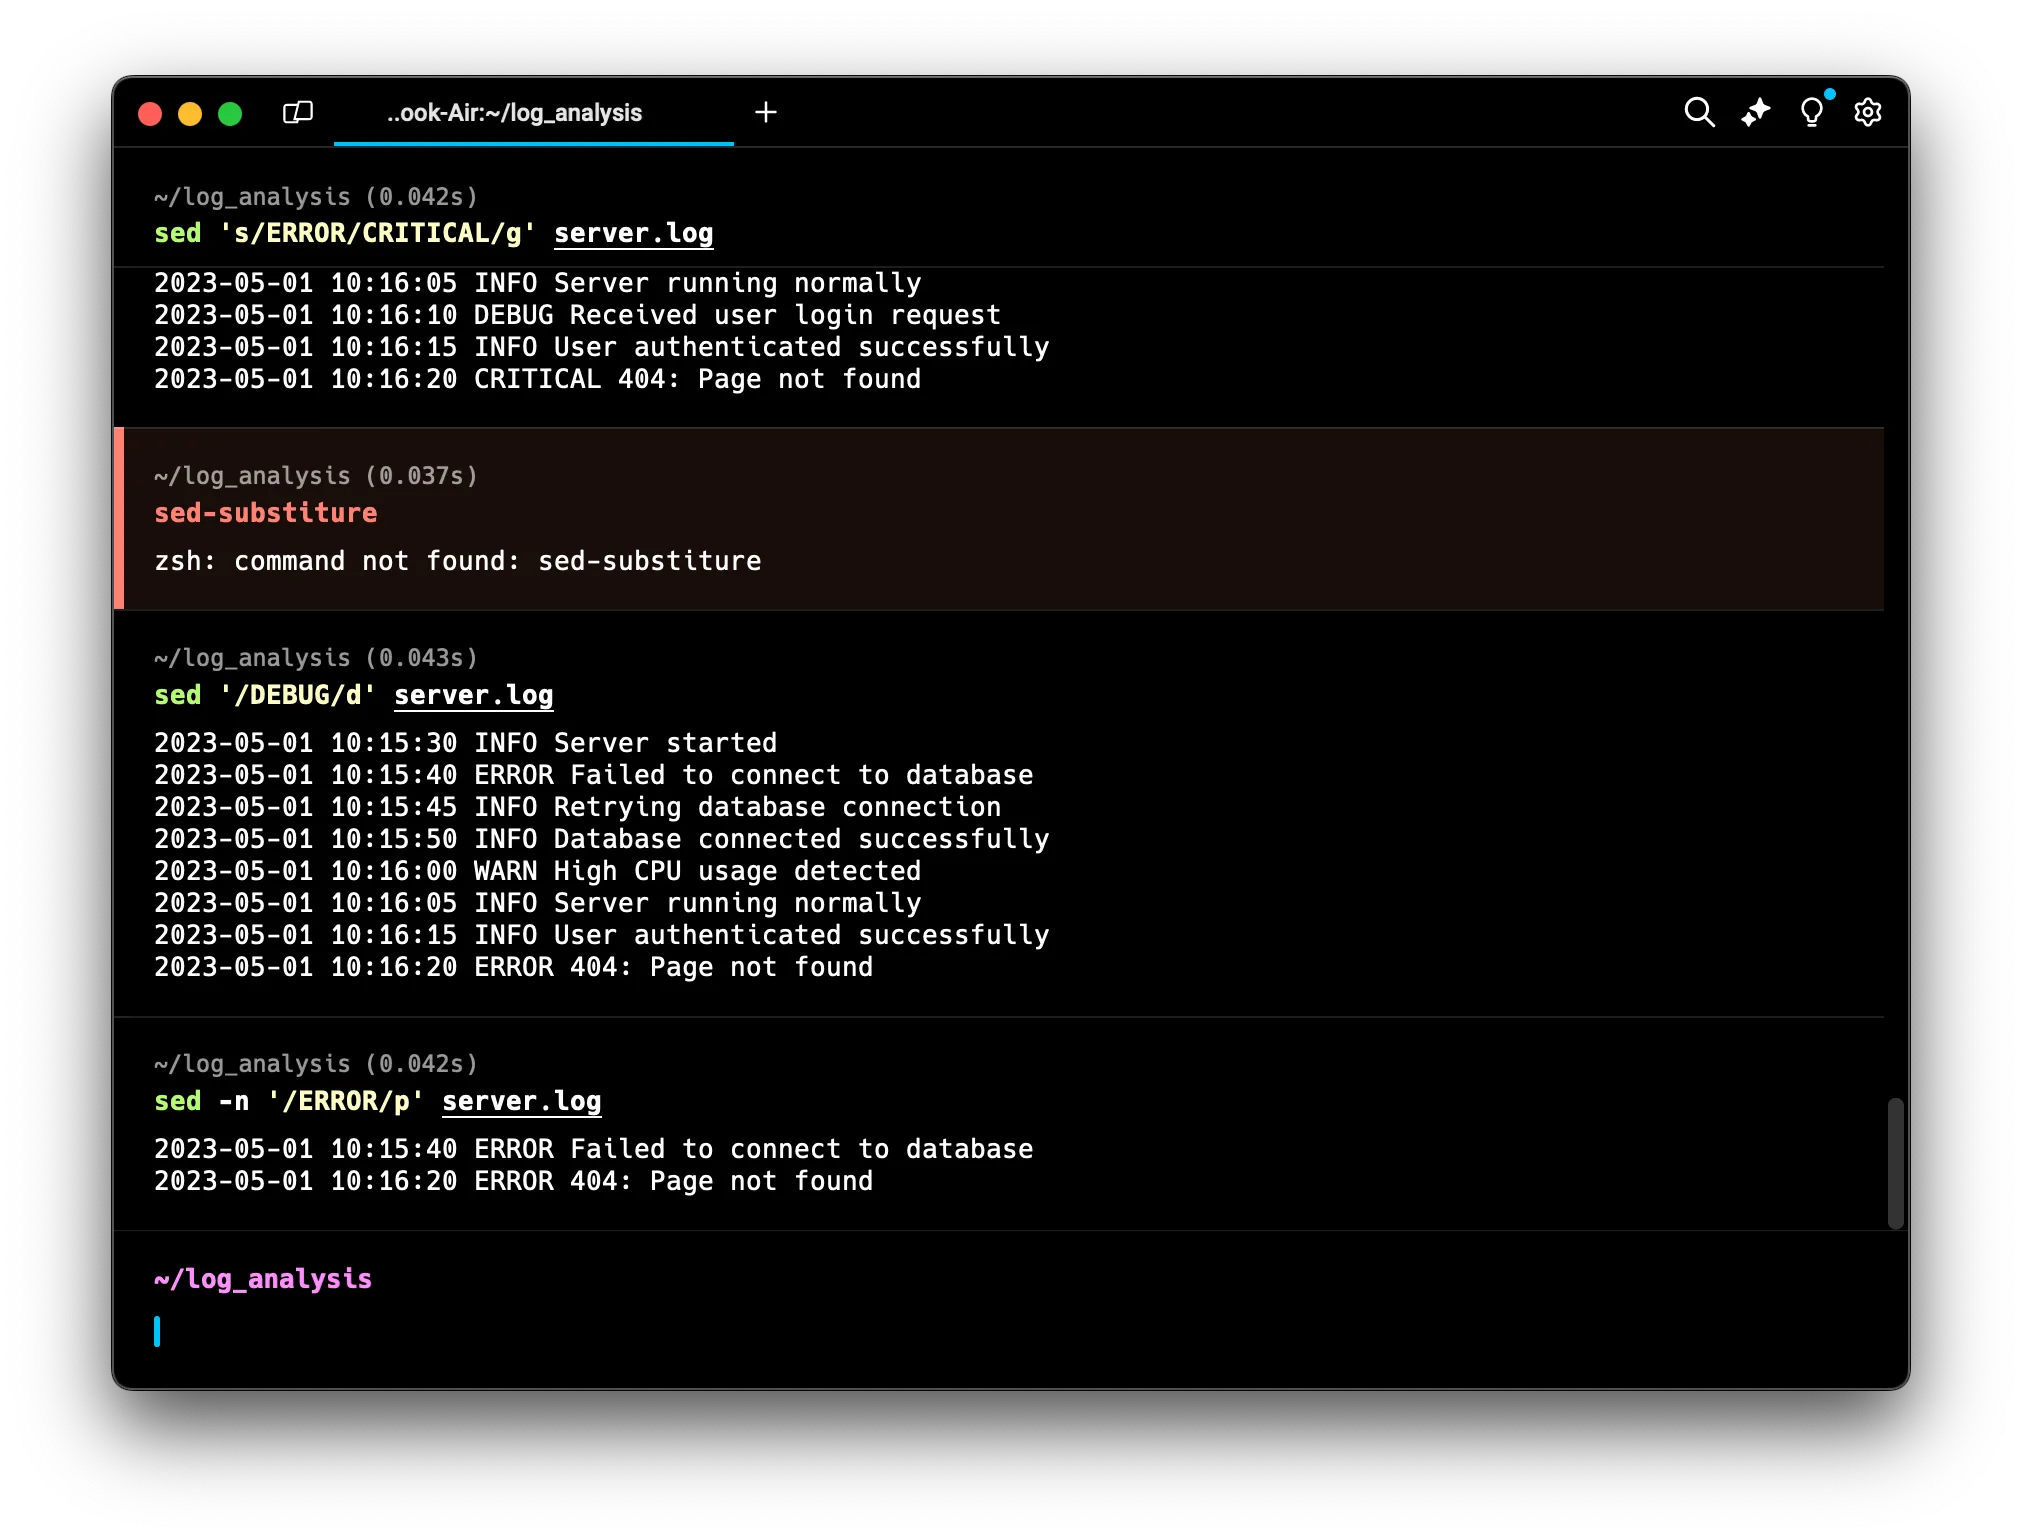 The
The -noption suppresses automatic printing, andpprints matching lines. -
Add a prefix to each line:
sed 's/^/LOG: /' server.log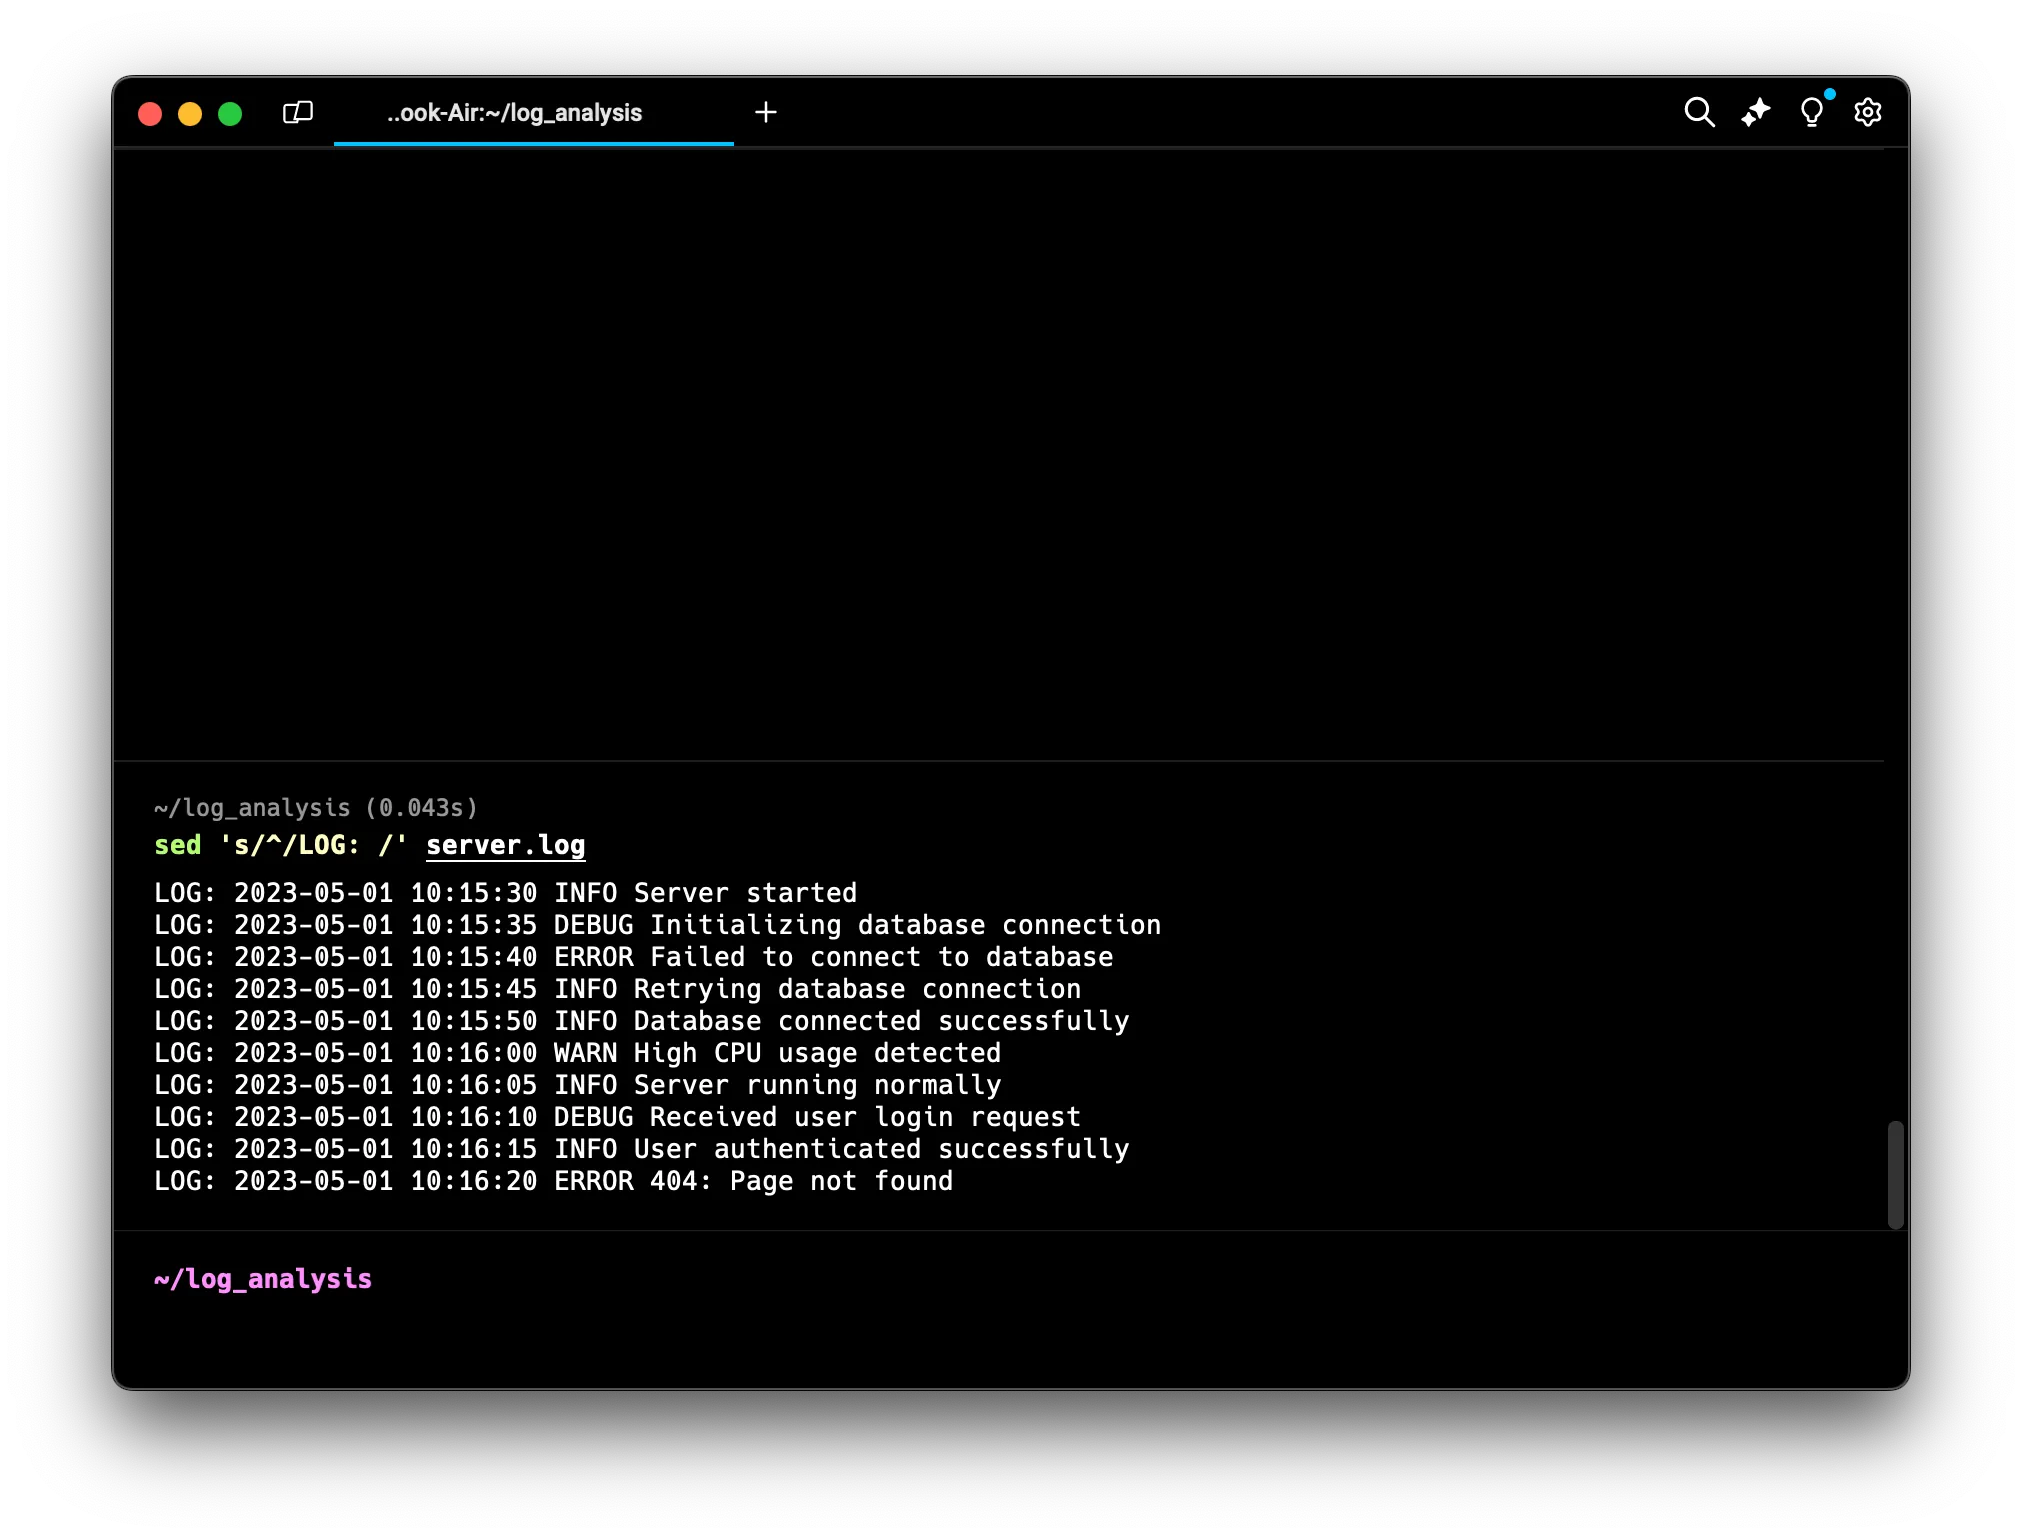 This adds “LOG: ” to the beginning of each line. Here’s how it works:
s/starts the substitution command^represents the beginning of the line/LOG: /is what we’re adding at the beginning of each line- The final
/completes the substitution command This can be useful for adding labels or tags to your log entries.
-
Remove the date from each line:
sed 's/^[^ ]* //' server.log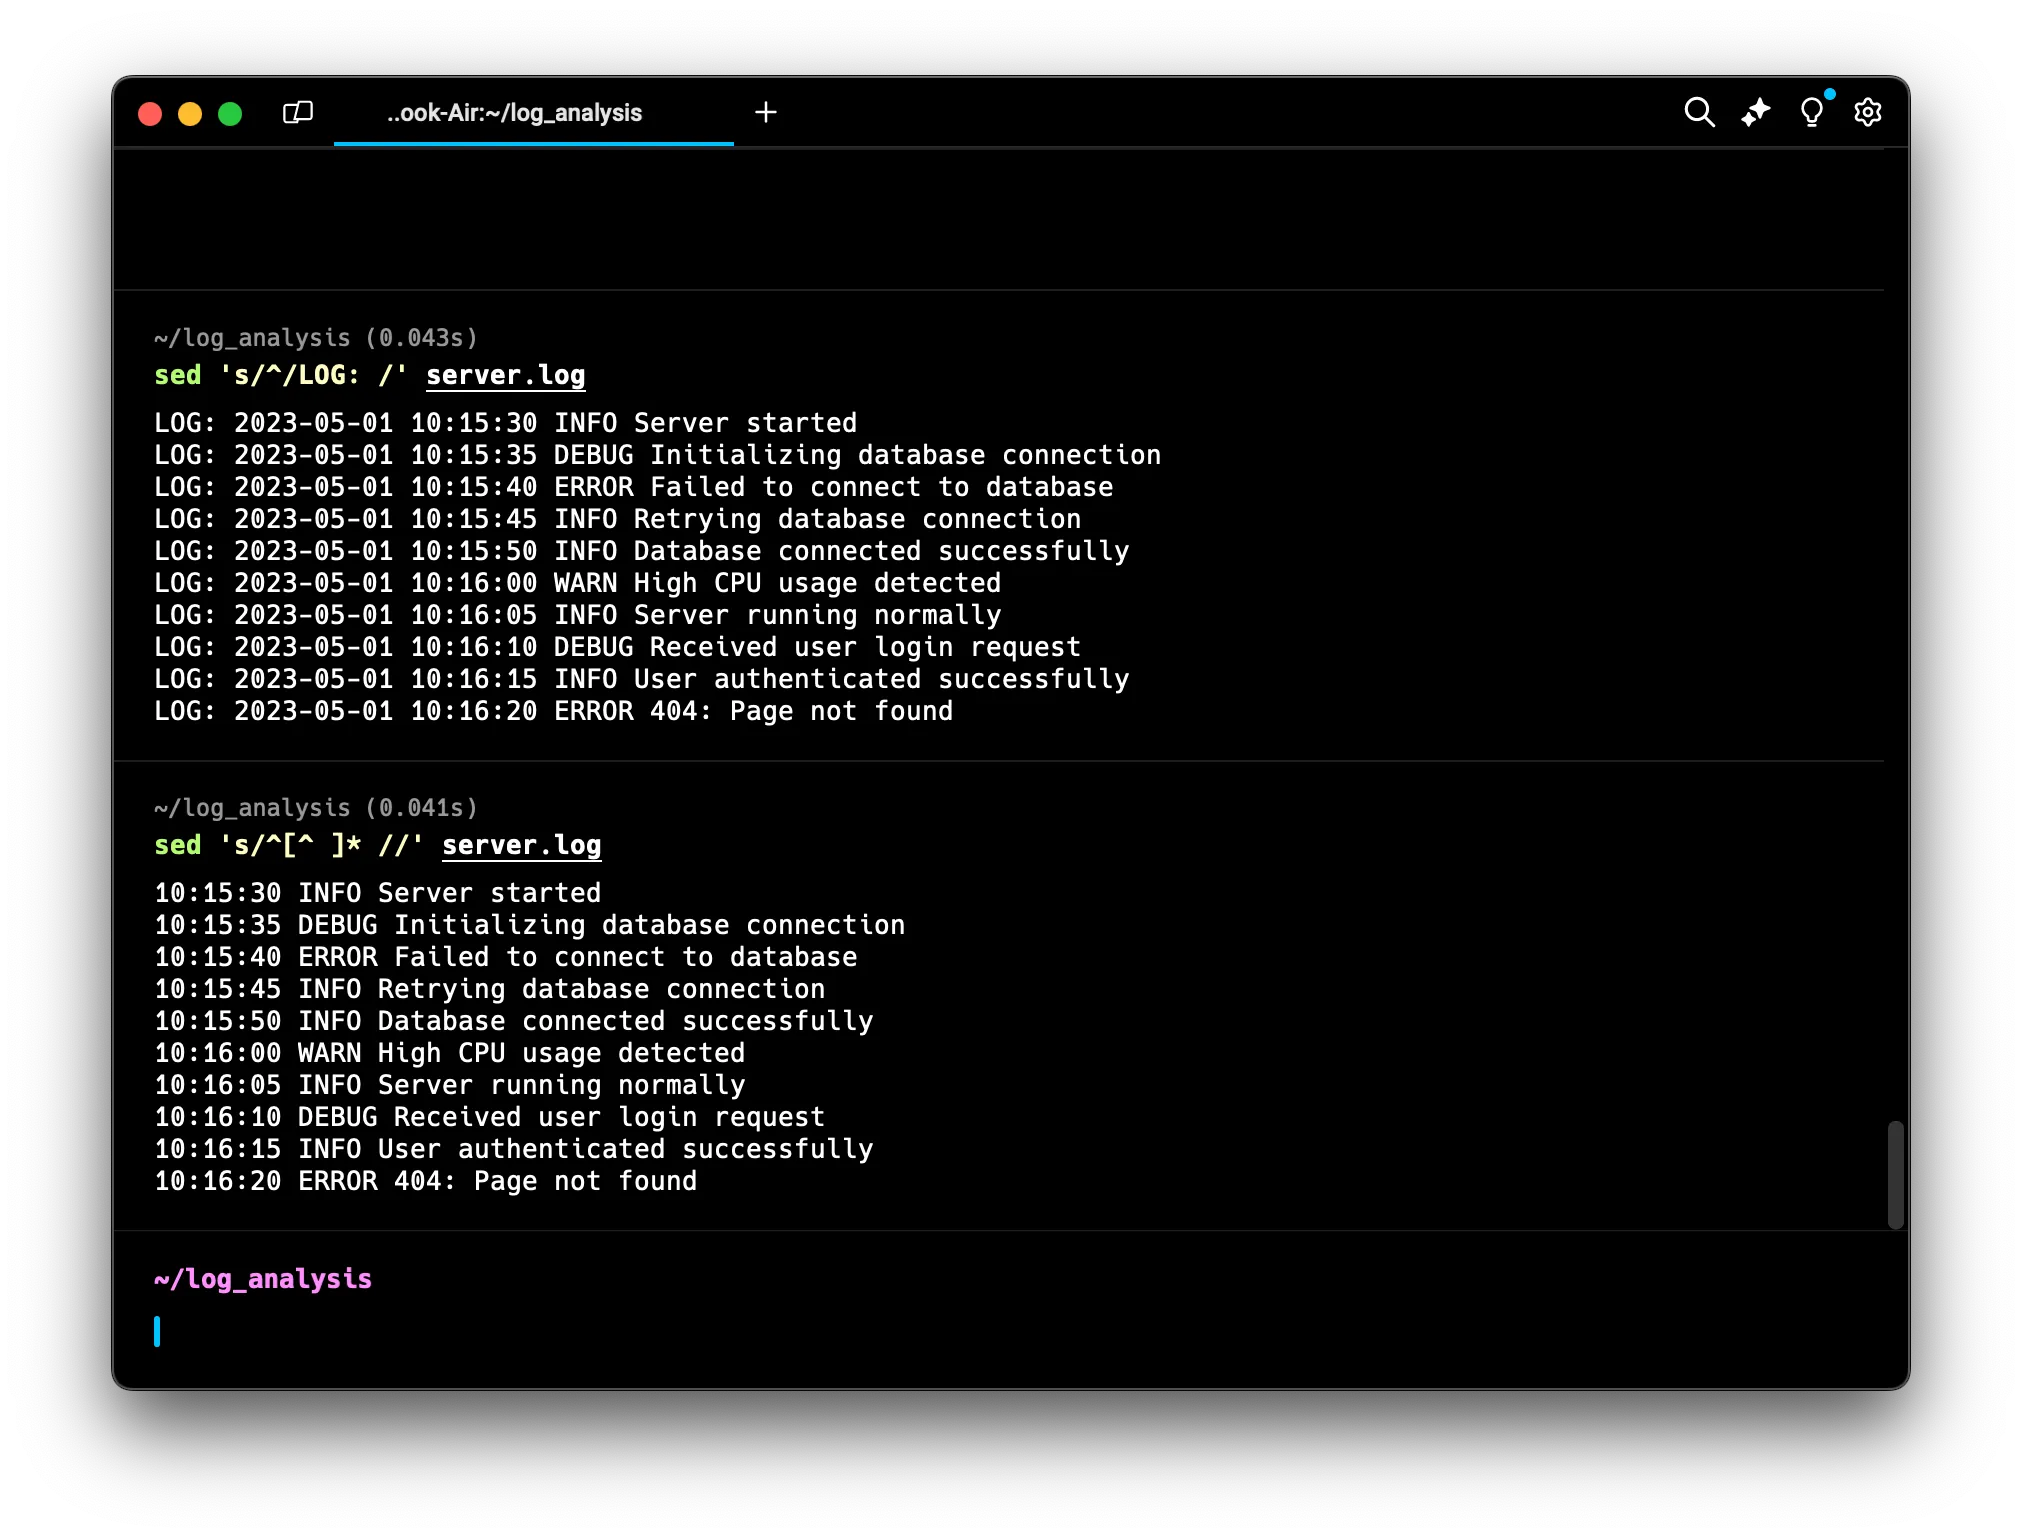 This removes everything up to the first space on each line. Let’s break it down:
s/starts the substitution command^represents the beginning of the line[^ ]*means “match zero or more characters that are not a space”- (a space) is included to remove the space after the date
//means “replace with nothing” (i.e., delete) This command effectively removes the date from each log entry, which can be useful if you want to focus on the time and content of each log entry.
Remember, by default, sed (like most text processing commands) doesn’t change the original file. It outputs the modified text to the terminal. If you want to save the changes, you can redirect the output to a new file:
sed 's/ERROR/CRITICAL/g' server.log > new_server.log
Or use the -i option to edit the file in-place (be careful with this!):
sed -i 's/ERROR/CRITICAL/g' server.log
These commands offer powerful ways to manipulate and analyze your log files. Practice with different options and combinations to become proficient in text processing.
Counting Words, Lines, and Characters
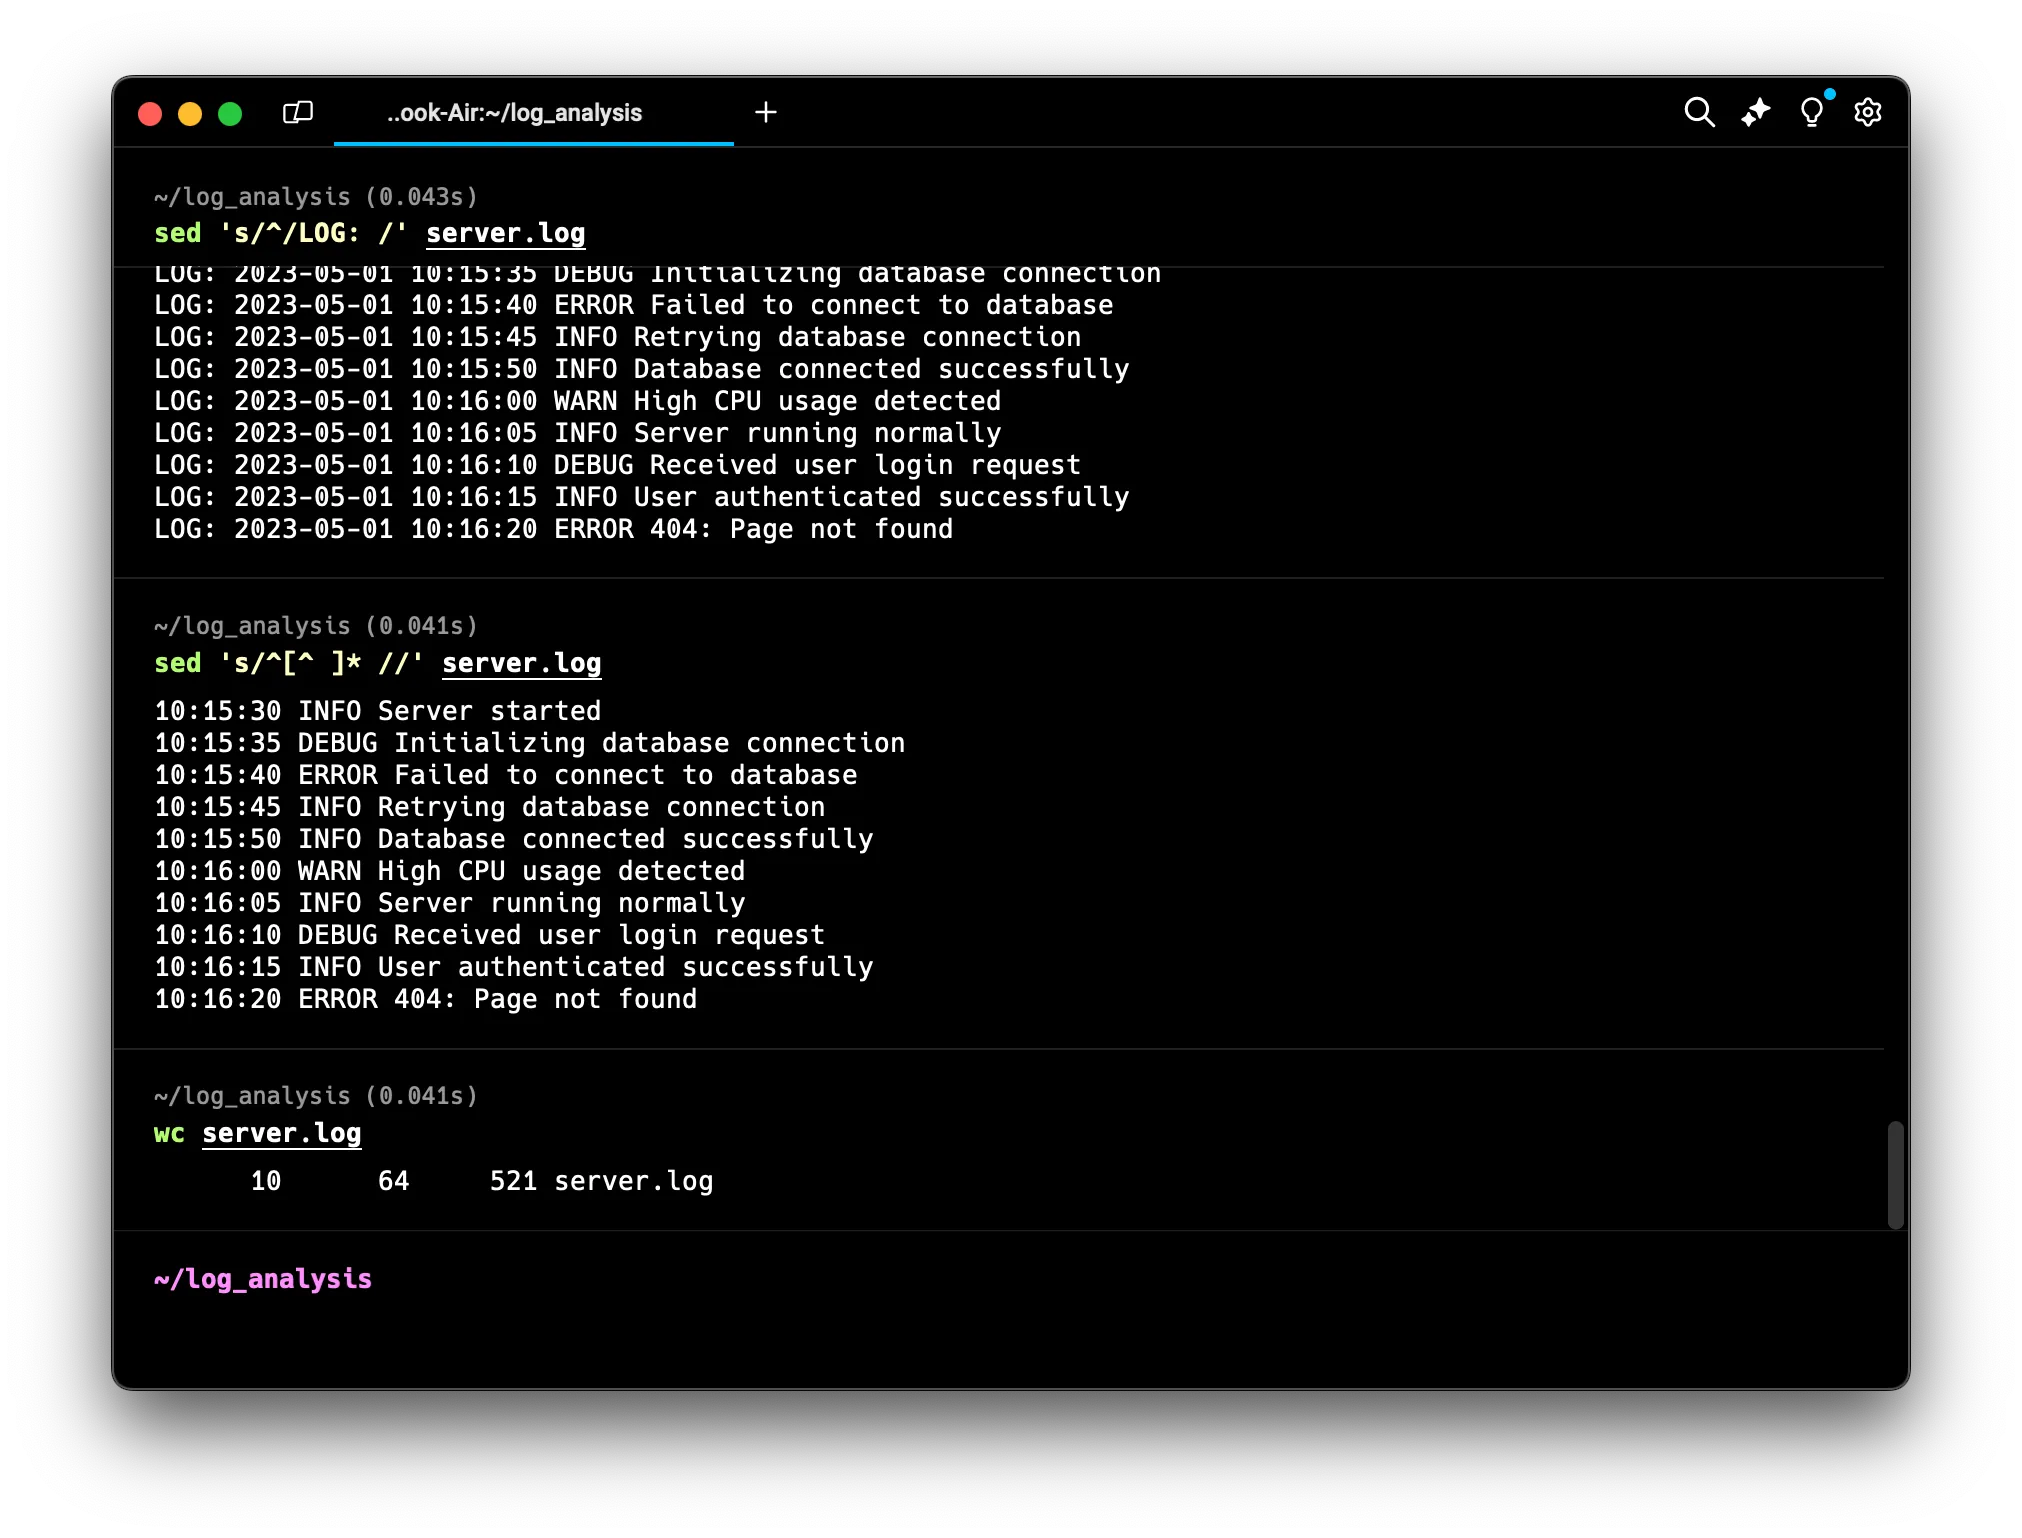
wc (Word, Line, Character, and Byte Count)
For a quick overview of our log file, the wc (word count) command is handy:
wc server.log
Analyzing Our Log File
Now that we’ve learned about various text processing commands, let’s use them to answer our initial questions:
-
How many log entries are there in total?
wc -l server.logThis command counts the number of lines in our log file.
-
What was the first recorded event?
head -n 1 server.logThis shows us the first line of the log file, which should be the earliest event.
-
What was the most recent event?
tail -n 1 server.logThis shows us the last line of the log file, which should be the most recent event.
-
Are there any error messages in the logs?
grep "ERROR" server.logThis will show us all lines containing the word “ERROR”.
By using these commands, we’ve quickly answered our boss’s questions about the log file. We know how many entries there are, we can see the first and last events, and we can easily find any error messages.
Practice Task: Analyze the Log
Your job is to create a summary of the server log. Here are your tasks:
- How many lines are in the log file?
- What’s the earliest time stamp in the log?
- What’s the latest time stamp in the log?
- How many ERROR entries are in the log?
- What’s the third line of the log file?
- What are the last two lines of the log file?
- Show all lines that don’t contain “INFO”.
- Replace all occurrences of “DEBUG” with “TRACE” in the log file.
Conclusion
Great job! You’ve now learned essential text processing tools in the Linux terminal. These skills will help you efficiently analyze logs, search files, and manipulate text data.
Keep practicing these commands to build your confidence and speed. In our next article, we’ll explore Linux file and directory permissions - a crucial topic for system security and user management.
Stay curious and keep exploring the power of the Linux terminal. See you in the next lesson!